Debian Installation: Doing It Right on the First Try
Describing an operating system installation process might seem trivial since the internet is flooded with similar guides. However, proper disk partitioning and initial settings save hours of troubleshooting later.
Let us look at a practical example of installing Debian. For demonstration purposes, we will use a virtual machine (1 vCPU, 2 GB RAM) with UEFI enabled. The process will be as close as possible to deploying on a real physical server.
Preparation and Download#
Download the latest ISO image from the official website: debian.org/download .
If a stable network connection is available during installation, feel free to choose netinst (a minimal image that pulls required packages from the internet). If you plan an offline installation, download the full DVD image.
Connect the bootable USB drive and boot up the system.
Starting the Installation#
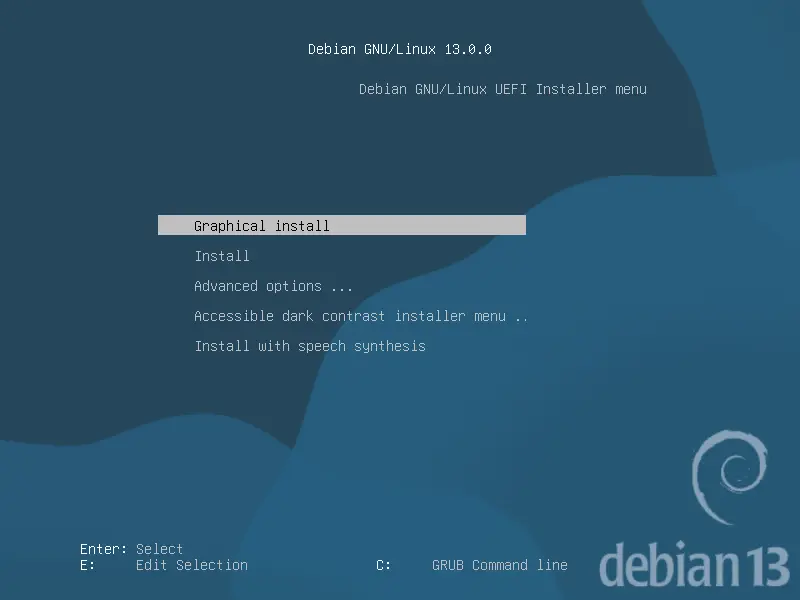
Upon the first boot, the GRUB menu appears. Select Graphical Install.
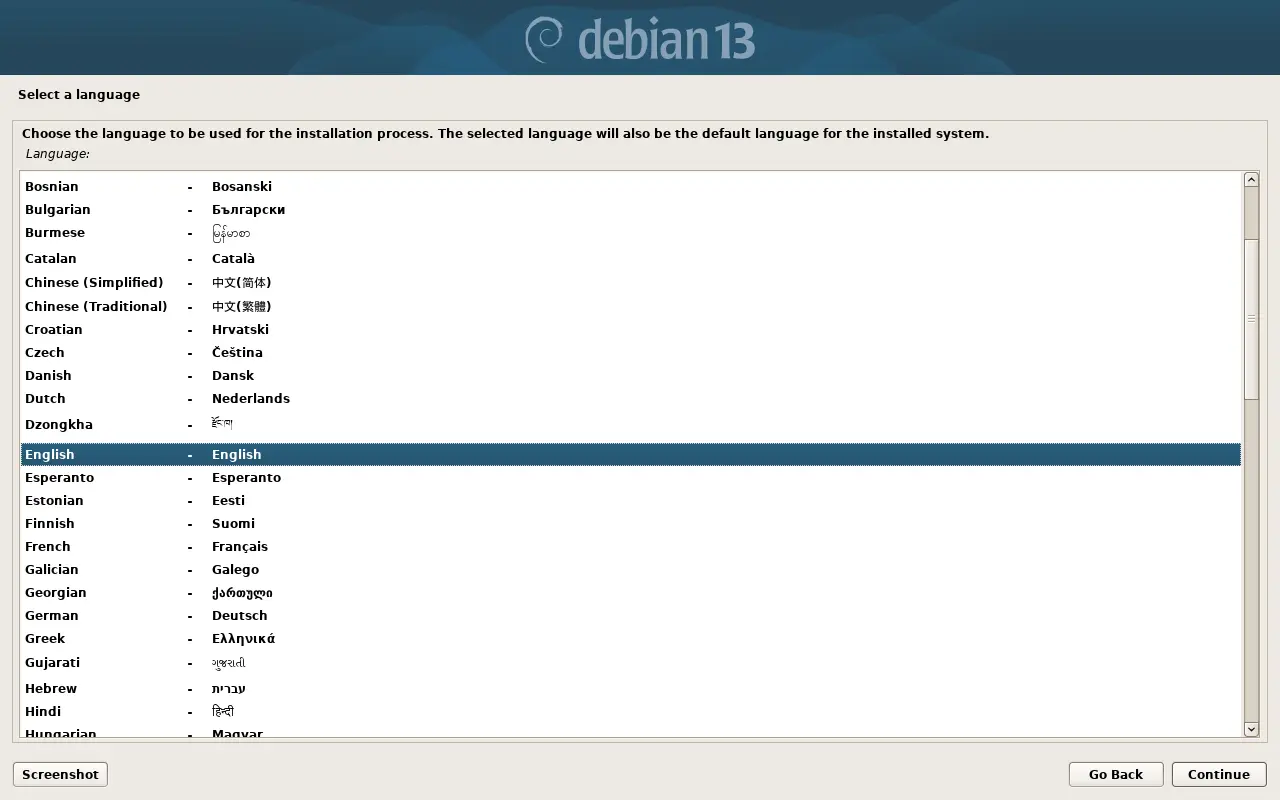
Next is language selection. I recommend keeping English for both the installer and the future system. This significantly simplifies searching through logs and troubleshooting potential issues.
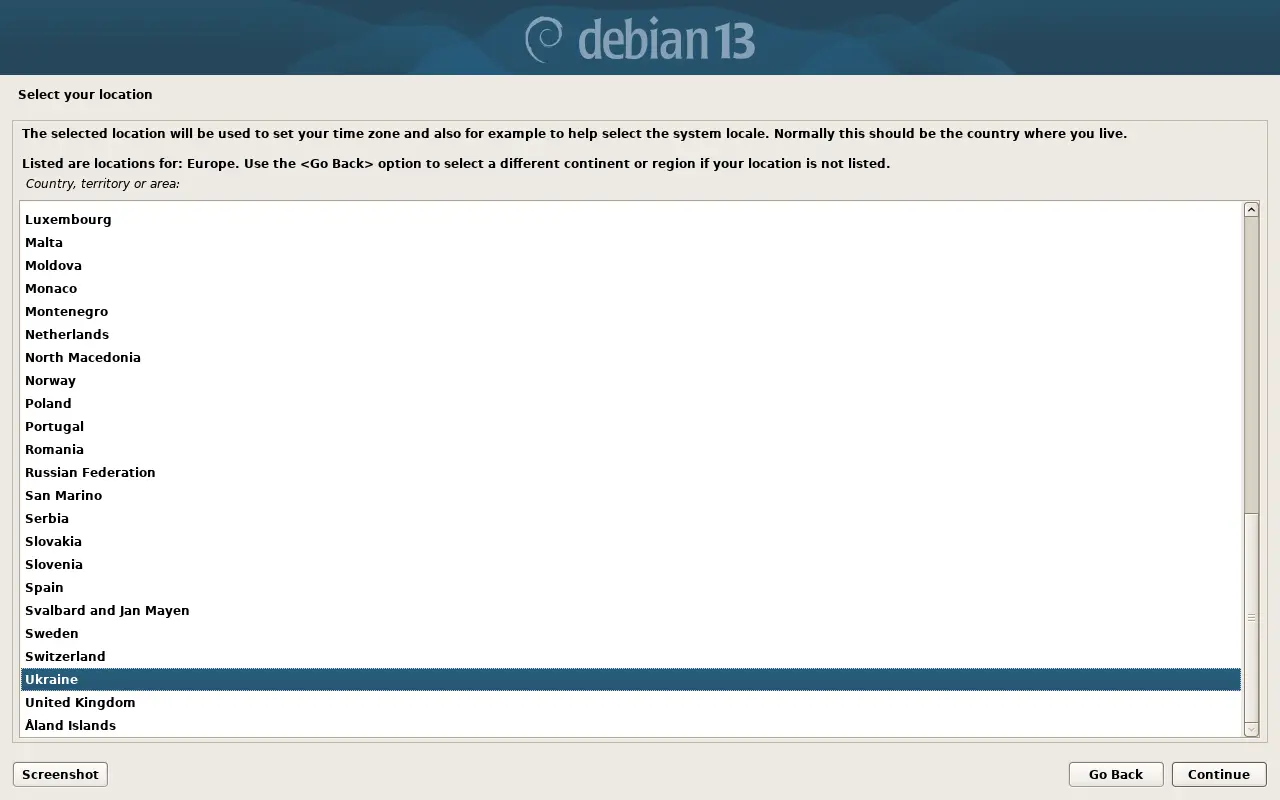
Specify your location country.
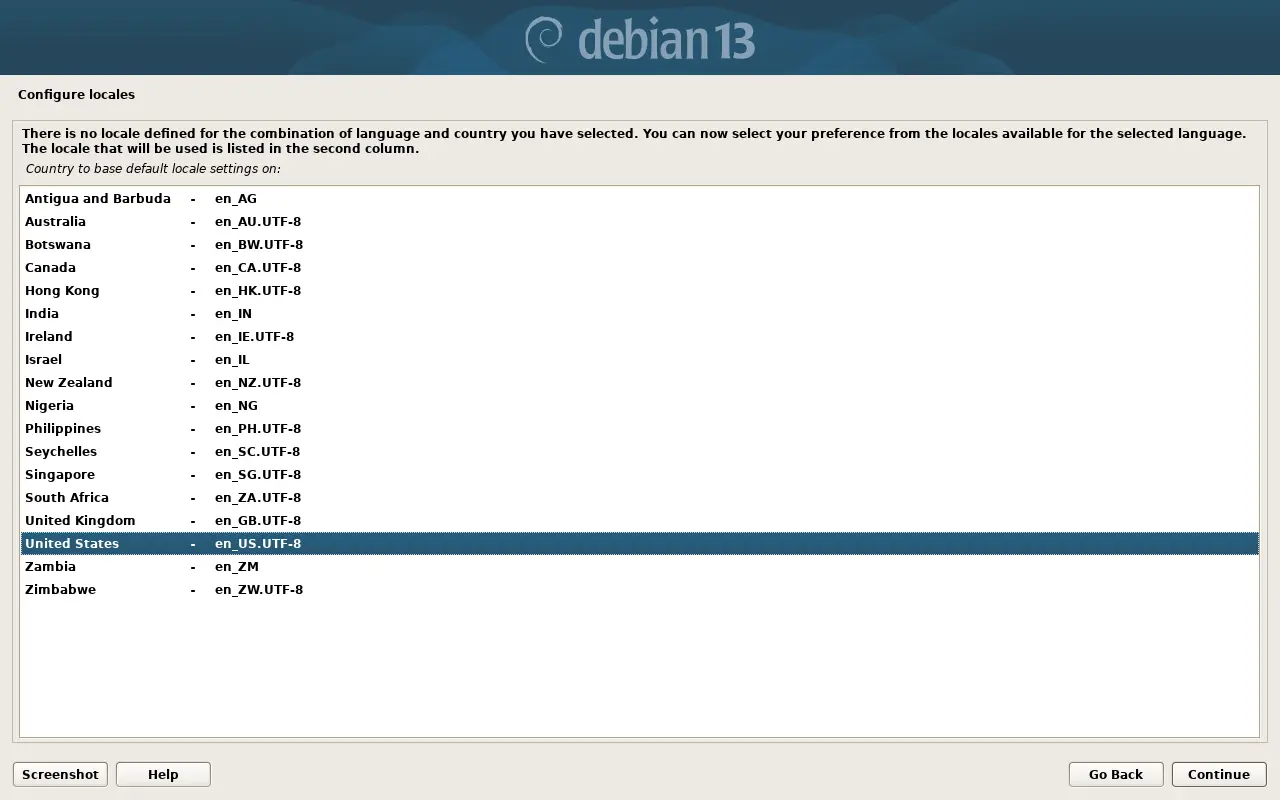
Select the system locale (interface language, encoding, etc.). The optimal choice is United States (en_US.UTF-8).
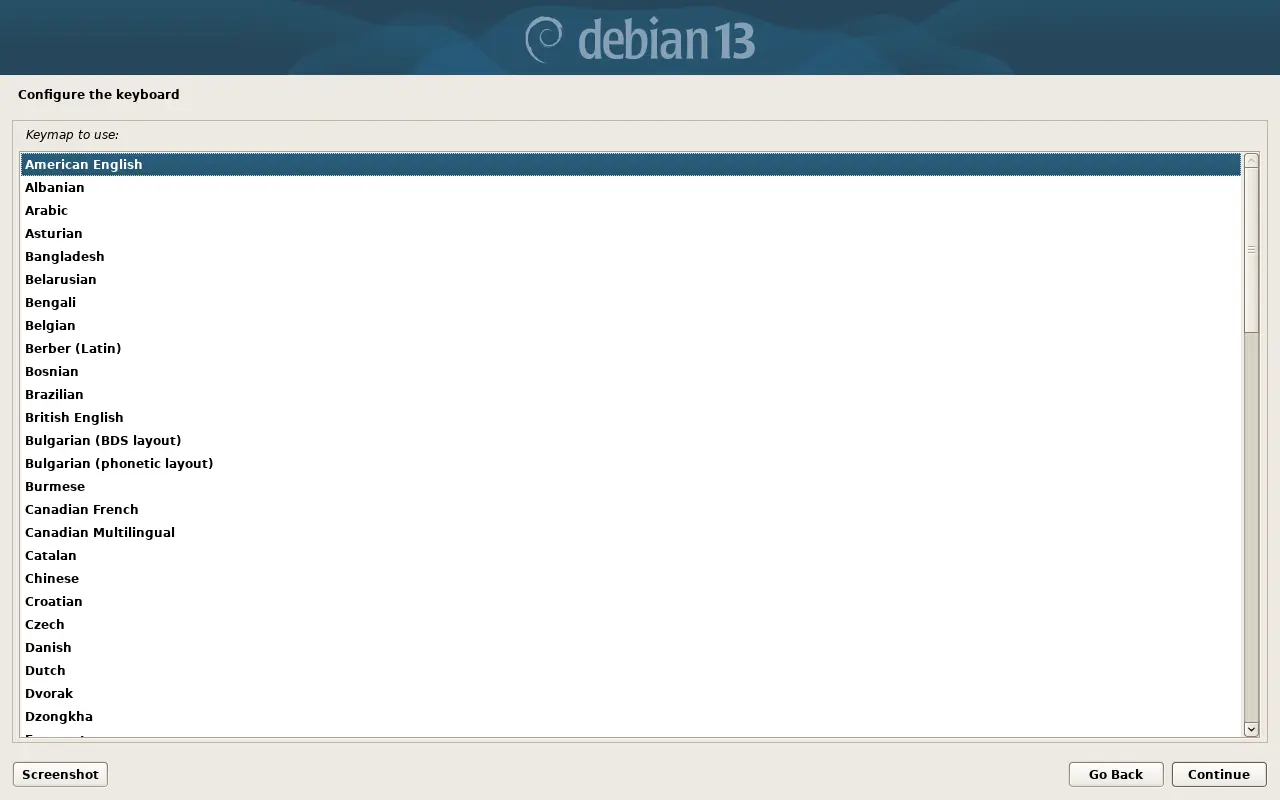
Configure the keyboard layout.
Network and Accounts#
At this stage, the installer attempts to configure the network. If DHCP is running on your network, the process will complete automatically. Otherwise, you will need to configure the network manually (IP address, netmask, gateway, DNS).
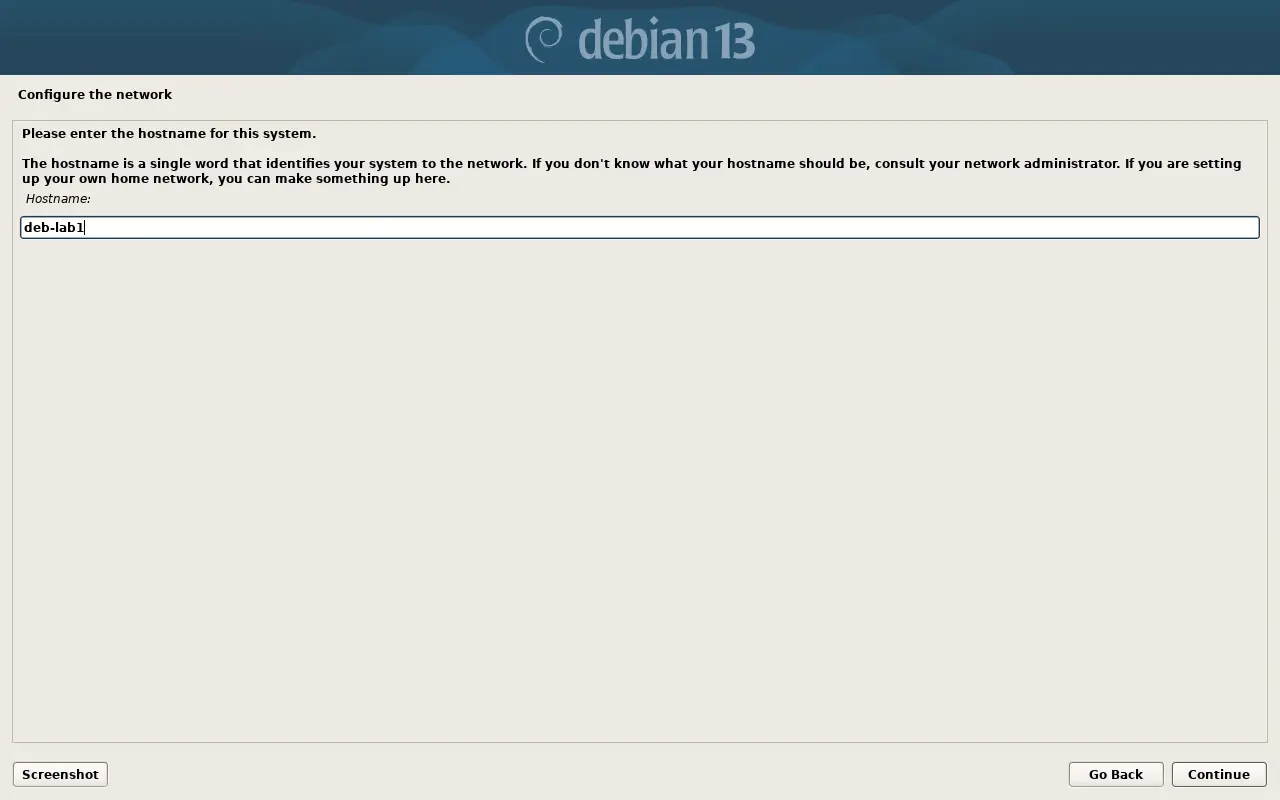
Specify the hostname (hostname):
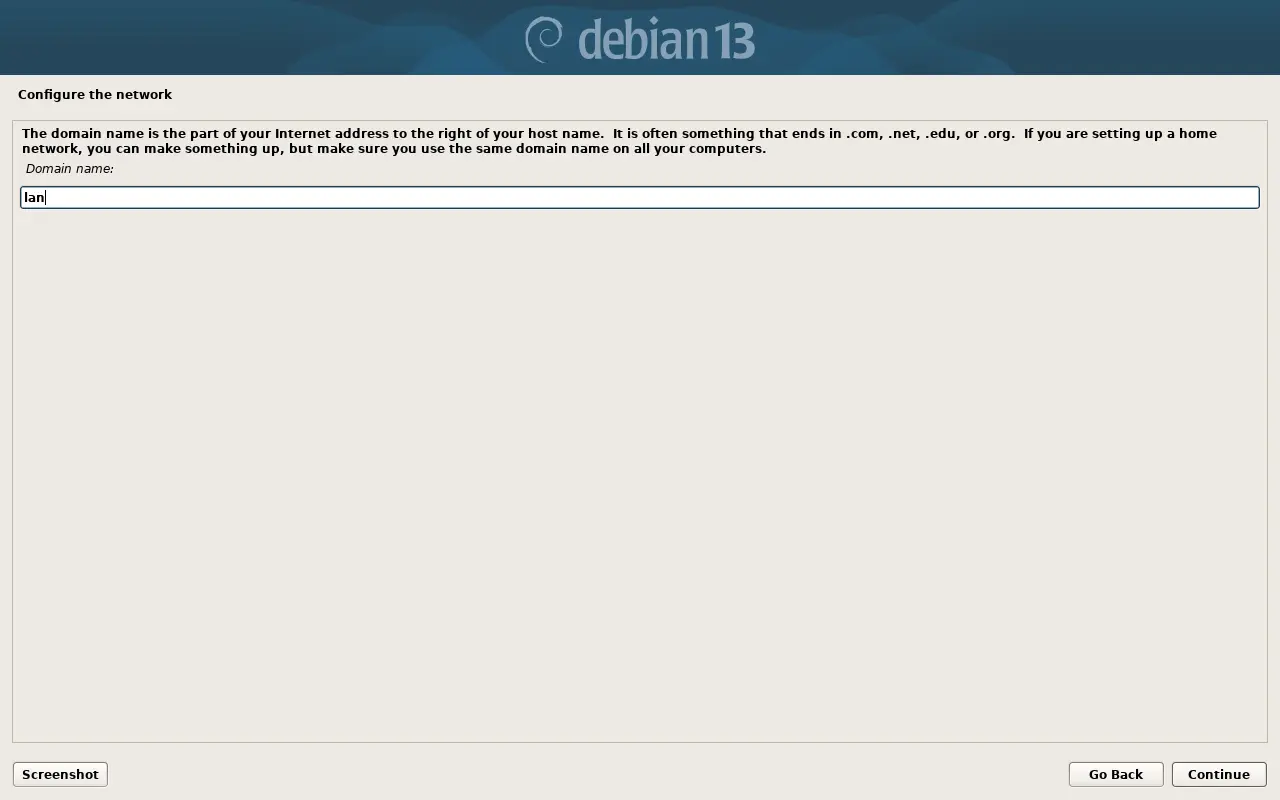
Specify the domain name (domain name):
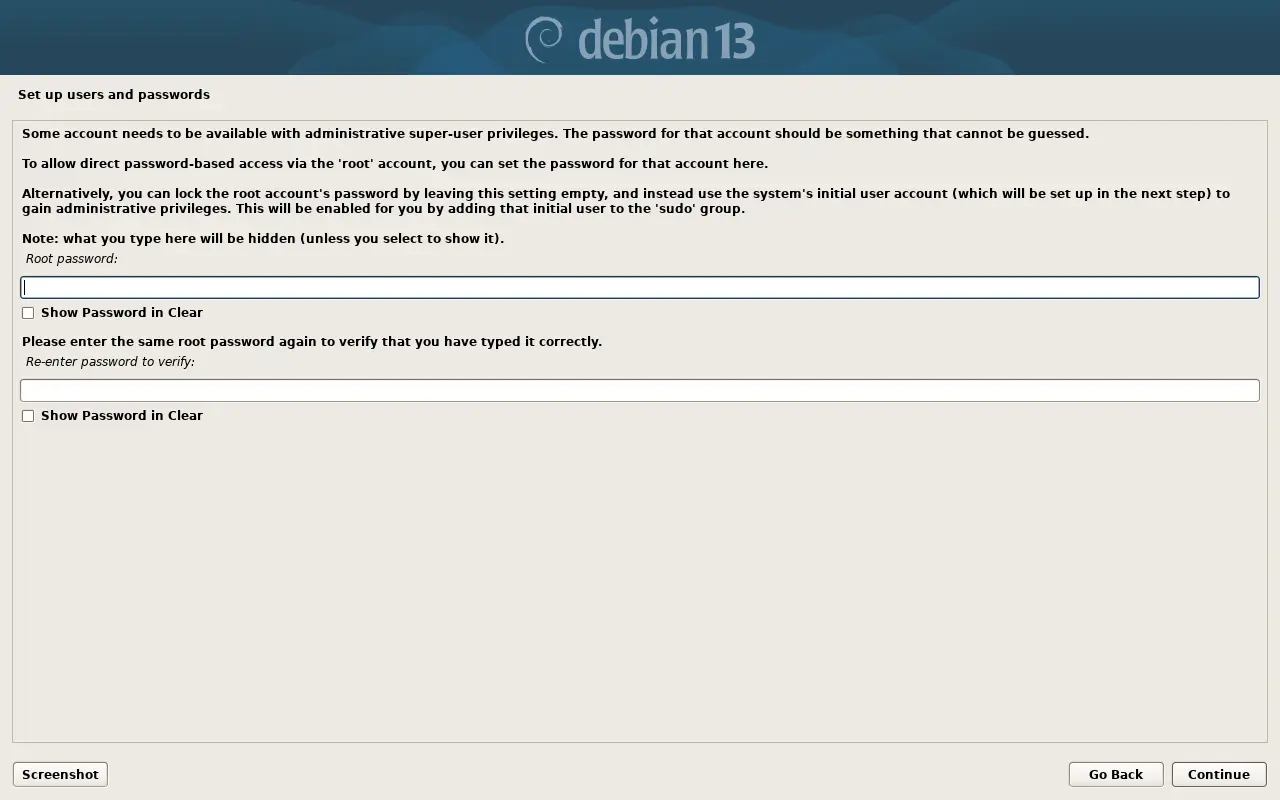
Setting the root password: if you leave this field blank, direct login as superuser will be disabled, and the first created user will automatically be granted sudo privileges. This is the recommended approach for security reasons.
Note: Setting a root password is only warranted in specific cases, for example, when regular user accounts are stored in external authentication systems (LDAP, Active Directory, etc.).
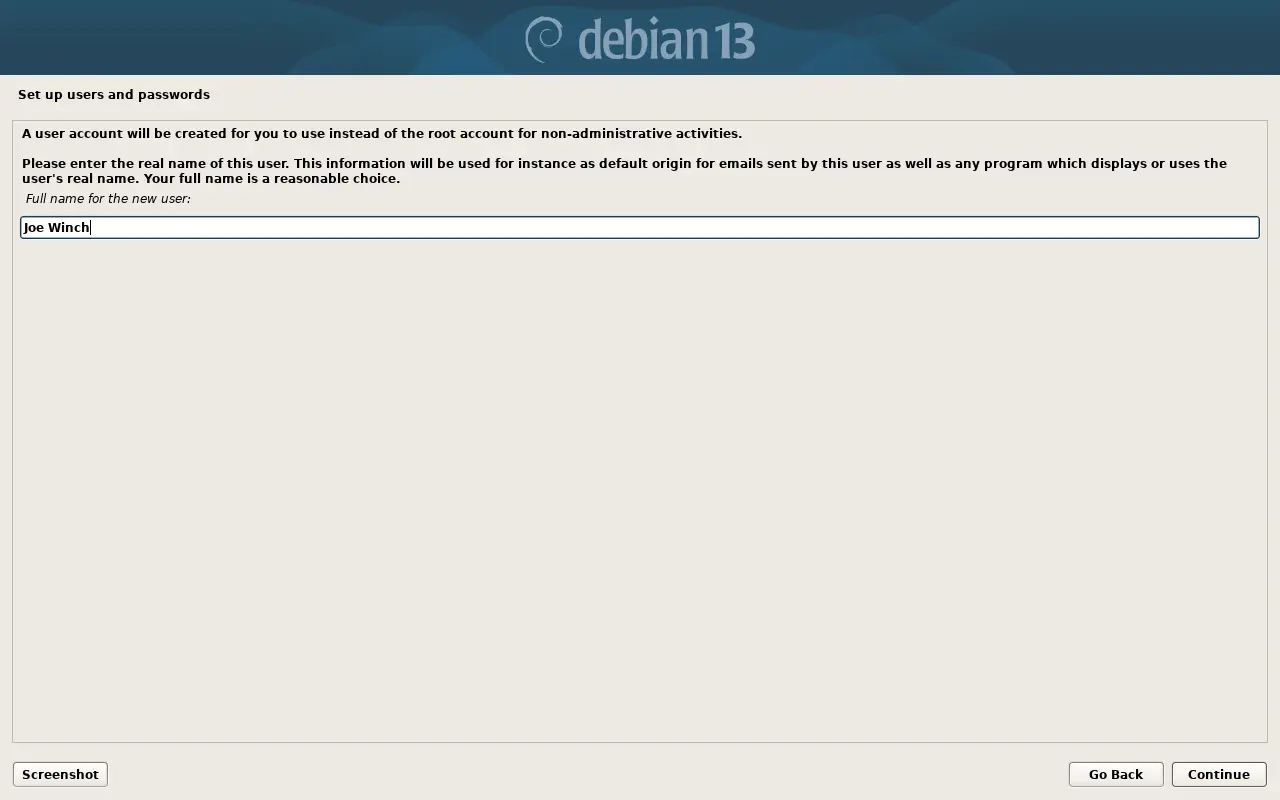
Enter the full name of the new user:
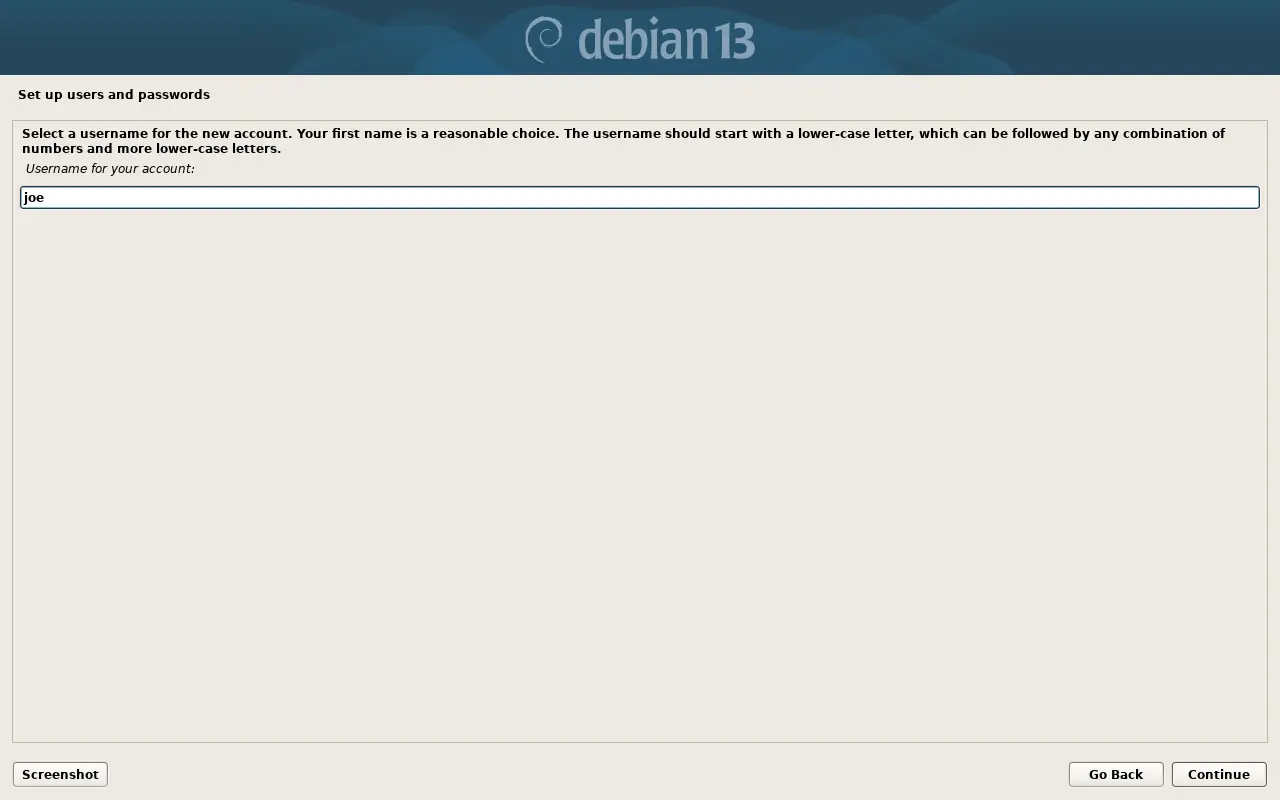
Set the login (username):
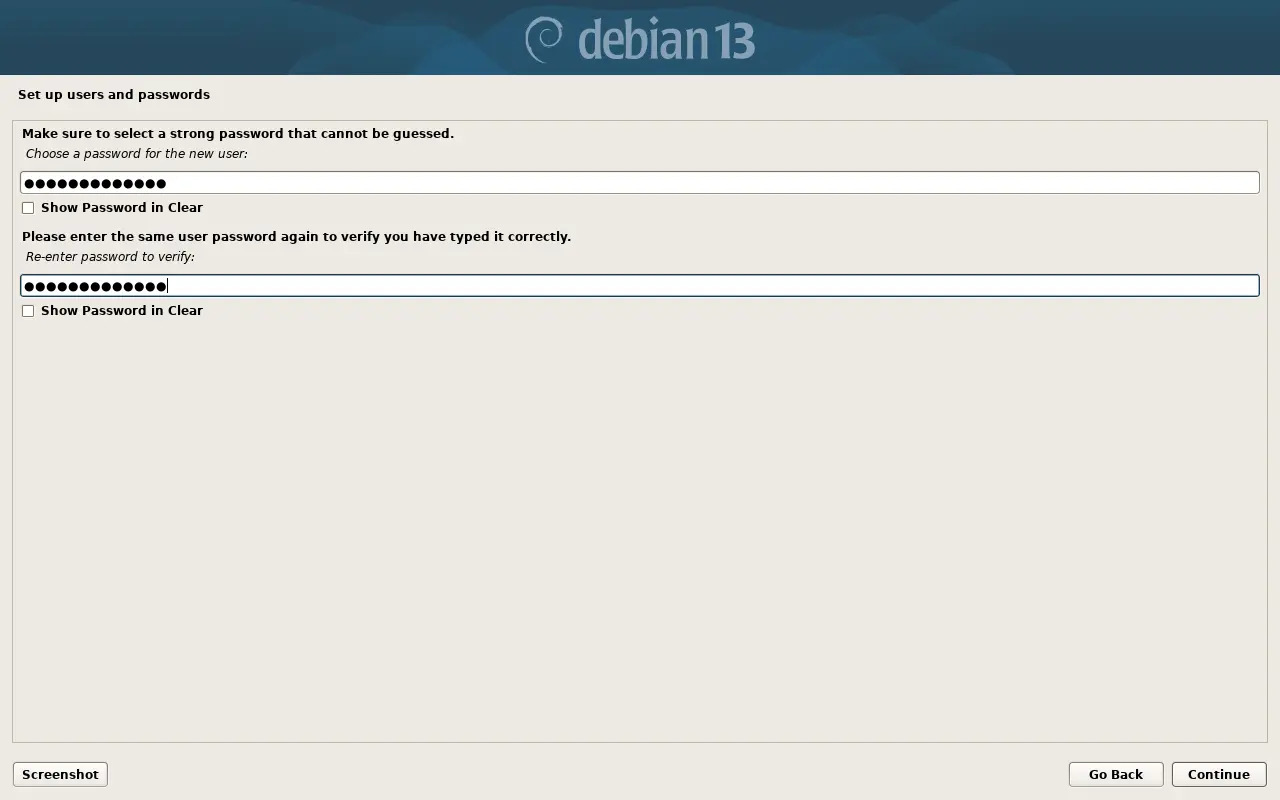
Set a strong password:
Disk Partitioning#
We move on to the most critical step: creating disk partitions. If the disk already contains an old layout or other data, it must be removed. We are considering a scenario with a completely clean drive.
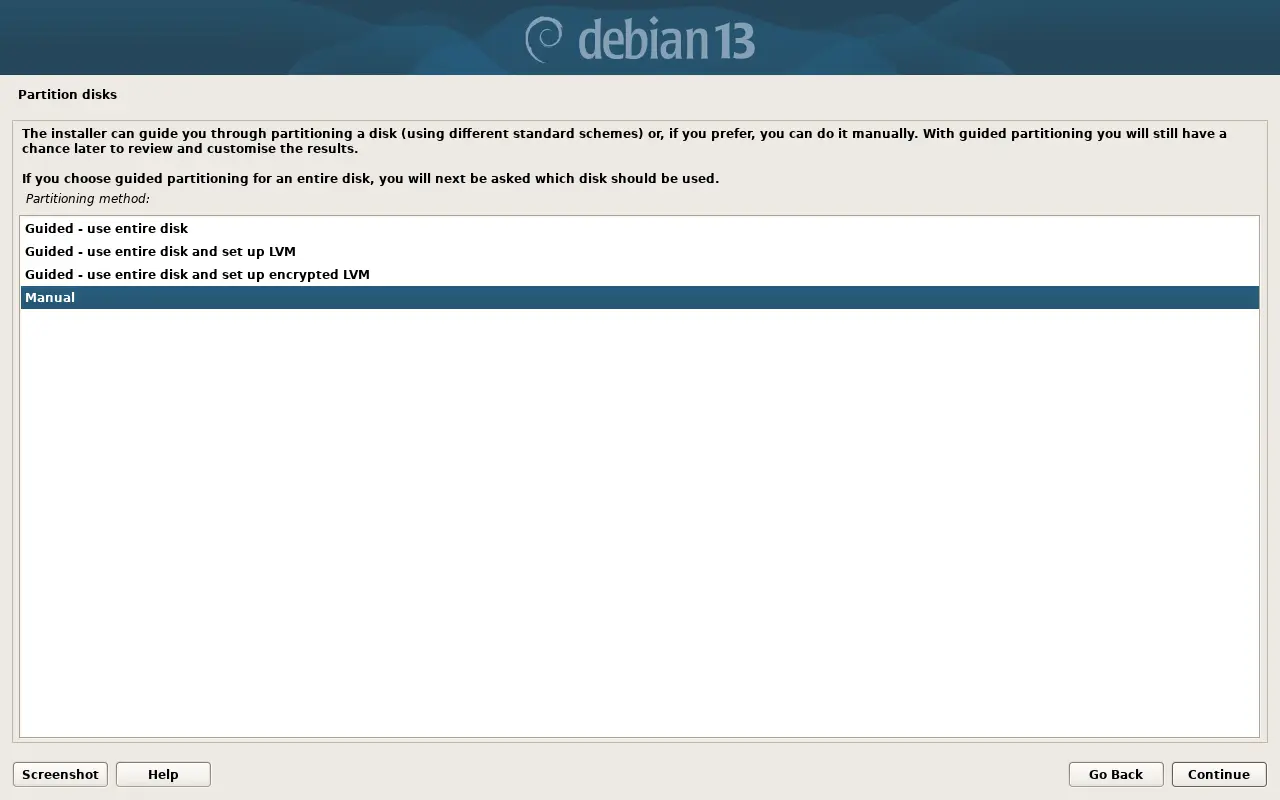
Choose the manual mode Manual:
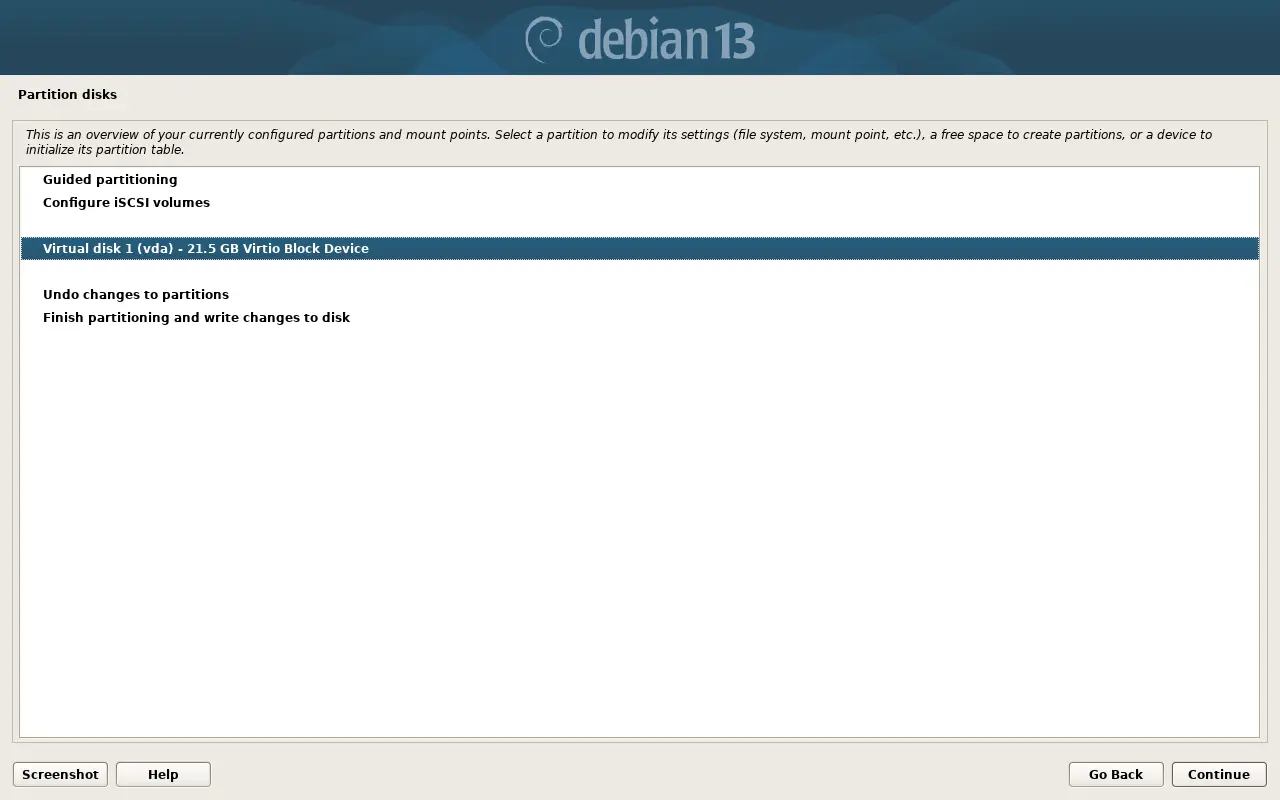
Select the target disk from the list:
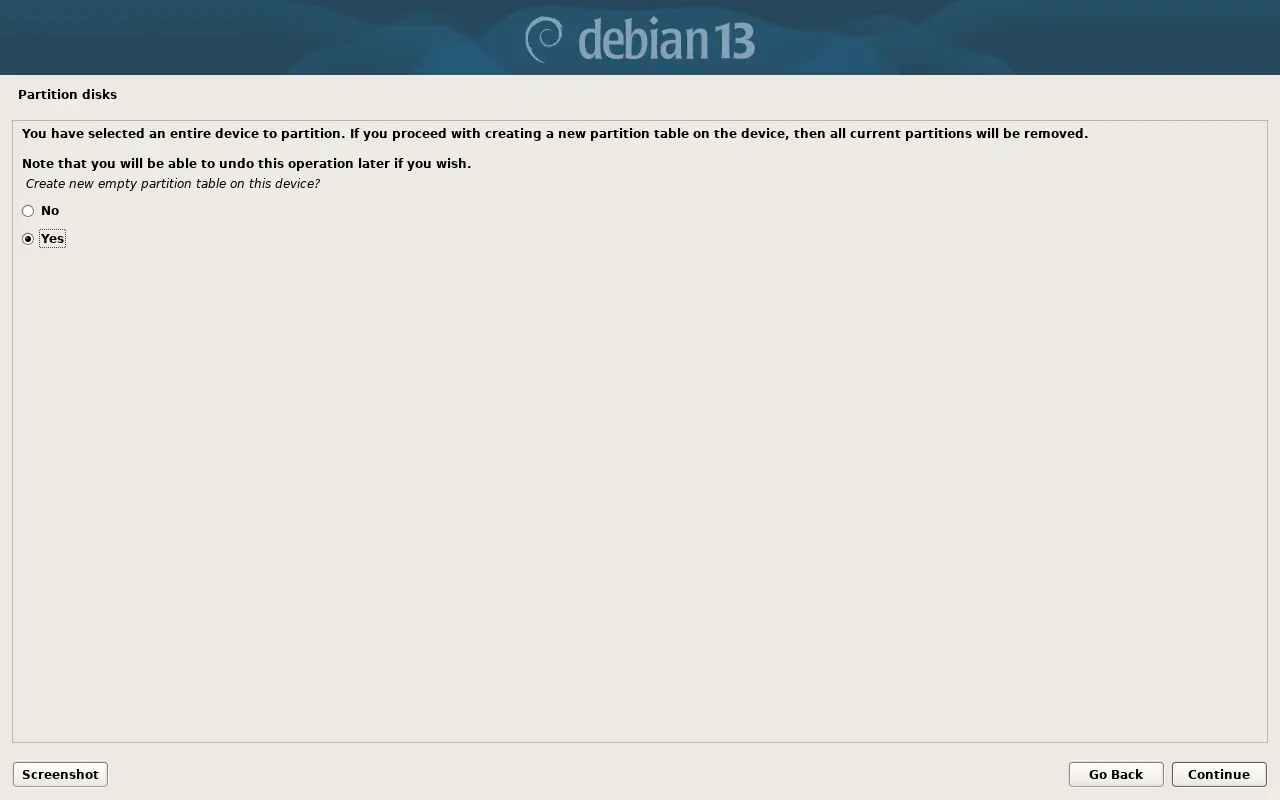
Confirm the creation of a new empty partition table:
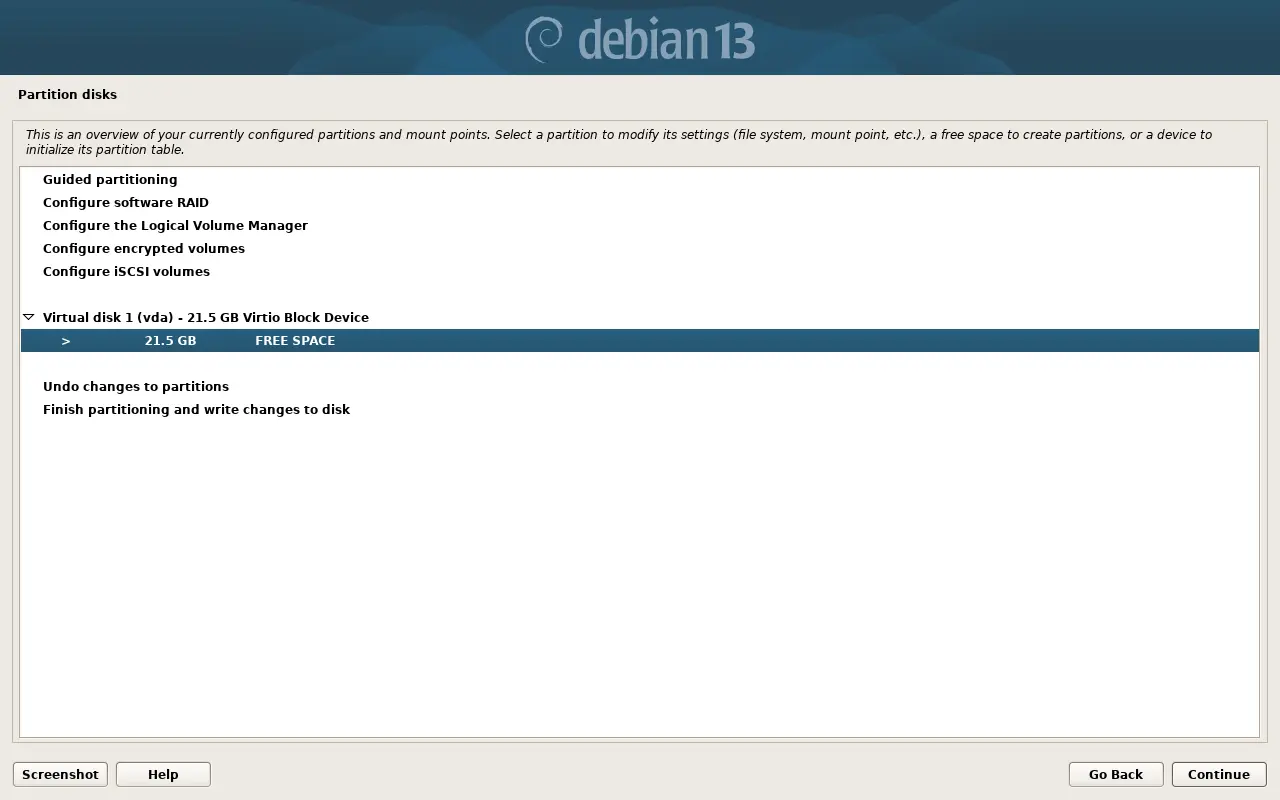
Select the unallocated space on the disk to proceed:
Creating Partitions#
Creating a new EFI partition:#
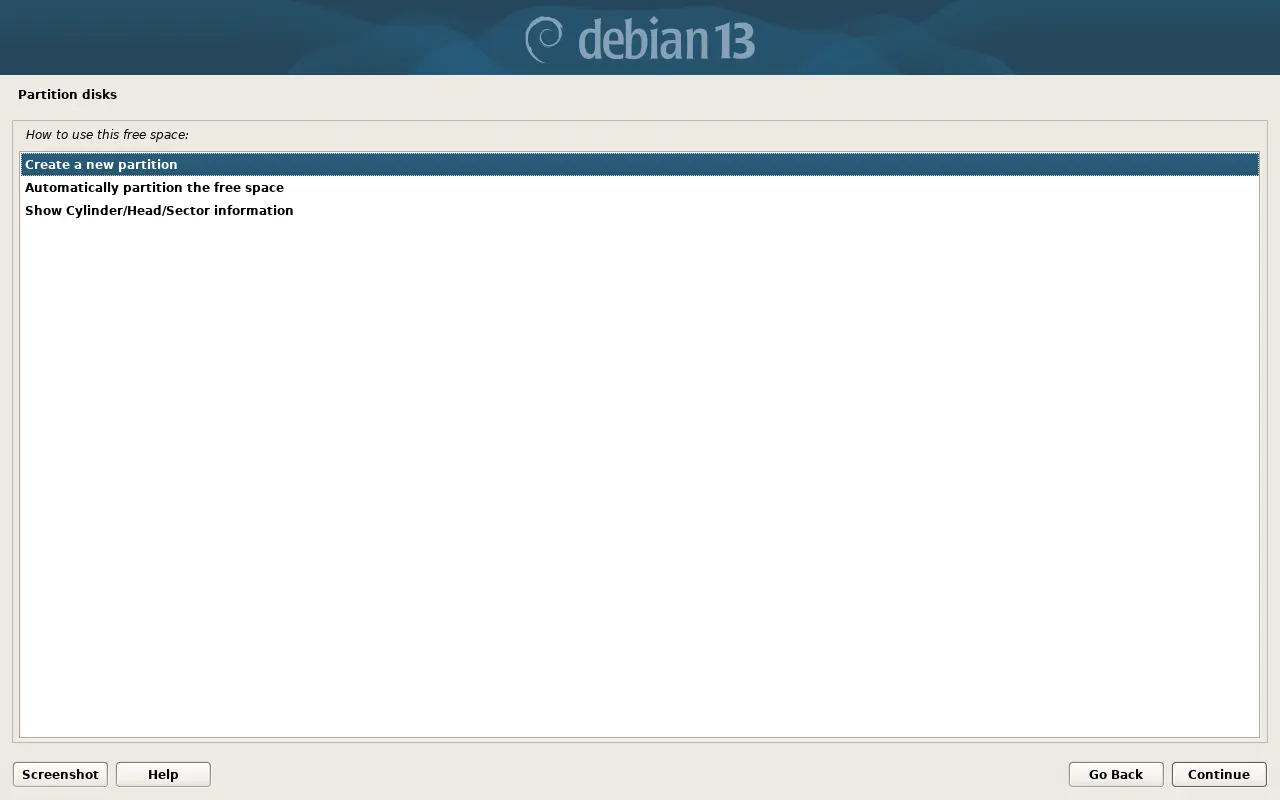
Specify the future volume size:
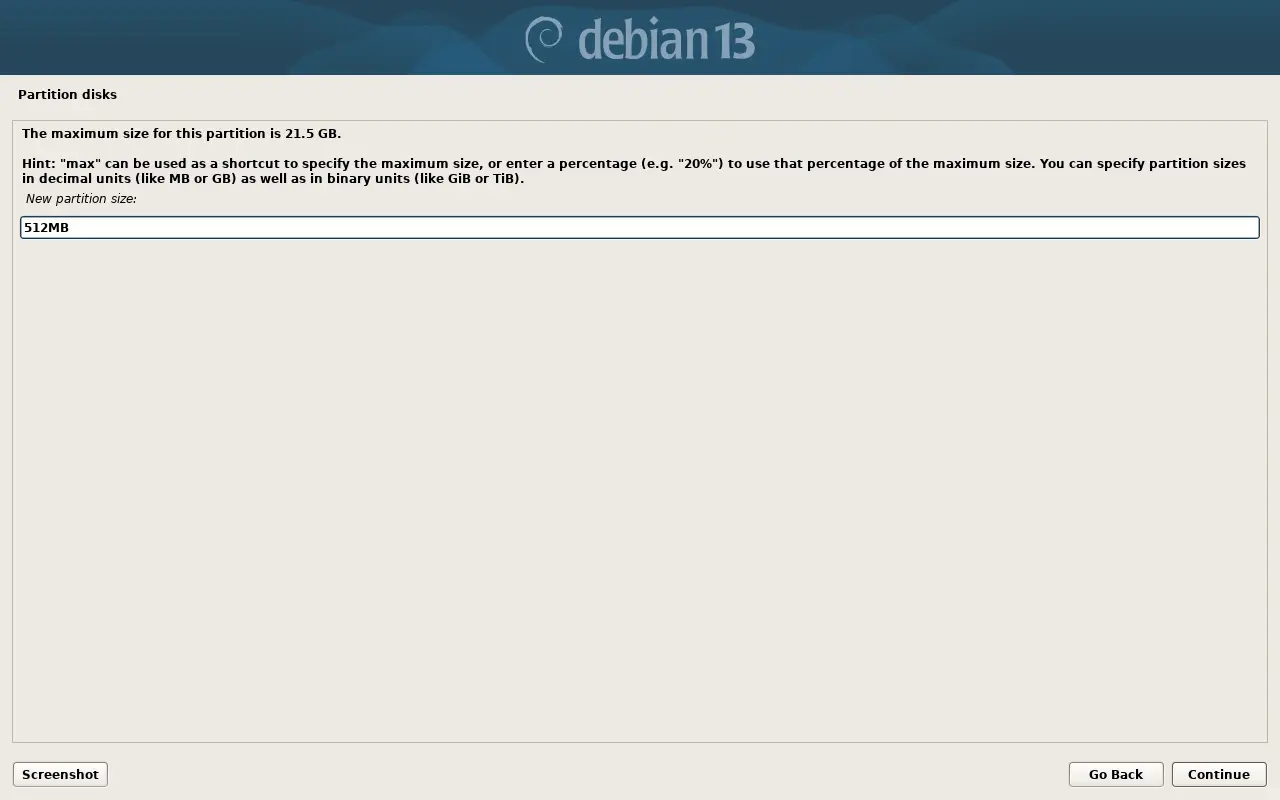
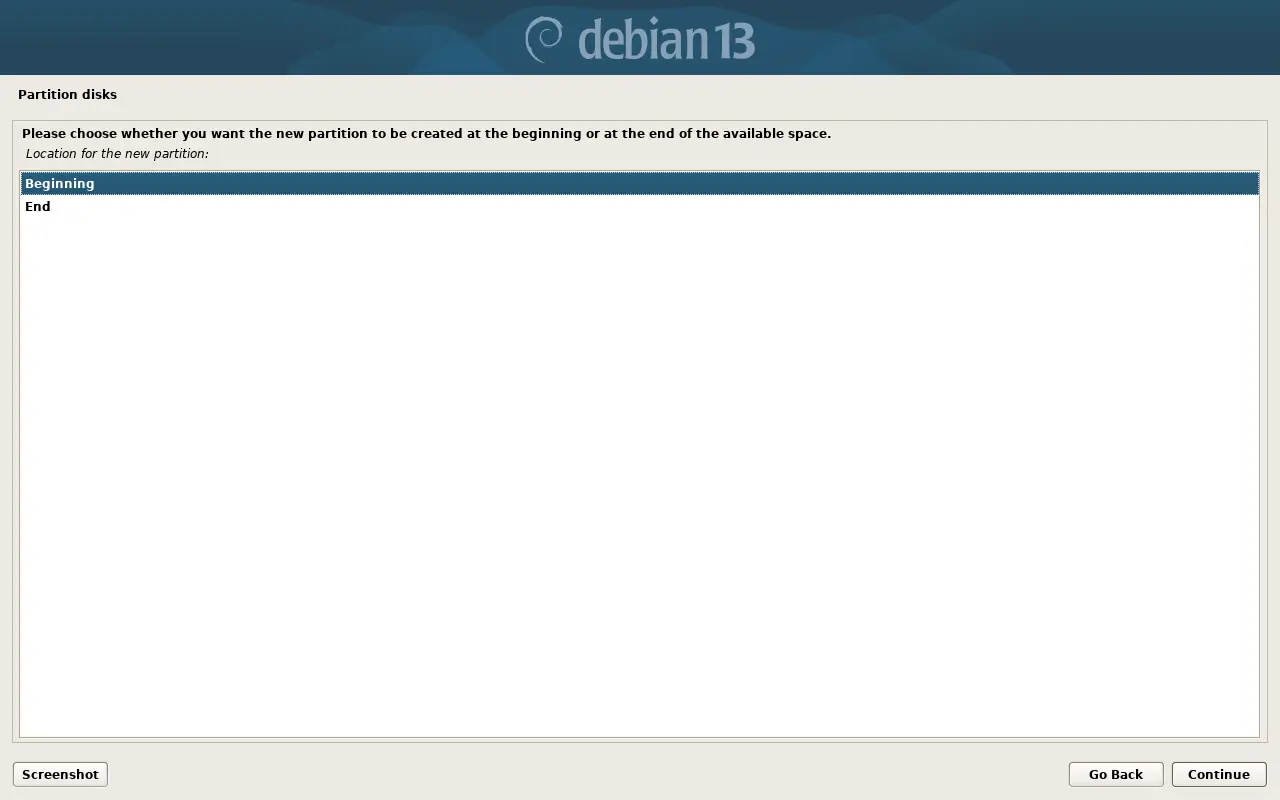
Place the partition at the beginning of the disk:
The system automatically defaults the new partition settings to /. Change the “Use as” option:
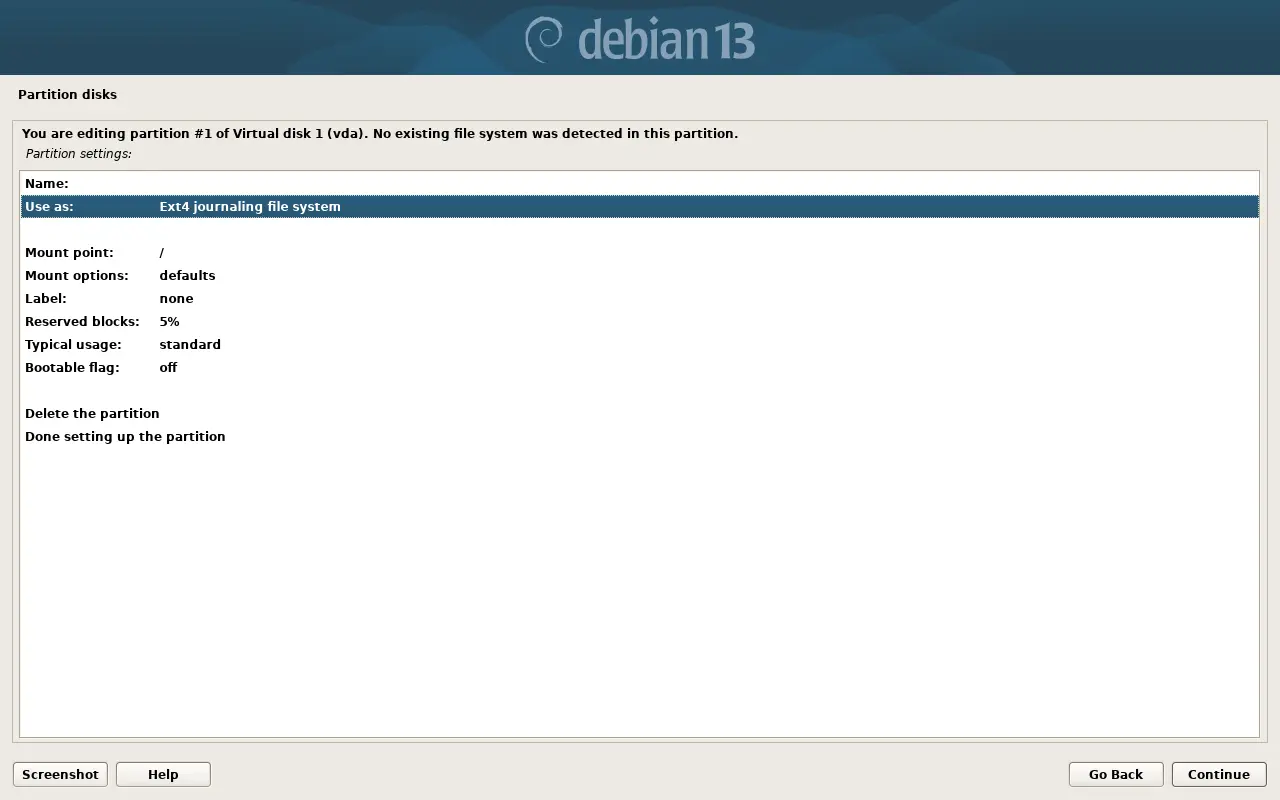
Select EFI System Partition:
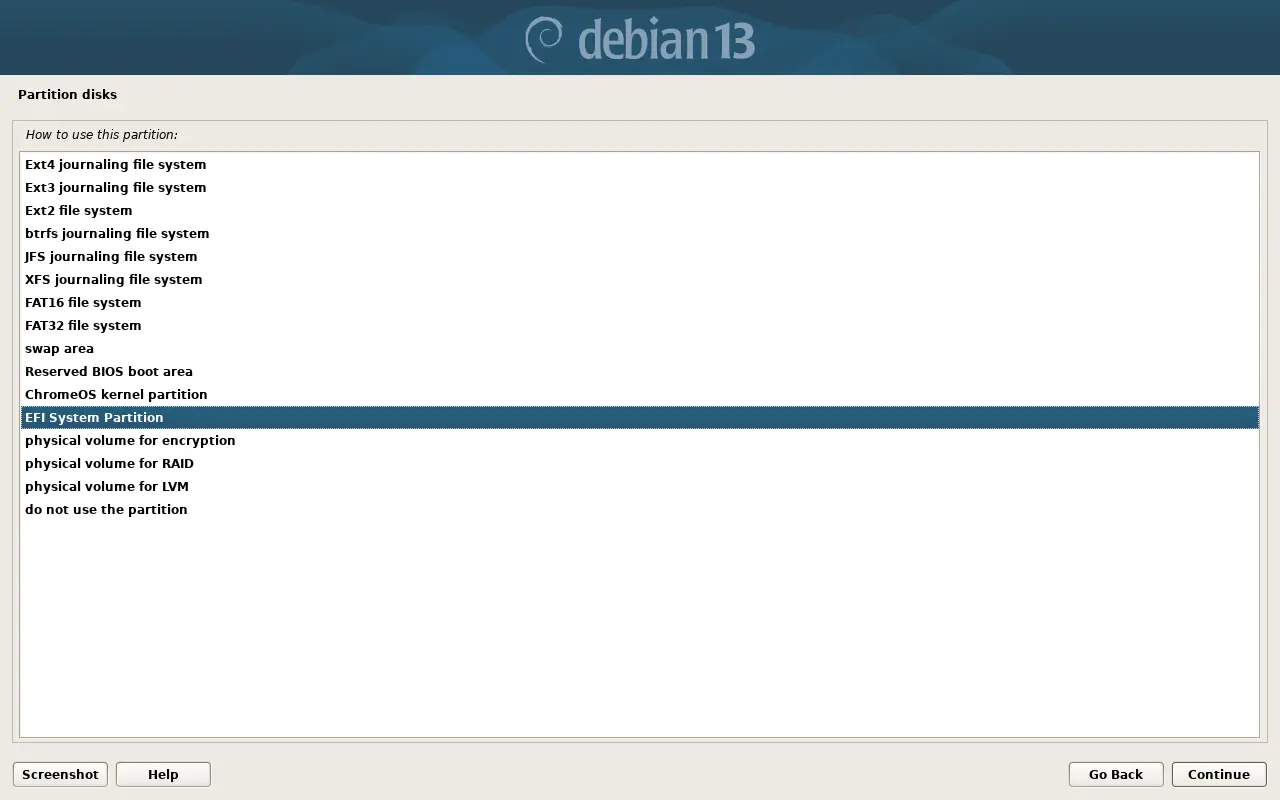
Finish setting up the partition via Done setting up the partition:
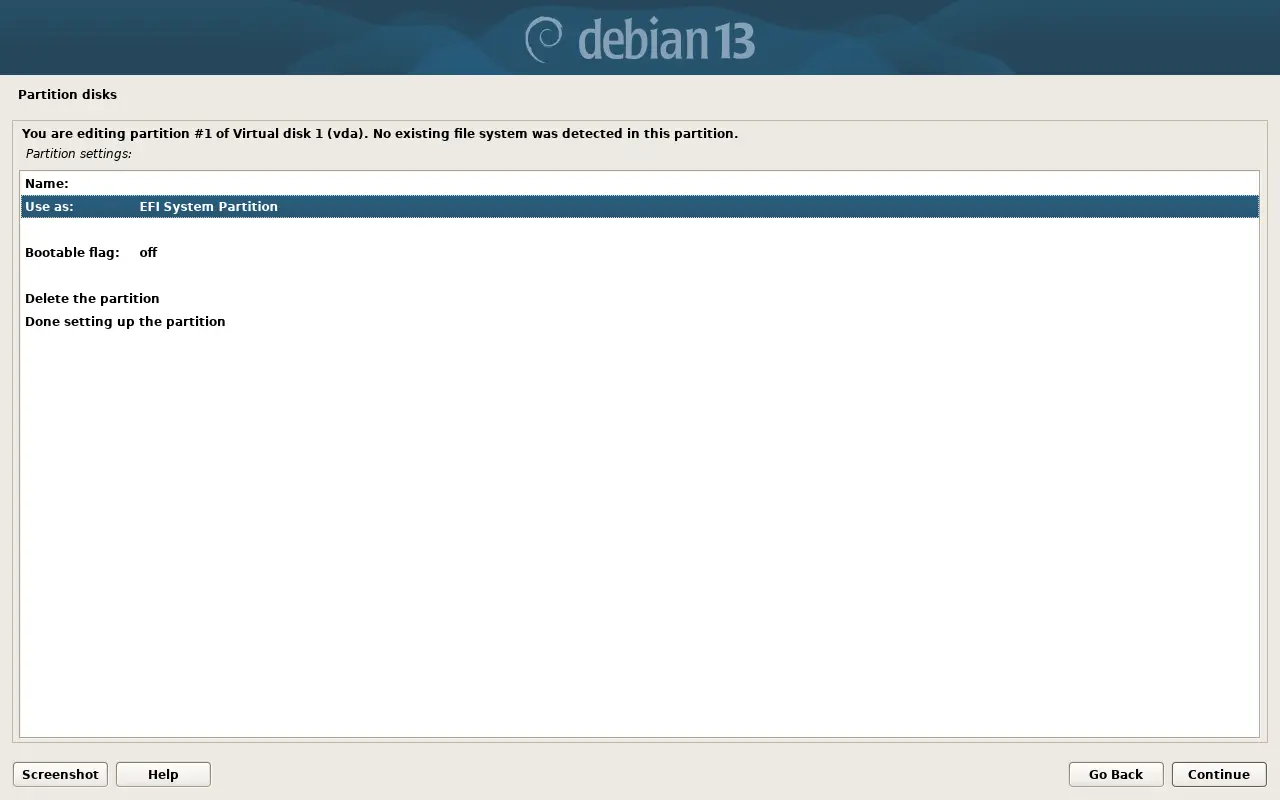
Creating the root (/) filesystem:#
Select the unallocated space on the disk again:
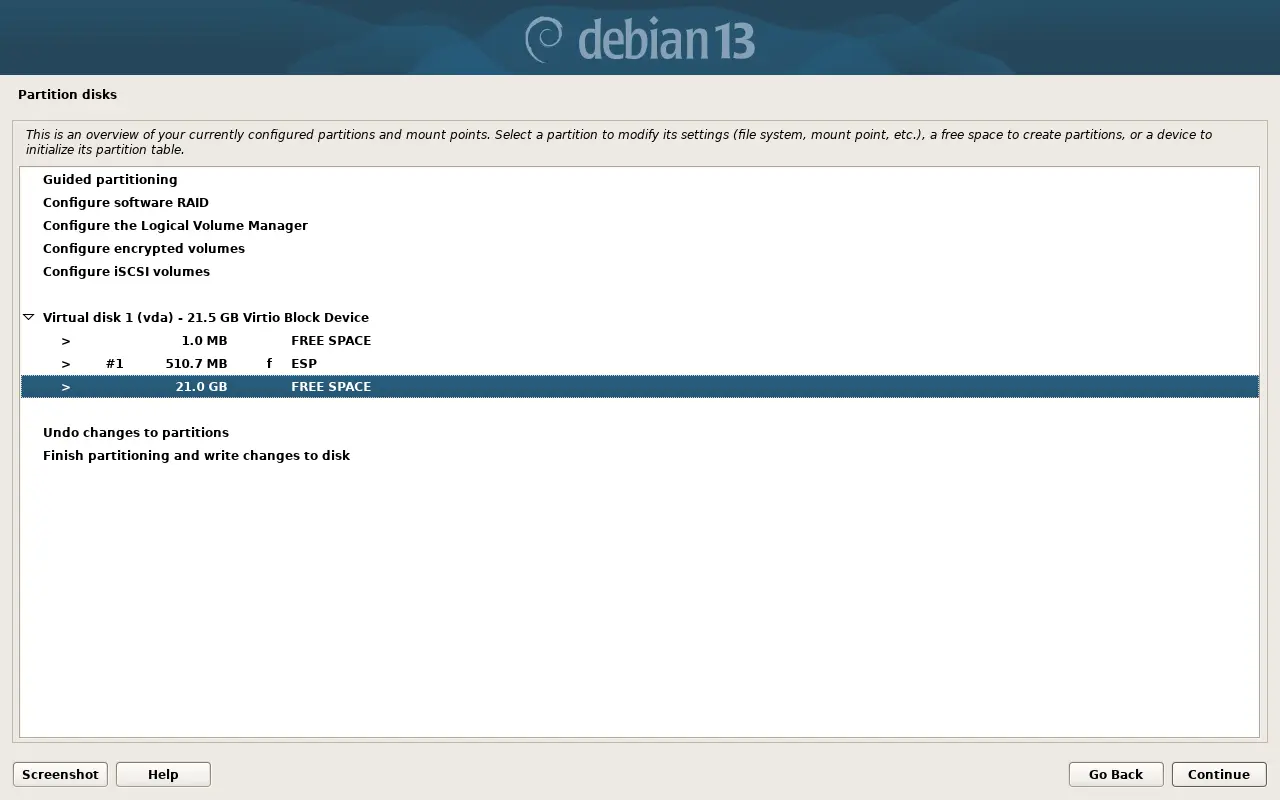
Create a volume:
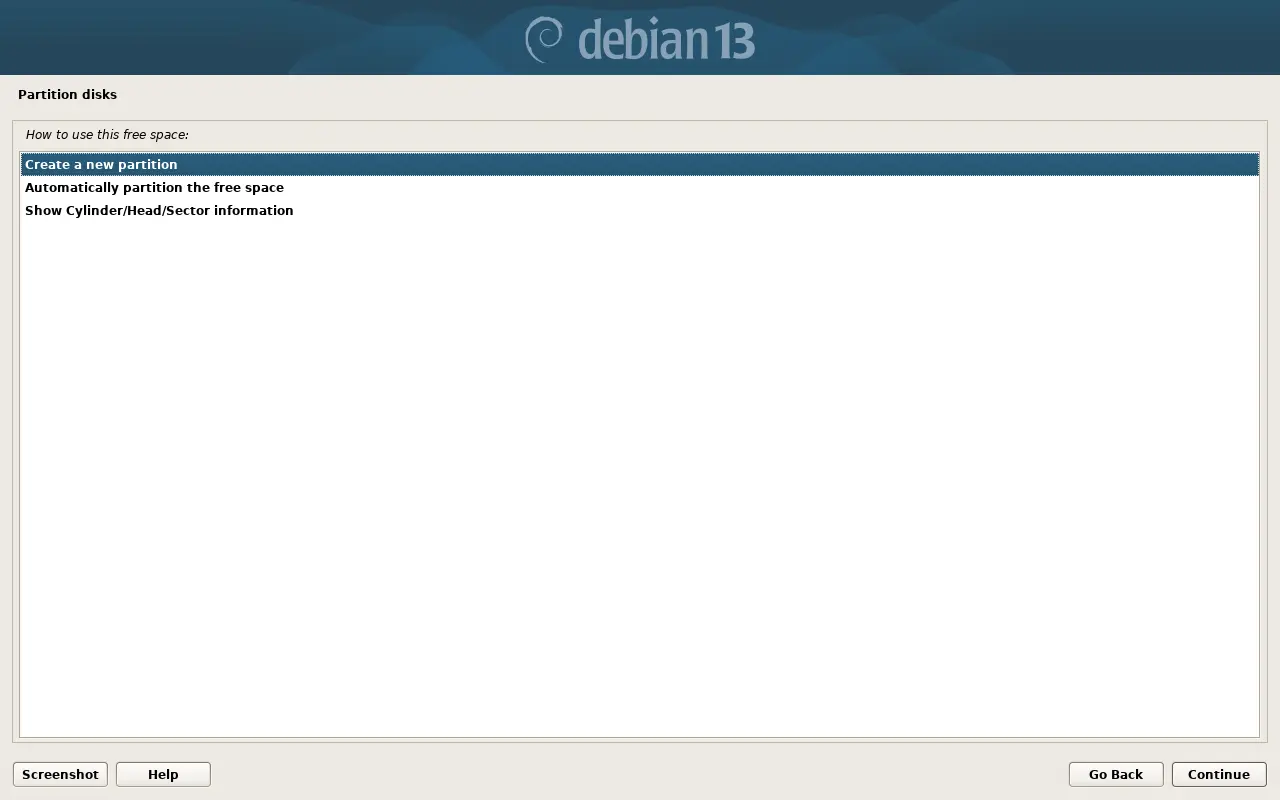
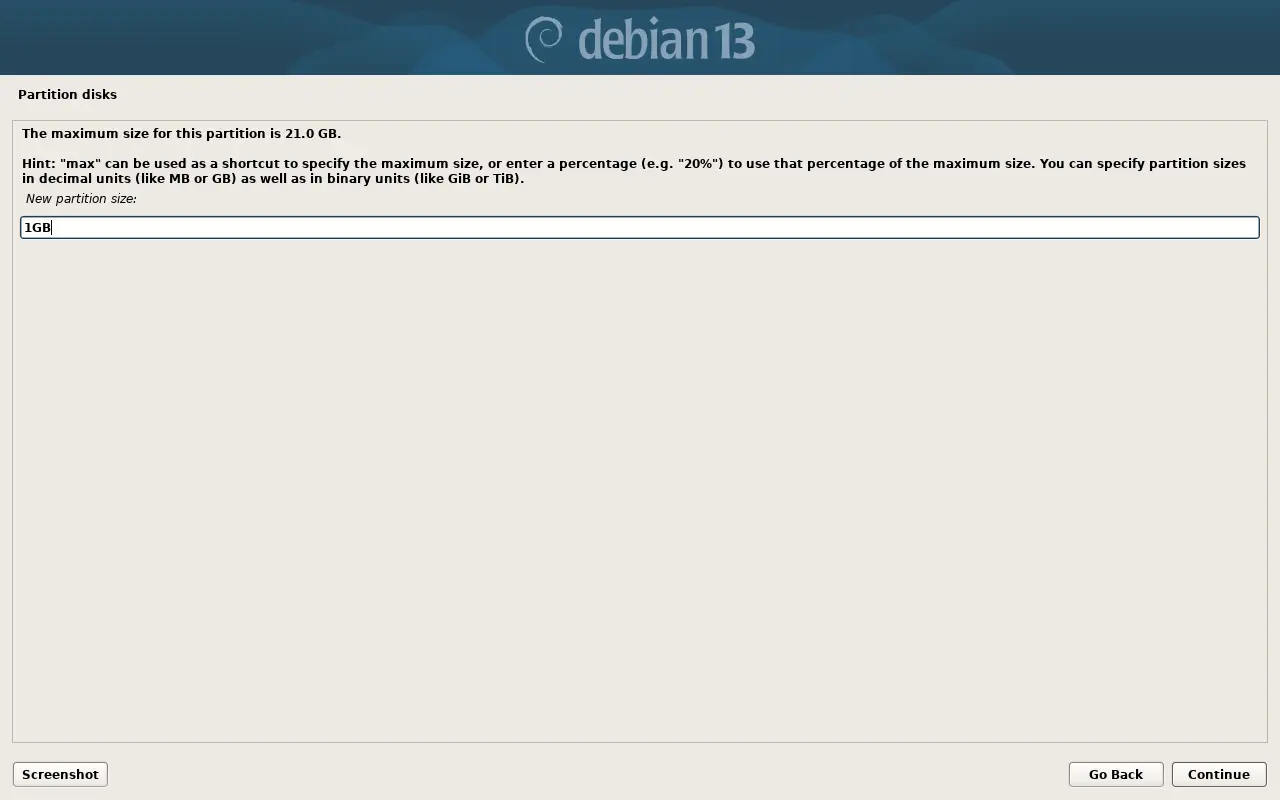
Set the size:
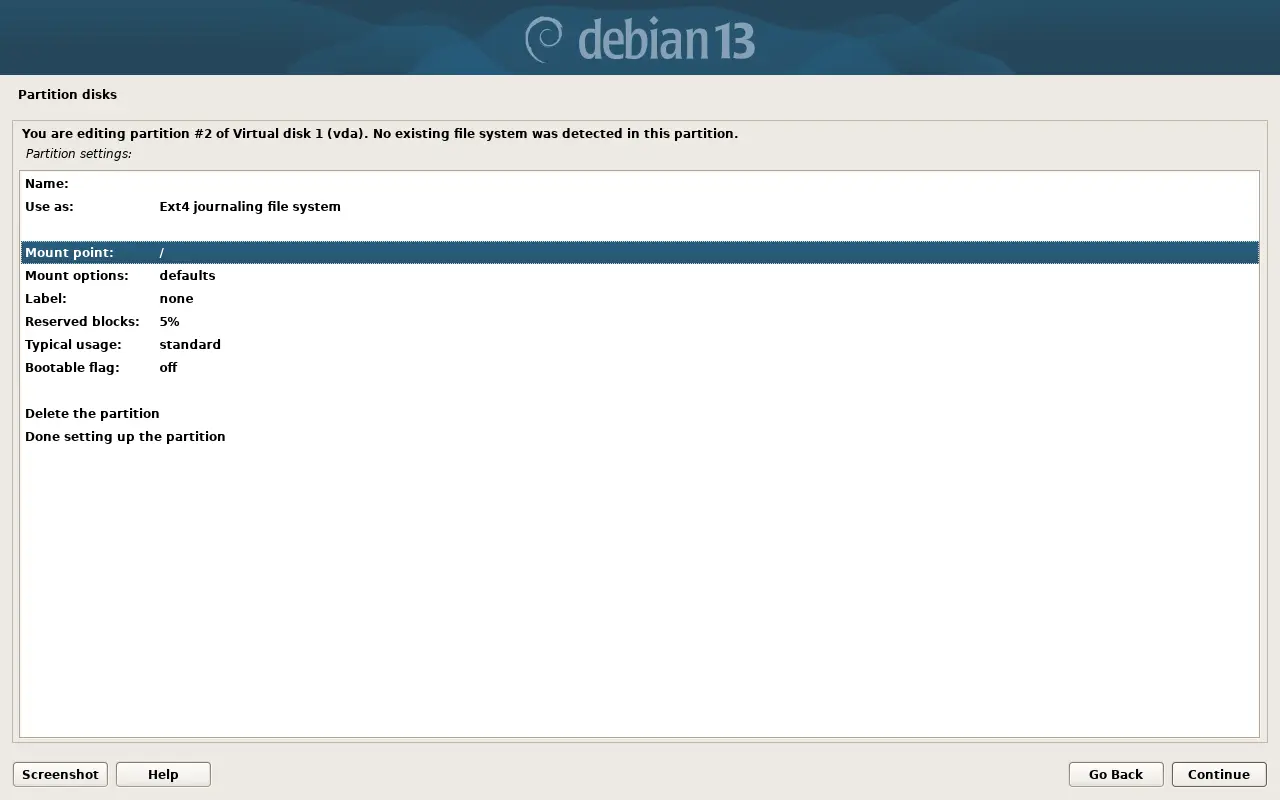
This time the system proposed exactly what is needed: the Ext4 filesystem and the / mount point.
Creating a new LVM partition:#
In the previous steps, we created two volumes: for EFI and /. These volumes must reside in regular disk partitions.
Note: The system kernel must reside on the main disk partition. That is, instead of /, you could create a separate /boot volume and place / inside LVM.
Continue and select the remaining unallocated space:
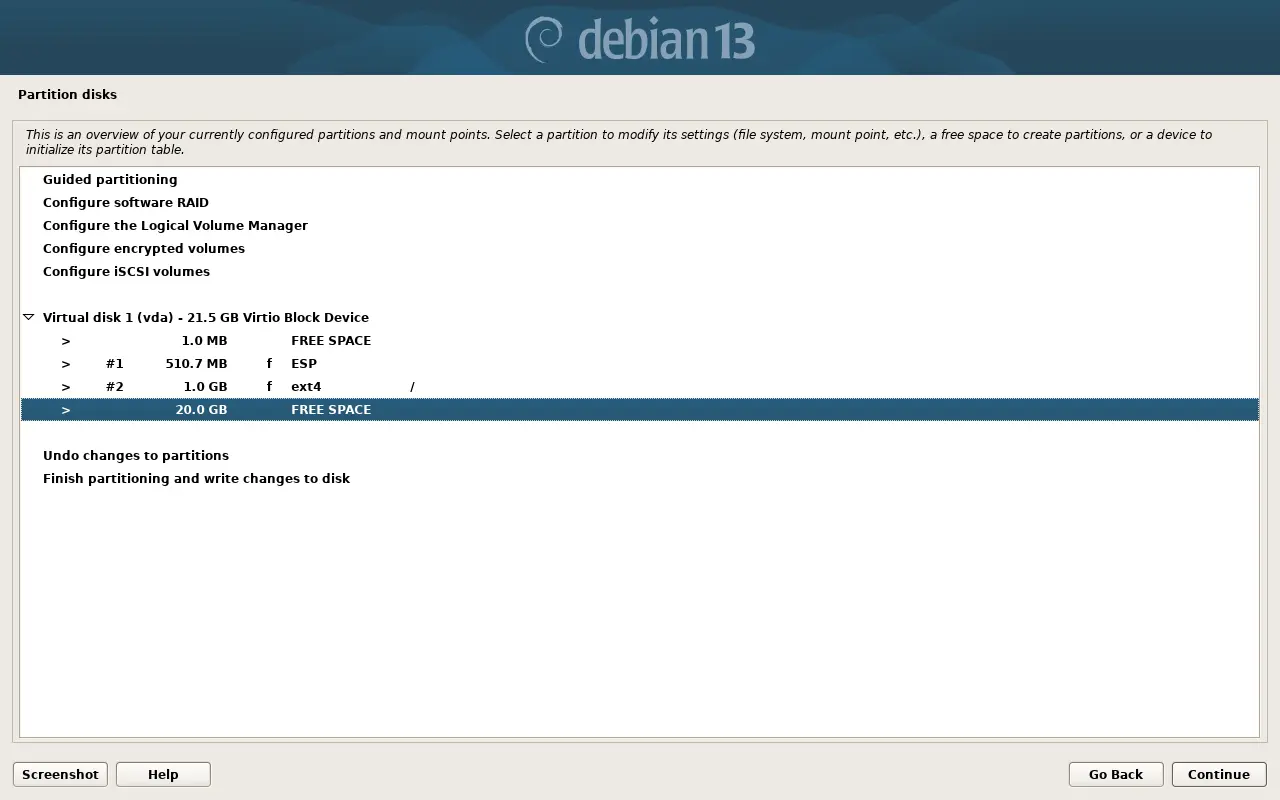
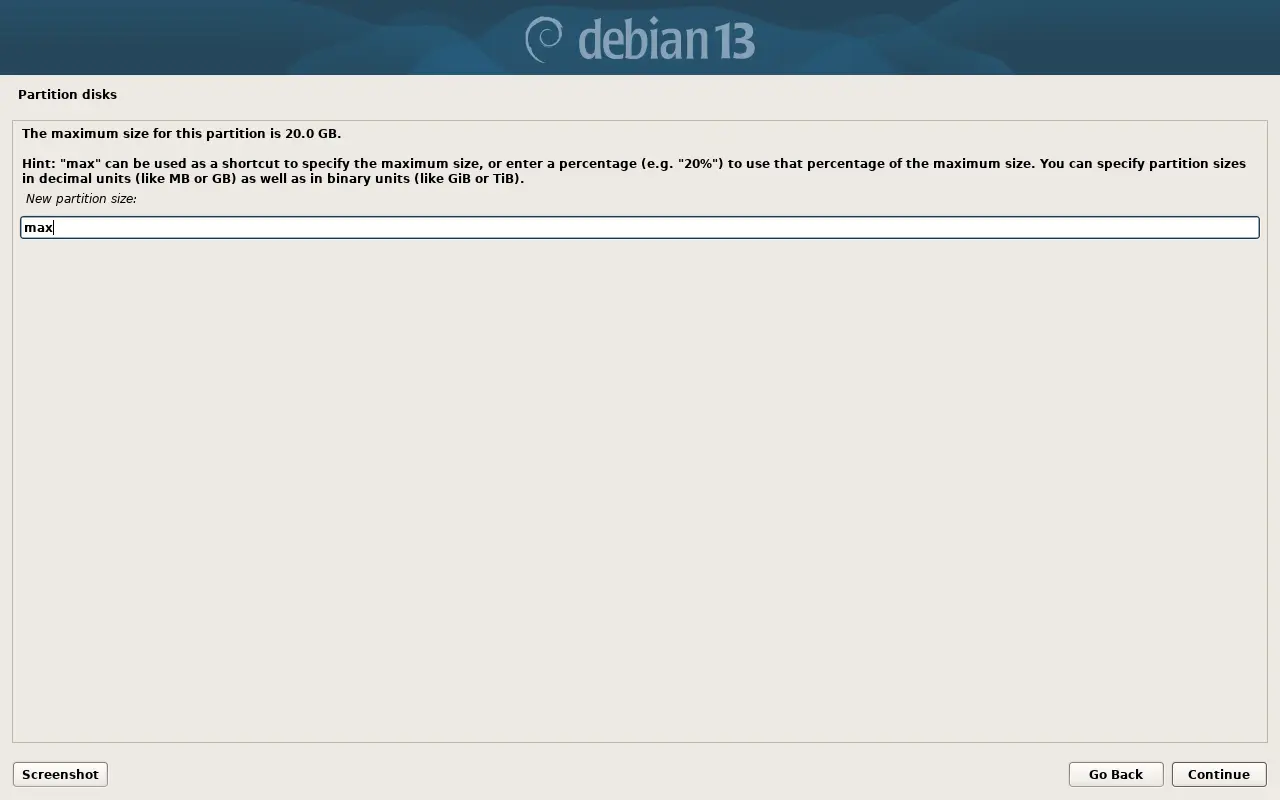
Allocate the entire remaining space for the LVM physical volume by specifying max:
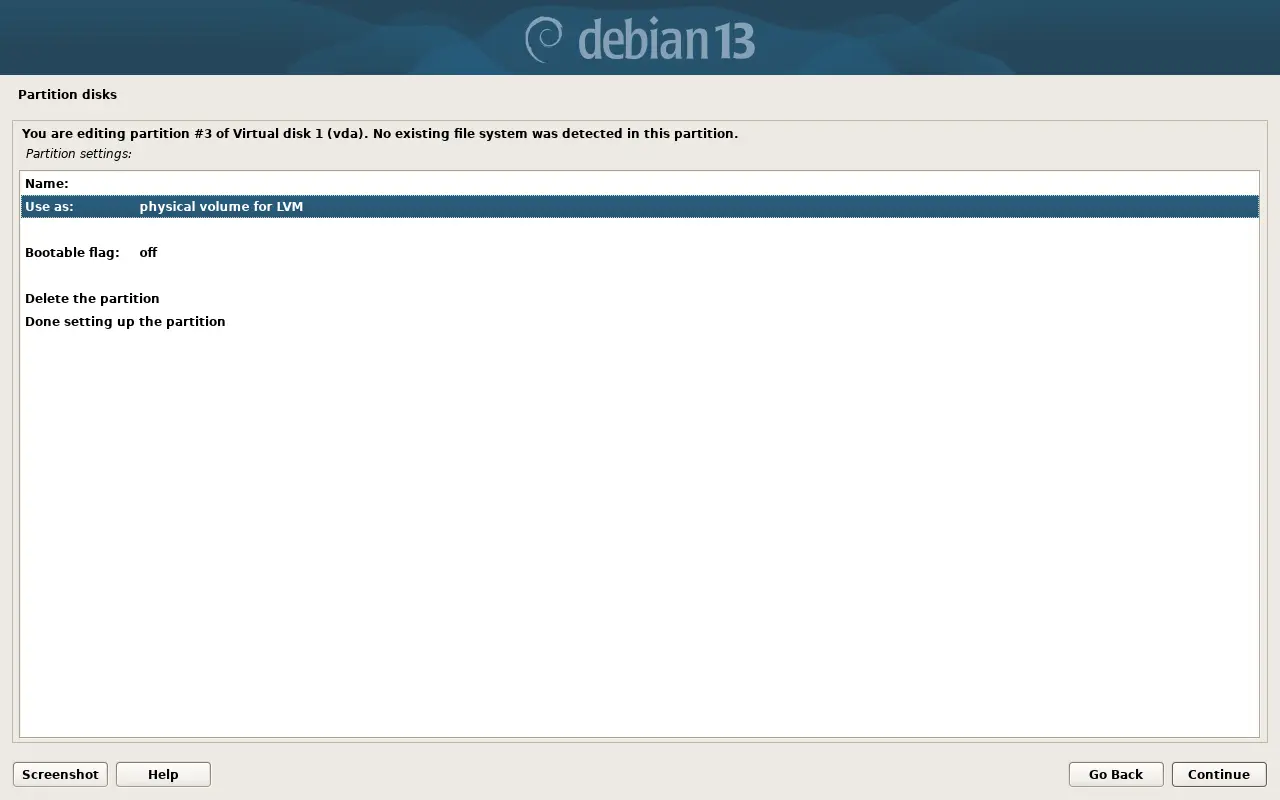
Choose the use as physical volume for LVM, save, and continue:
Configuring the LVM Volume Group:#
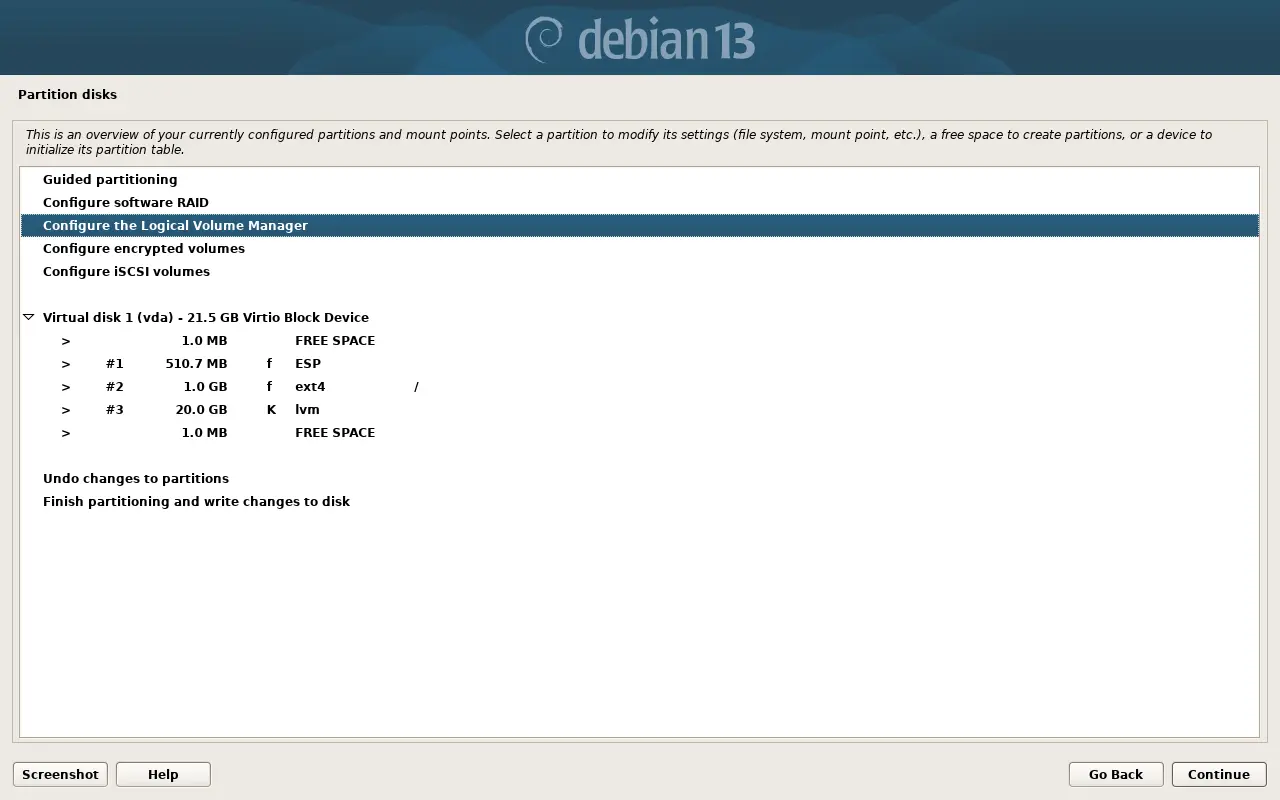
Select Configure the Logical Volume Manager:
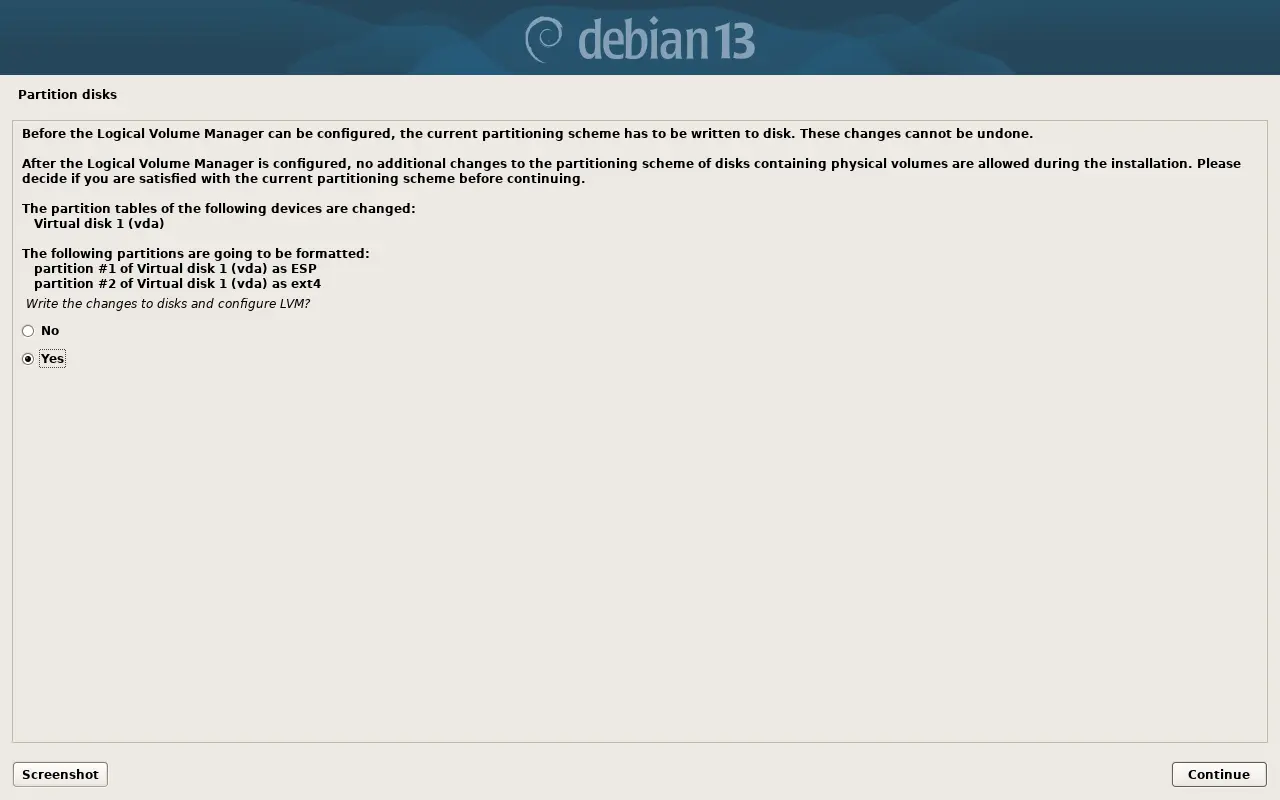
The system will prompt you to write current changes to disk. Confirm: Yes -> Continue.
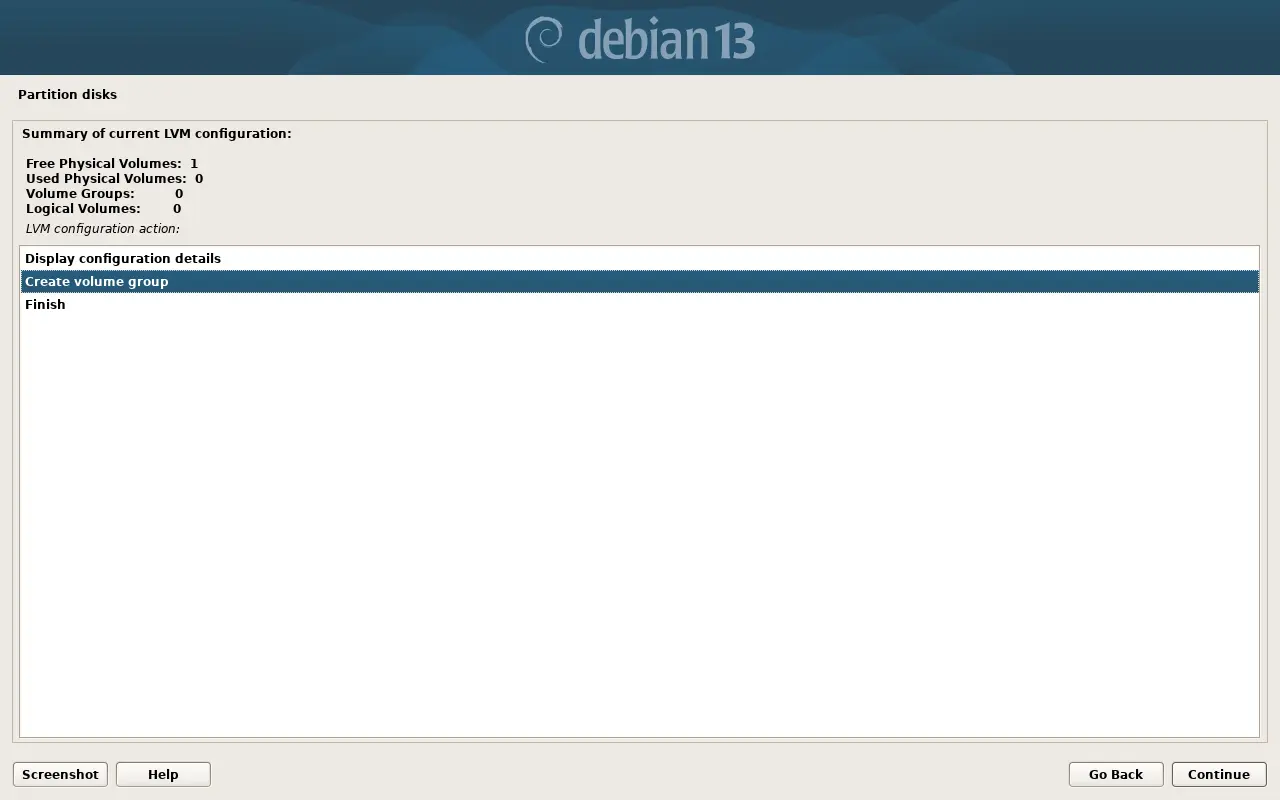
Create a volume group (volume group):
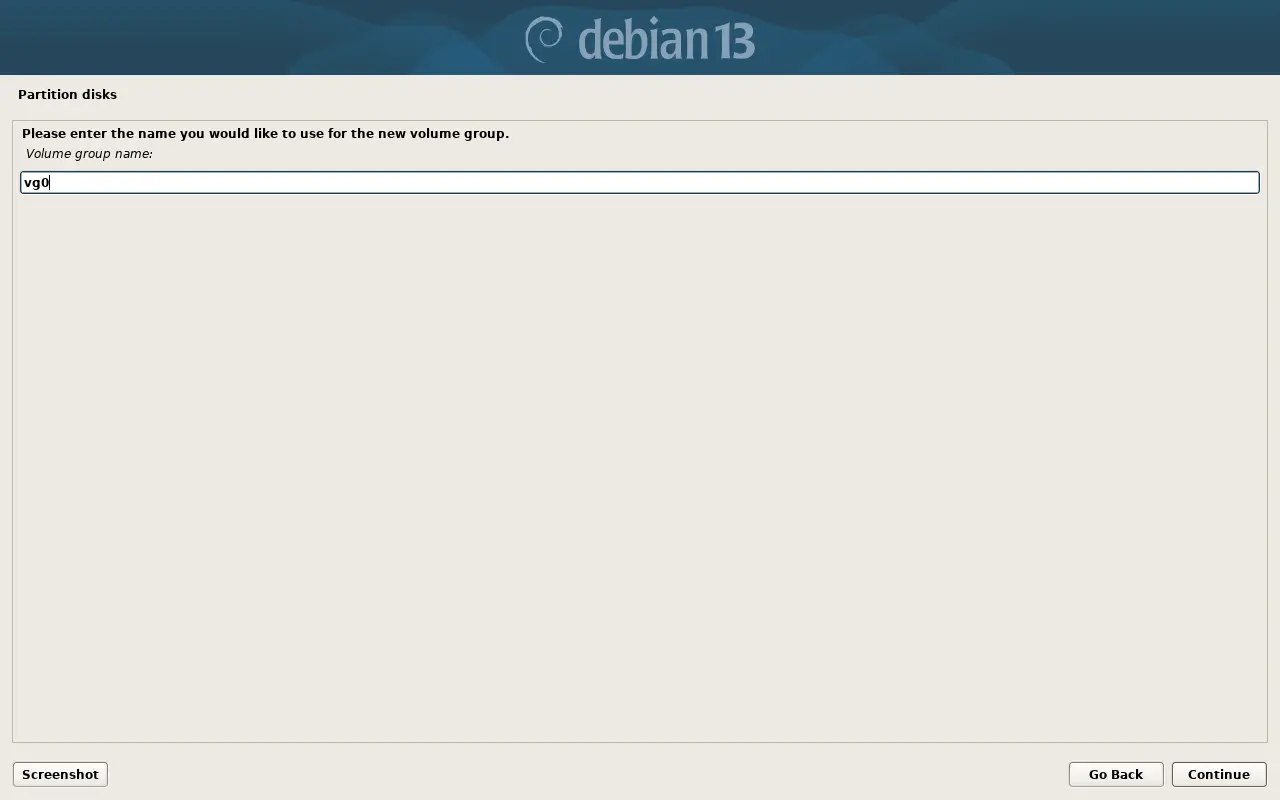
Specify a name for the group. The name should be short and descriptive:
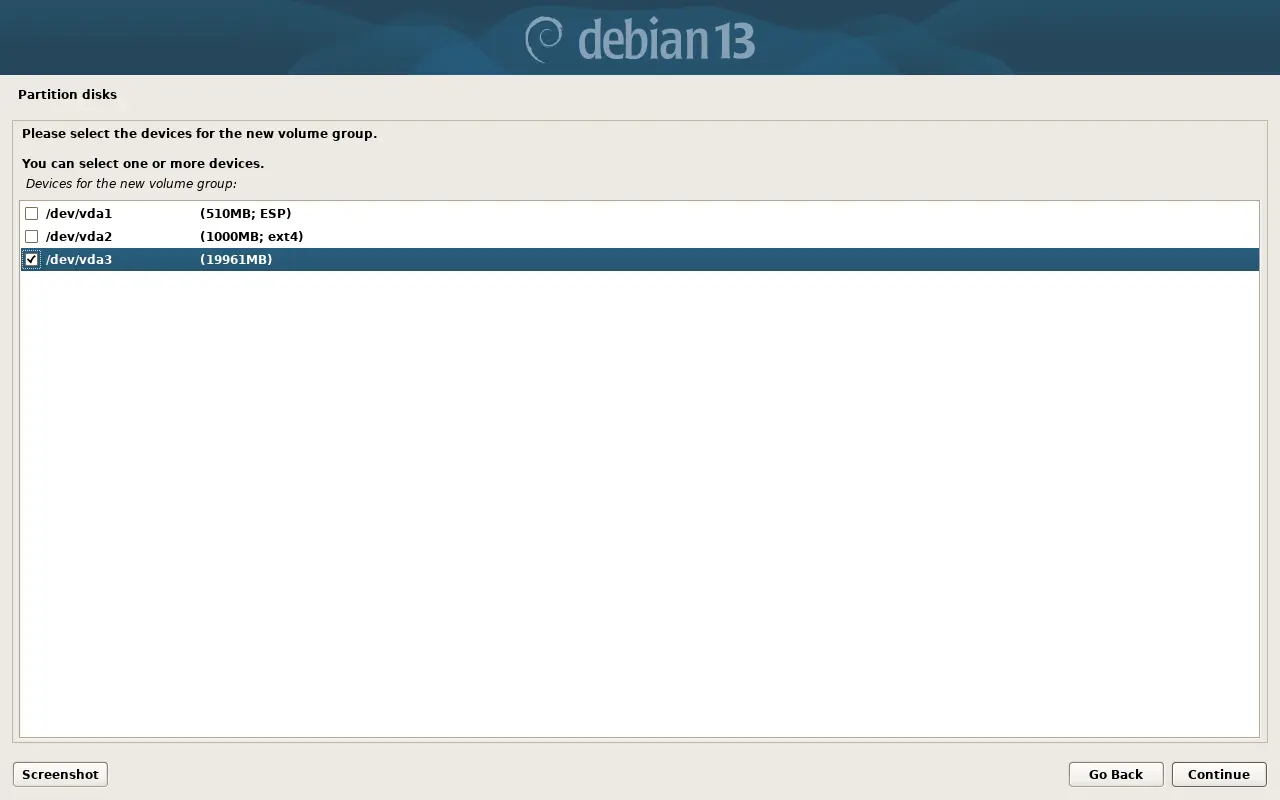
Select the physical partition (PV: physical volume) created in the previous step:
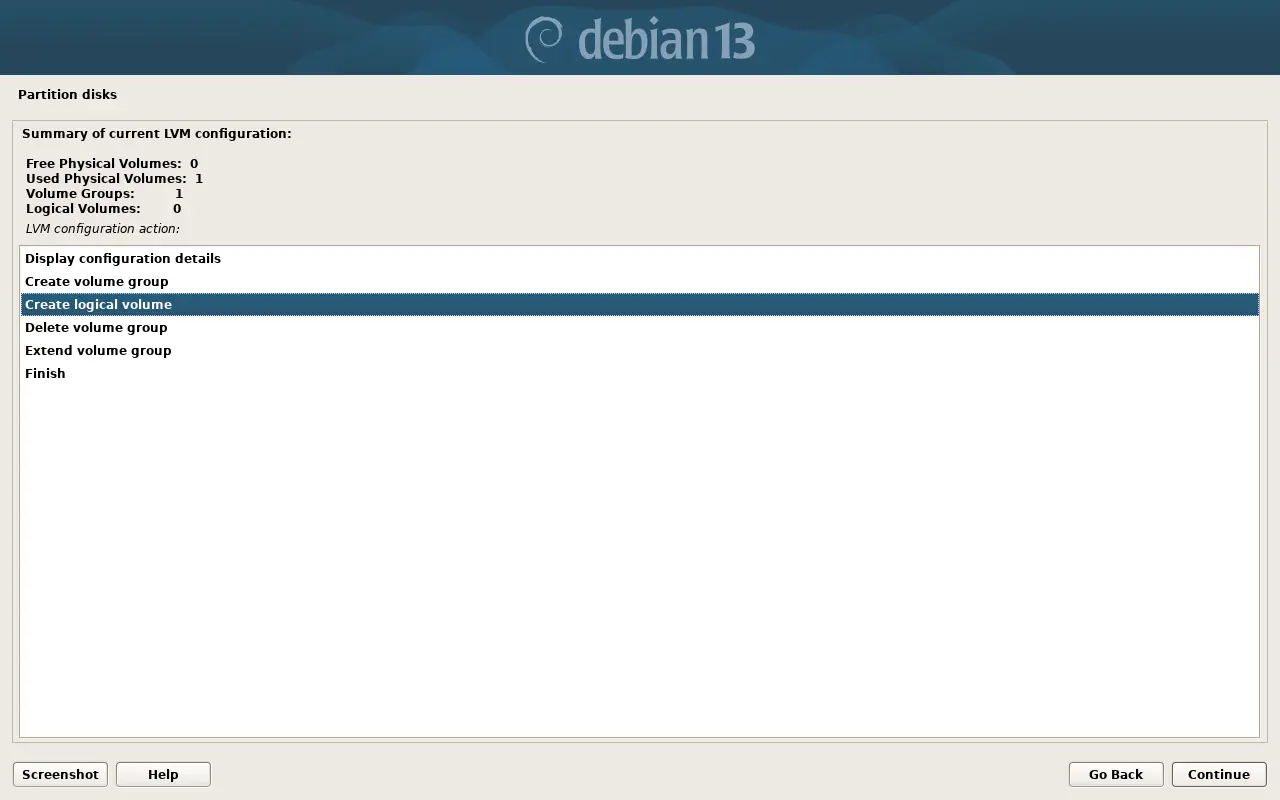
Creating Logical Volumes within the Volume Group#
Create a logical volume (logical volume) for swap:
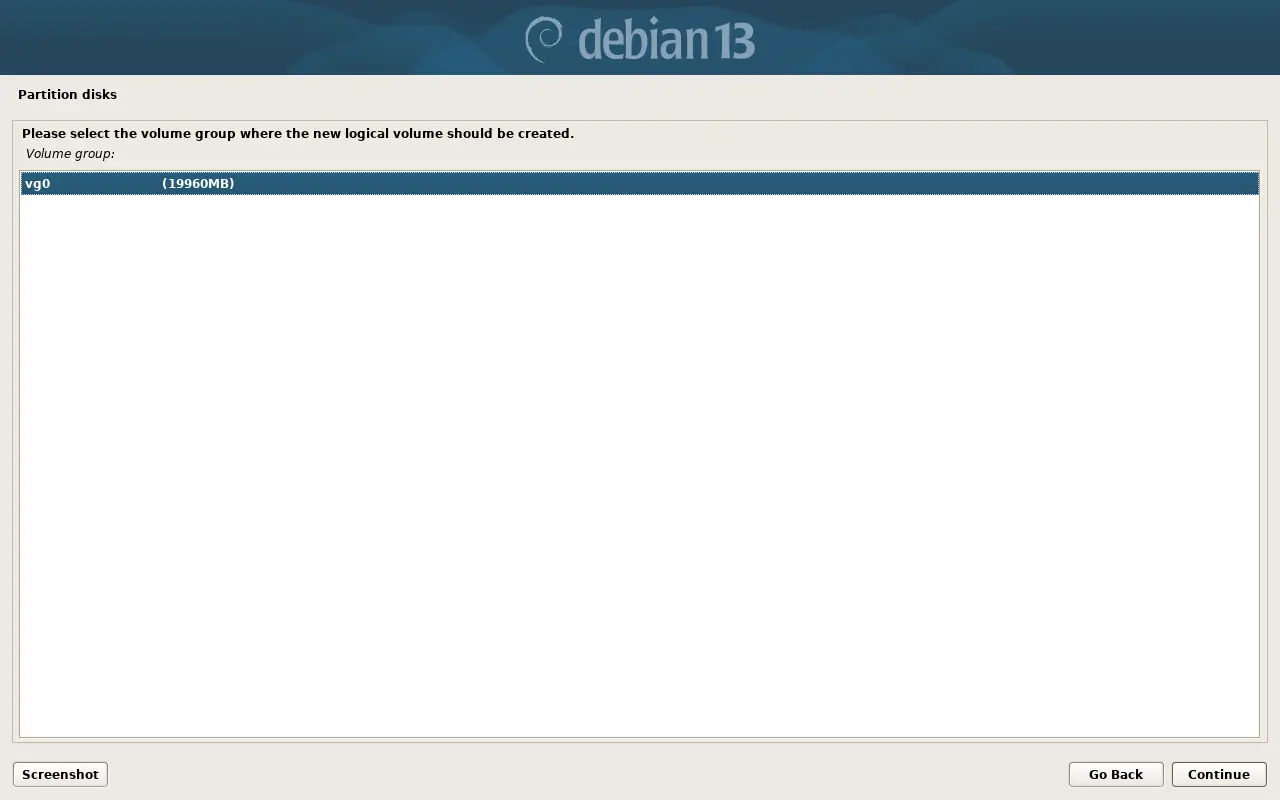
Select the newly created volume group:
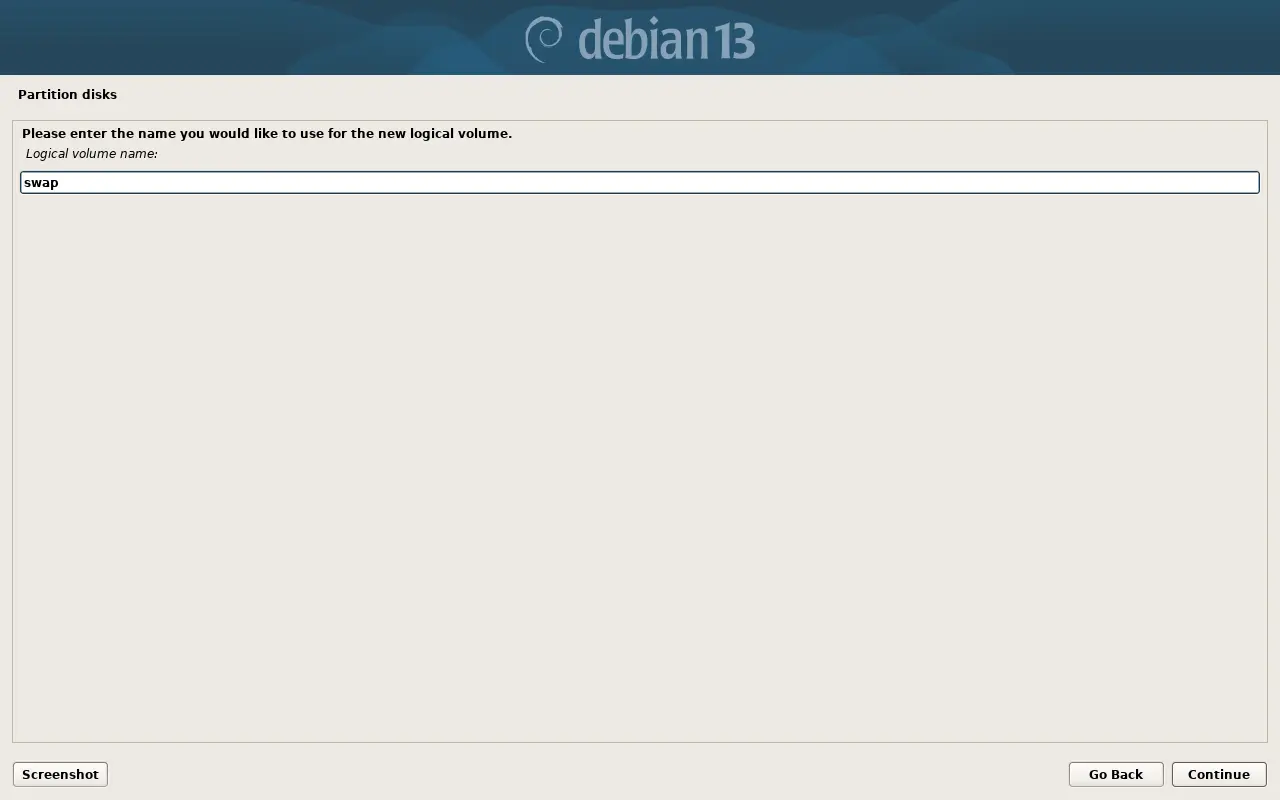
Set the volume name:
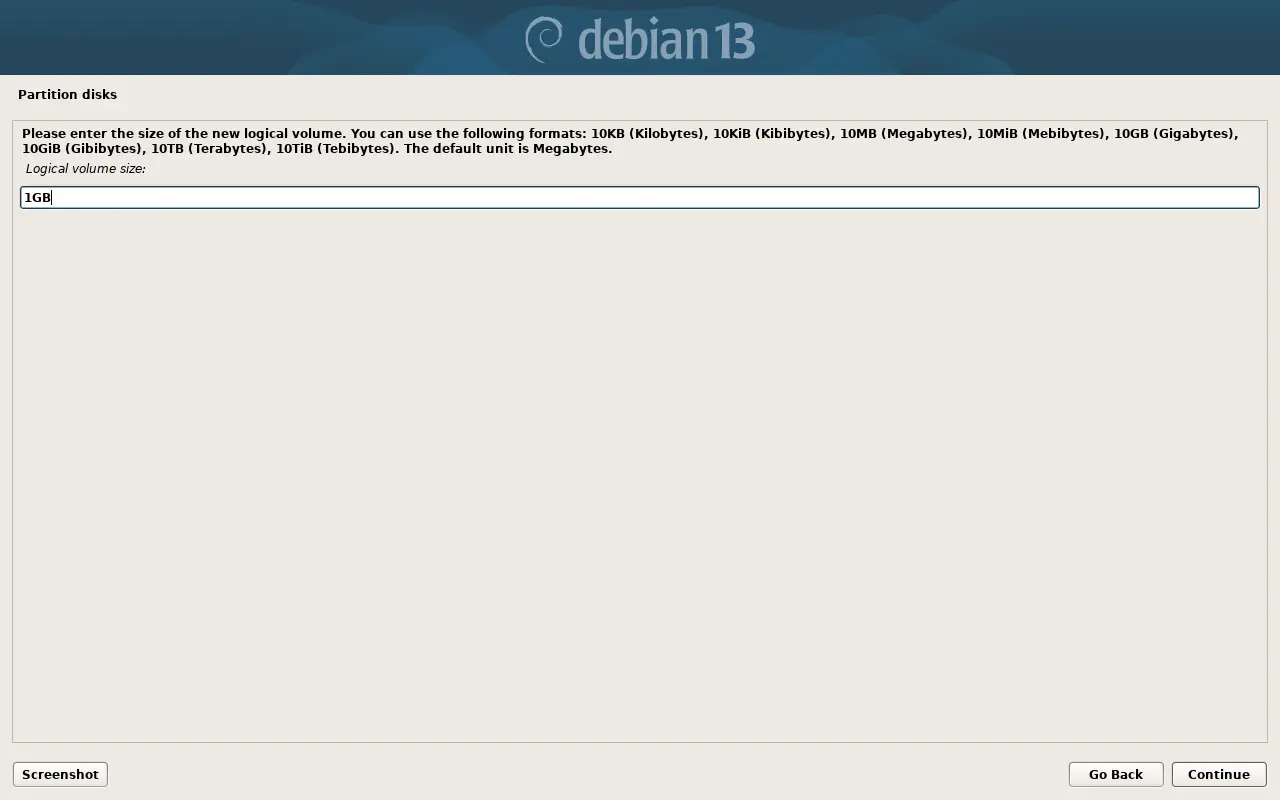
Set the volume size:
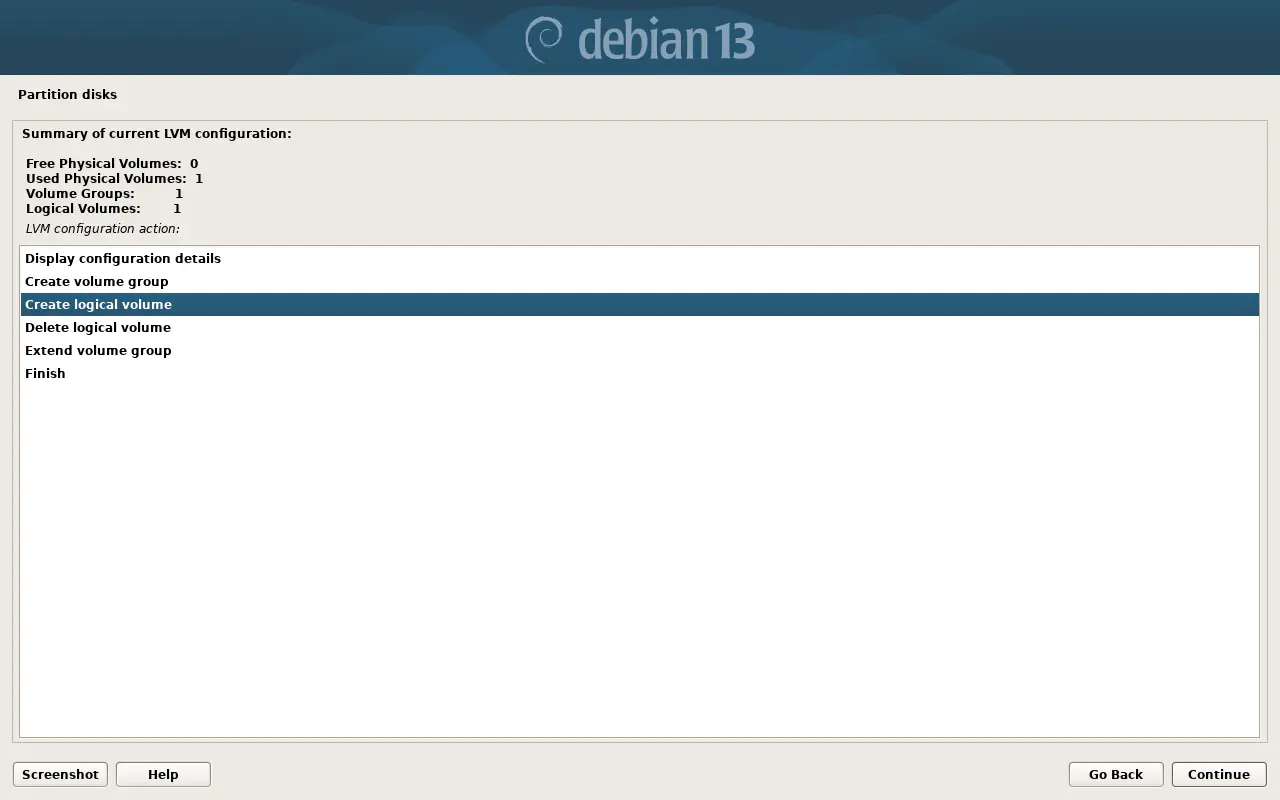
Create a logical volume for /usr:
Specify the name:
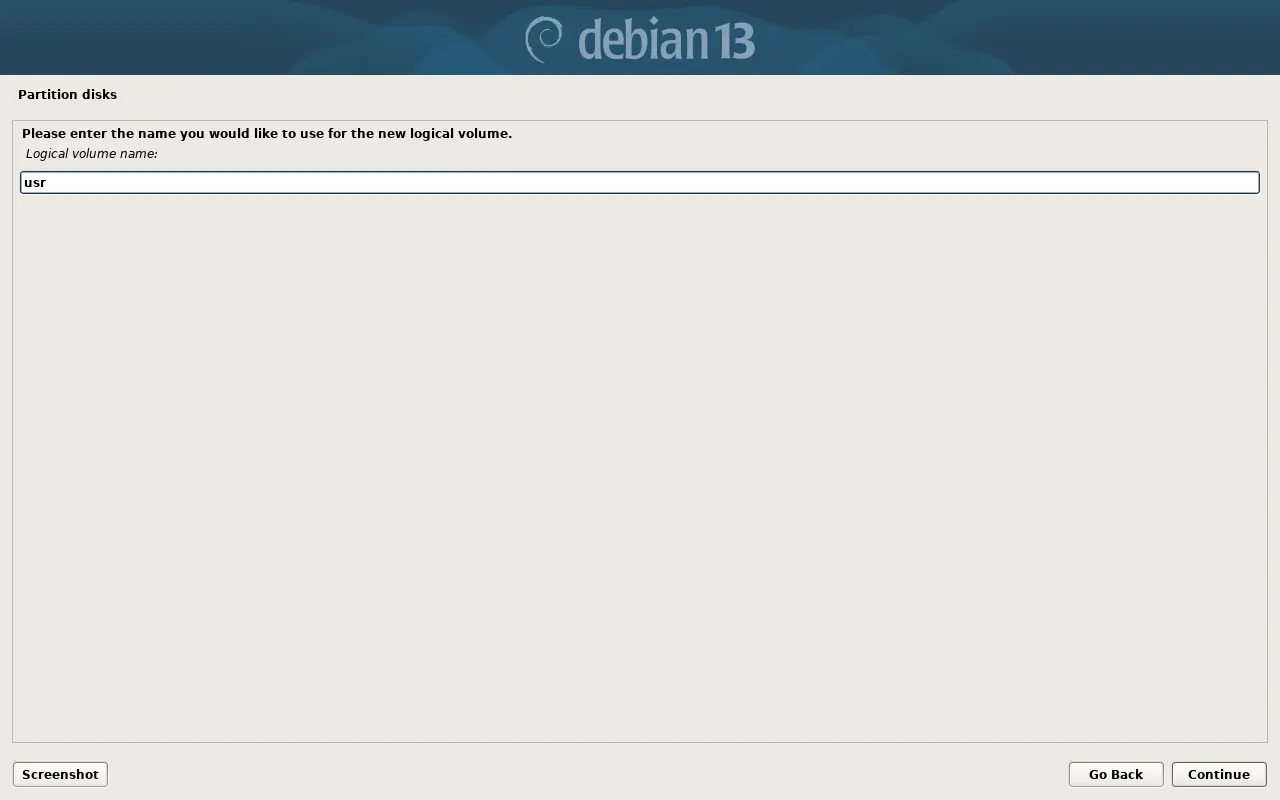
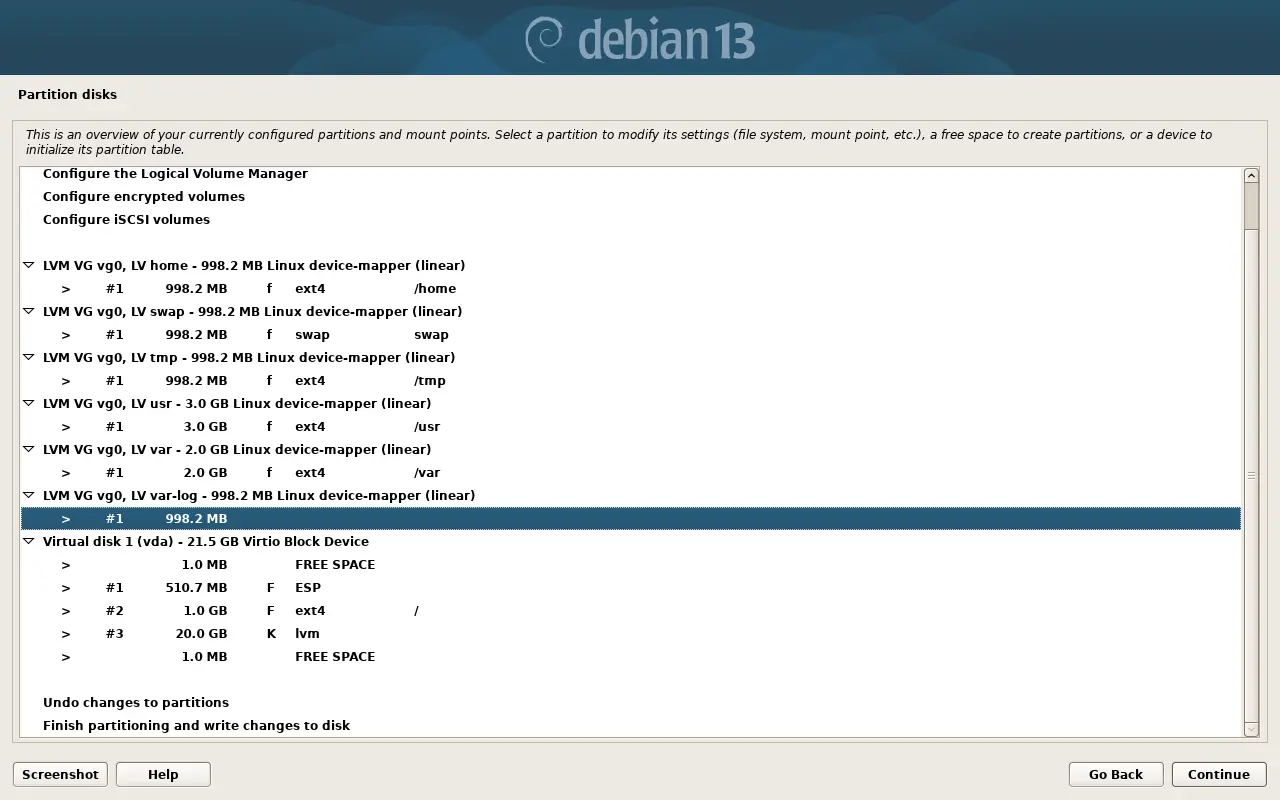
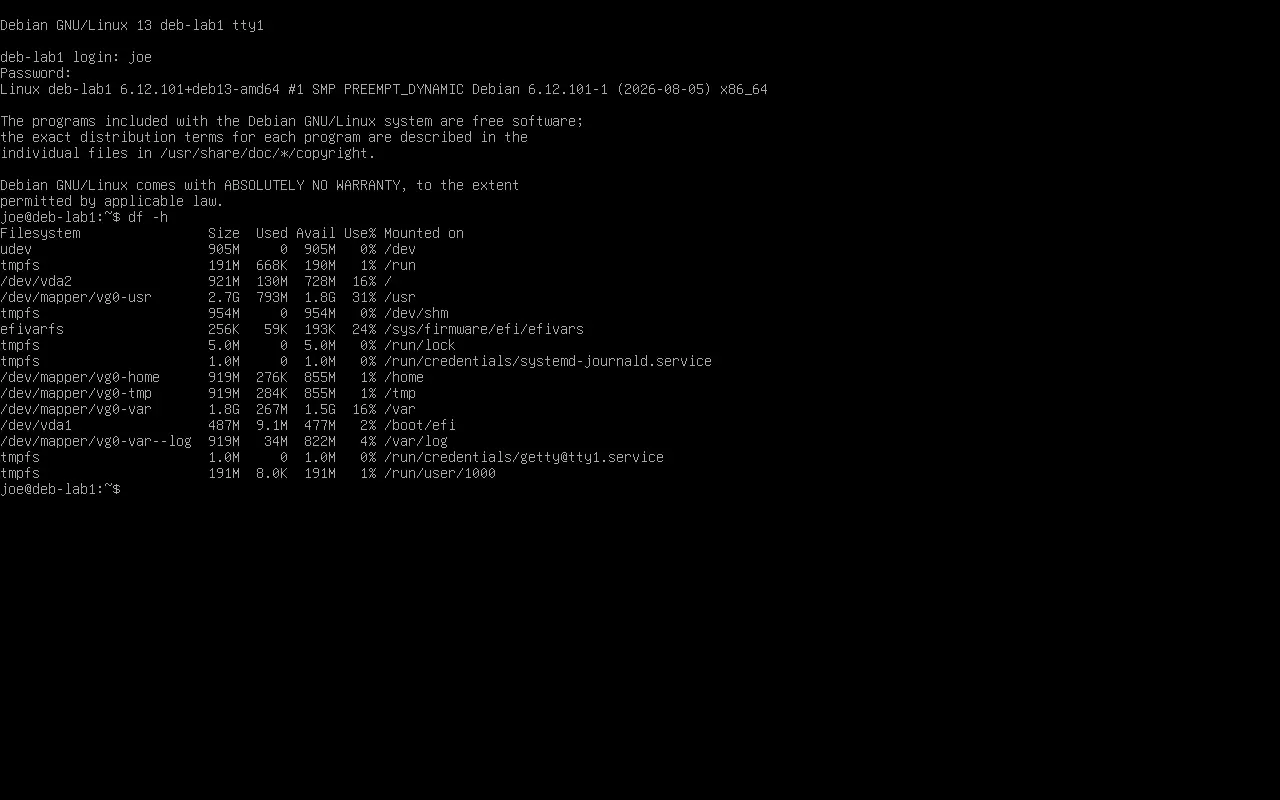
Creating other volumes follows a similar pattern. Volumes for /home (“home”, 1GB), /tmp (“tmp”, 1GB), /var (“var”, 2GB), and /var/log (“var-log”, 1GB) are provisioned using this same scheme.
Configuring the filesystem and mount point for /home#
Select the space on the logical volume named home:
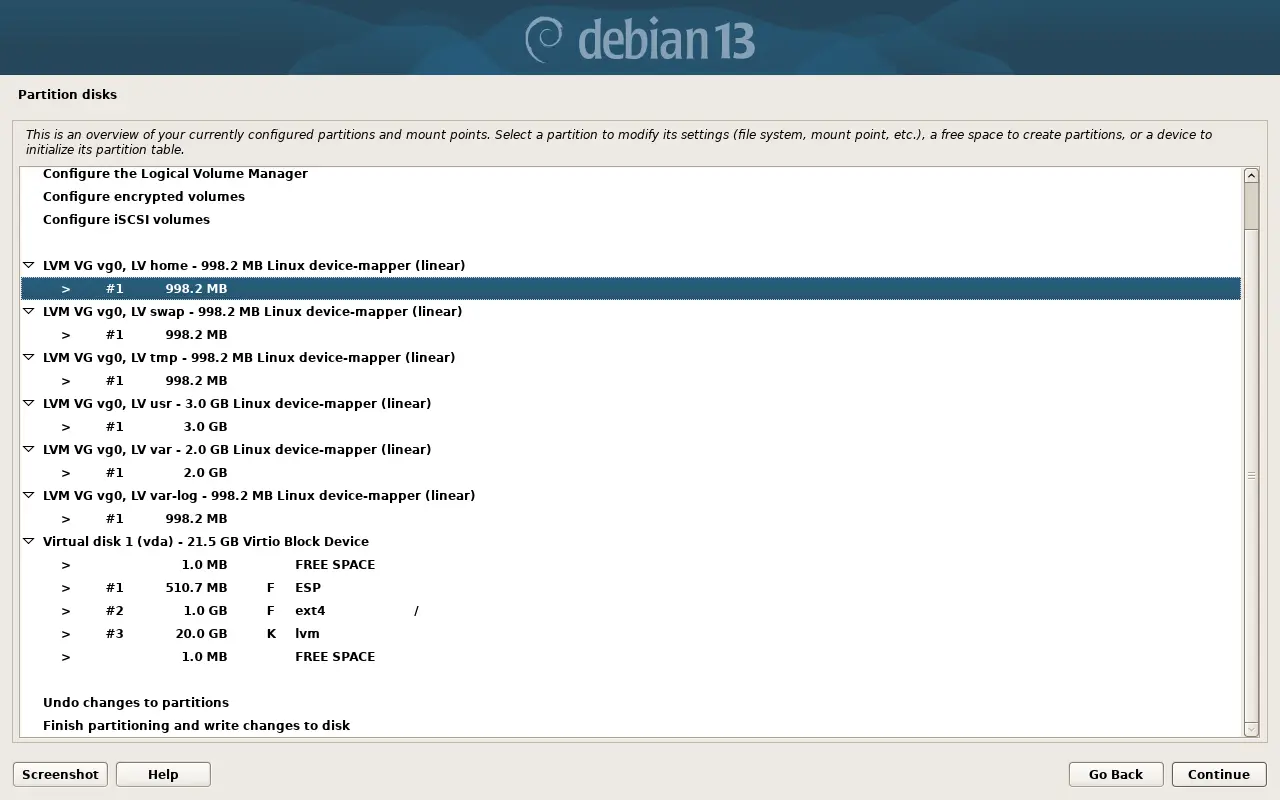
Specify the filesystem type and mount point:
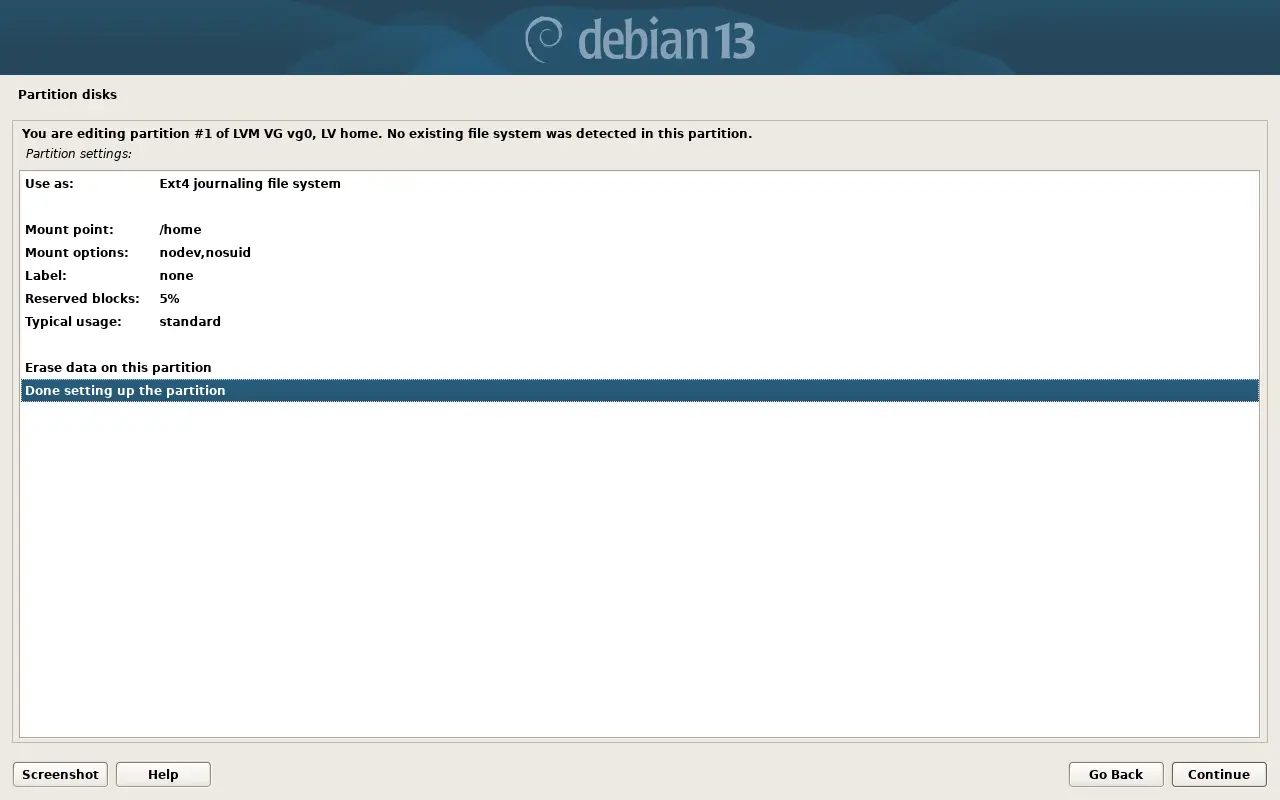
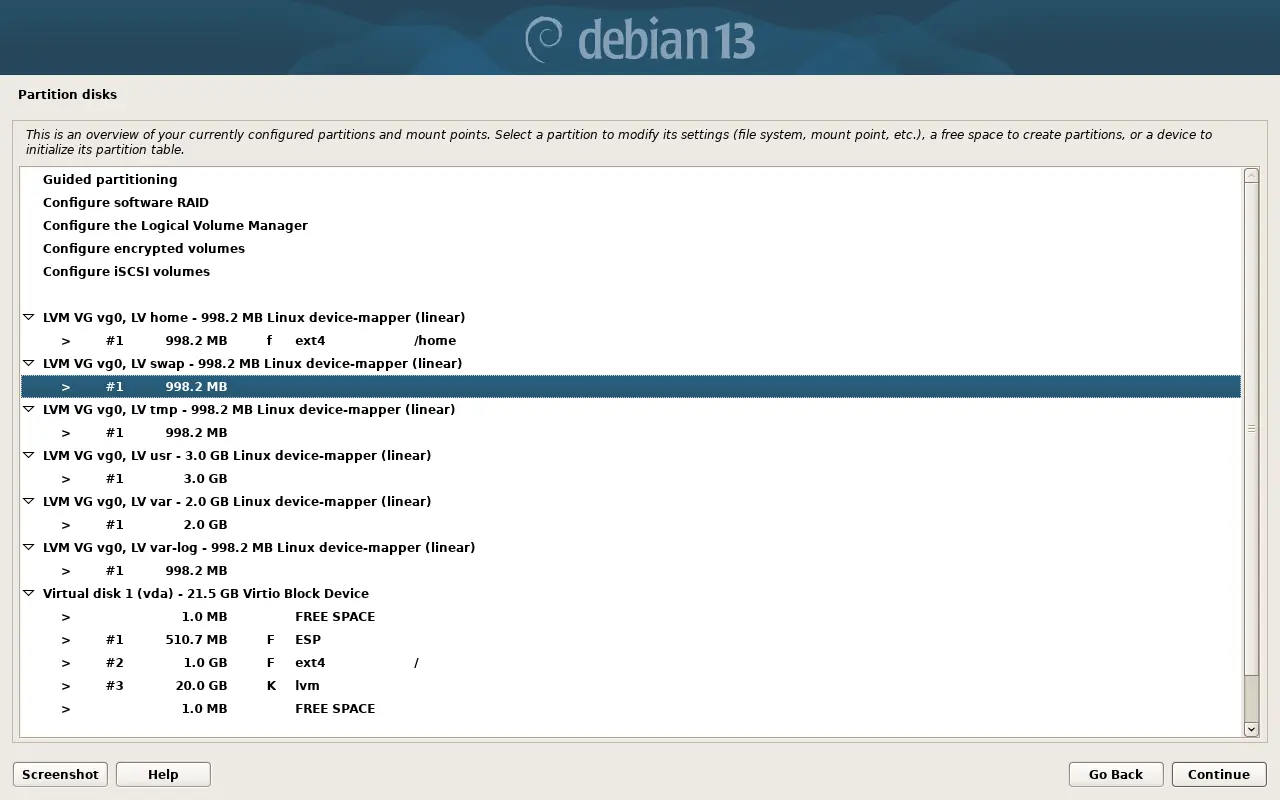
Configuring the volume for swap#
Select the corresponding space:
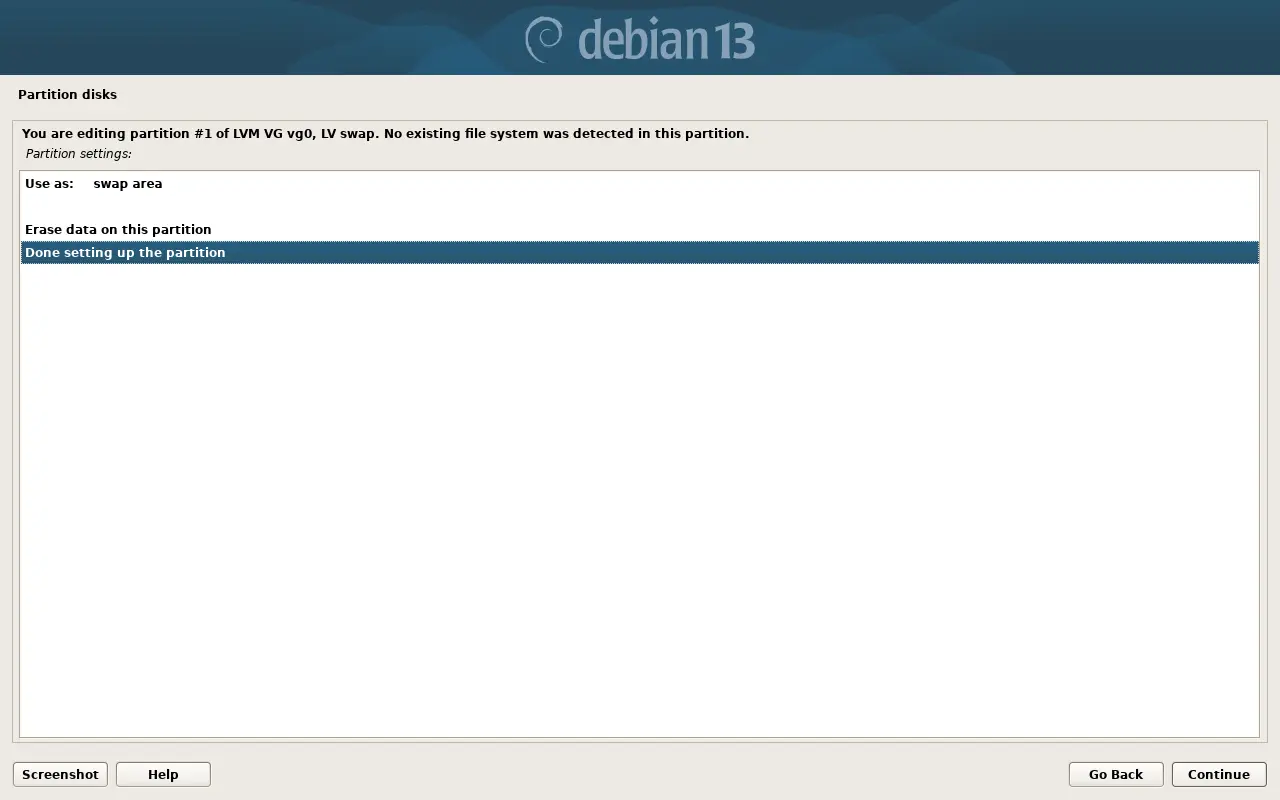
Select Use as: swap area:
Configuring the filesystem and mount point for /tmp#
Select the space:
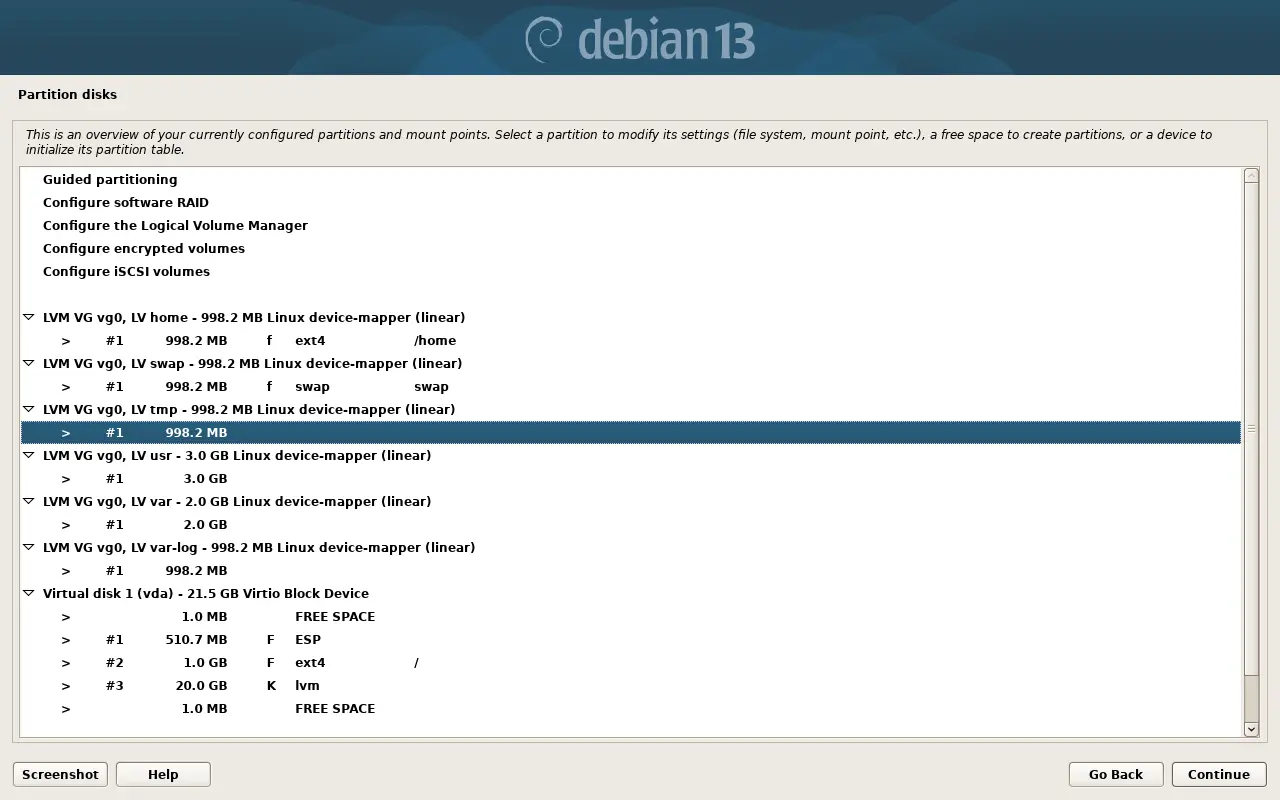
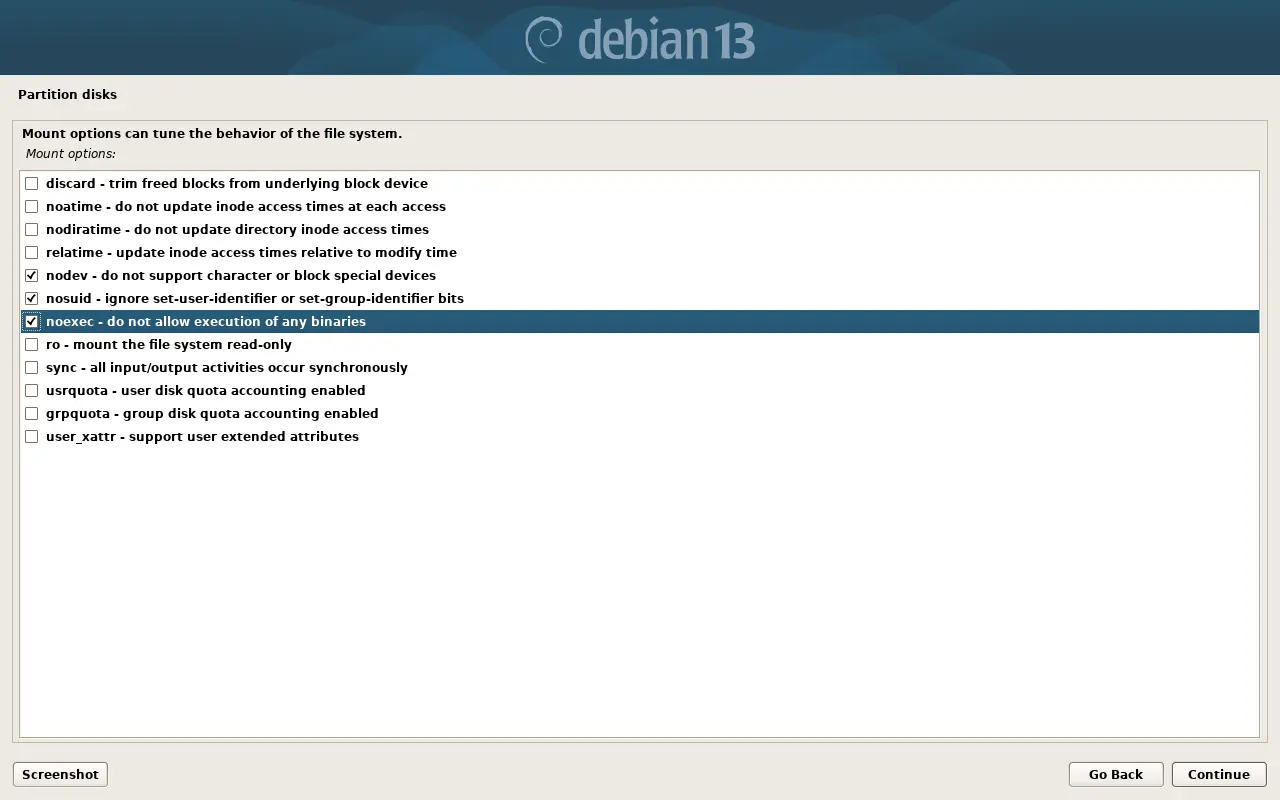
Select secure mount options:
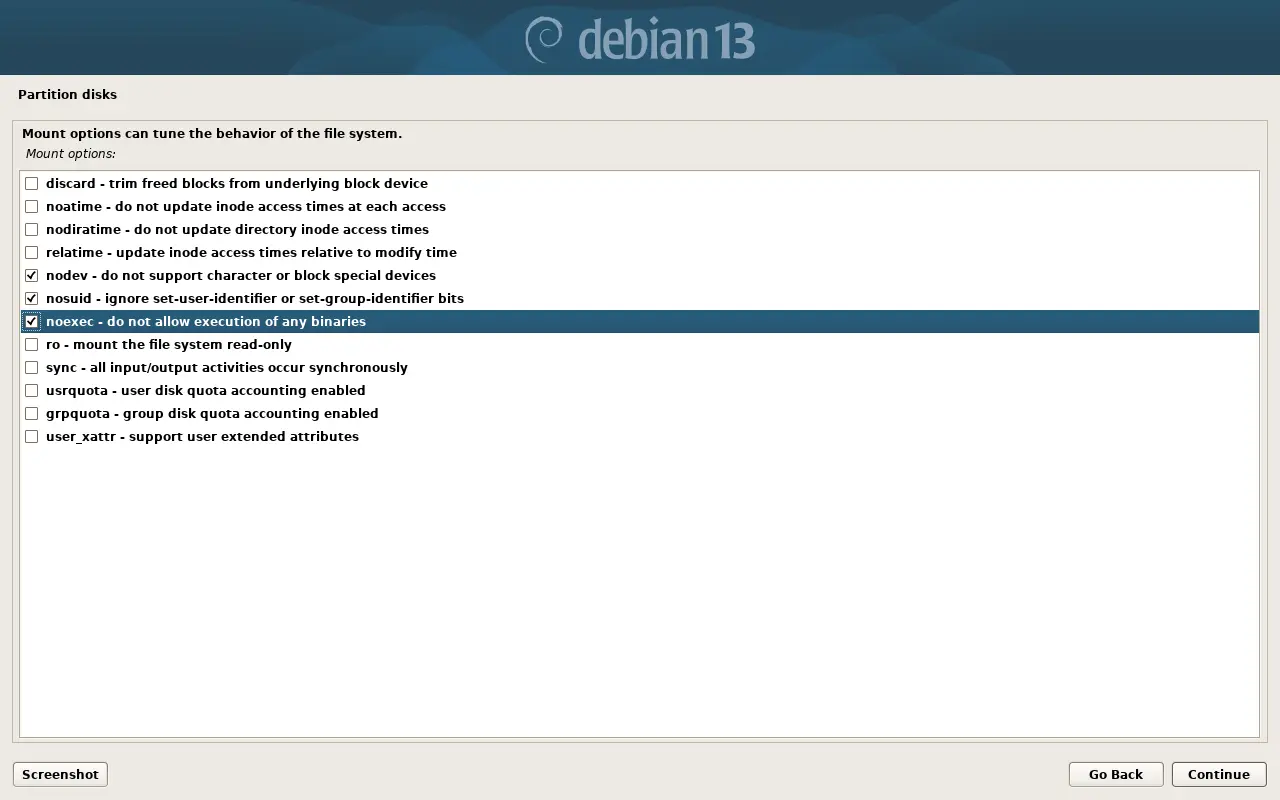
Save the settings:
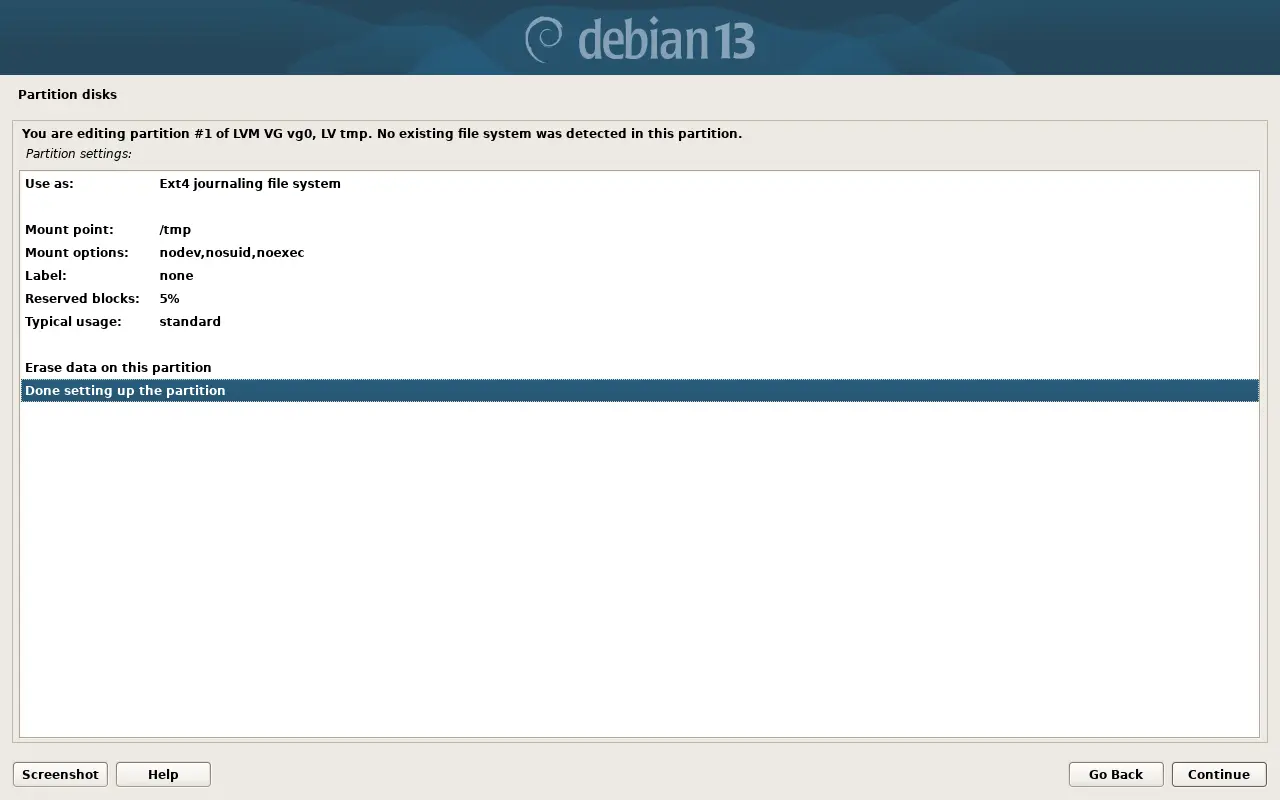
Configuring the filesystem and mount point for /usr#
Select the space:
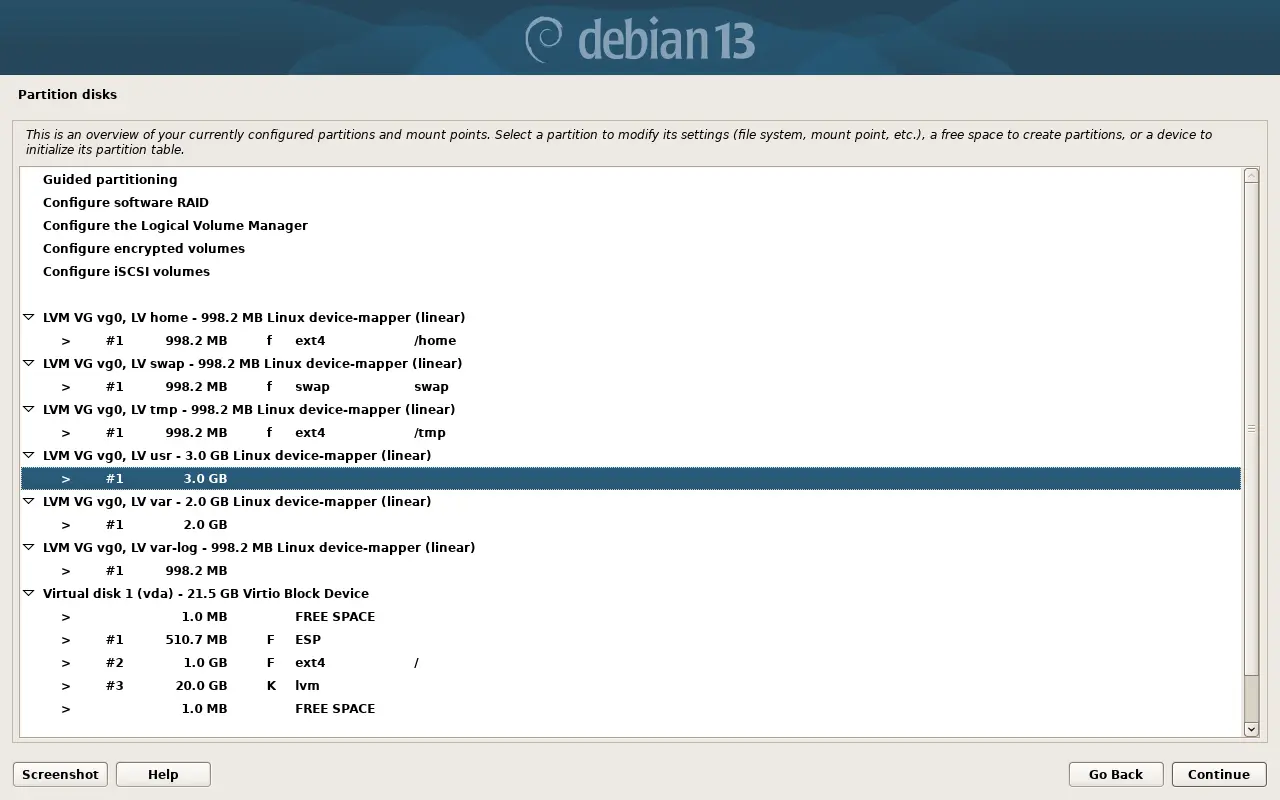
Save:
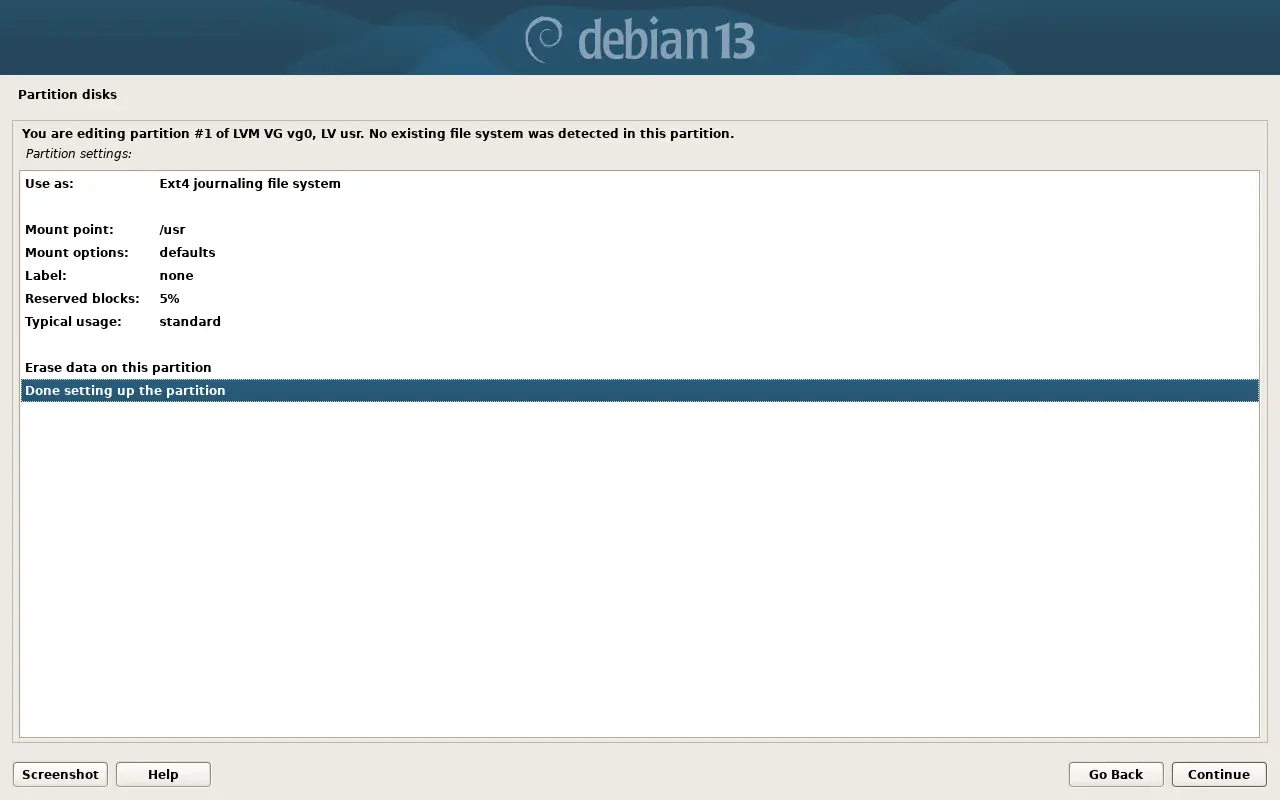
Configuring the filesystem and mount point for /var#
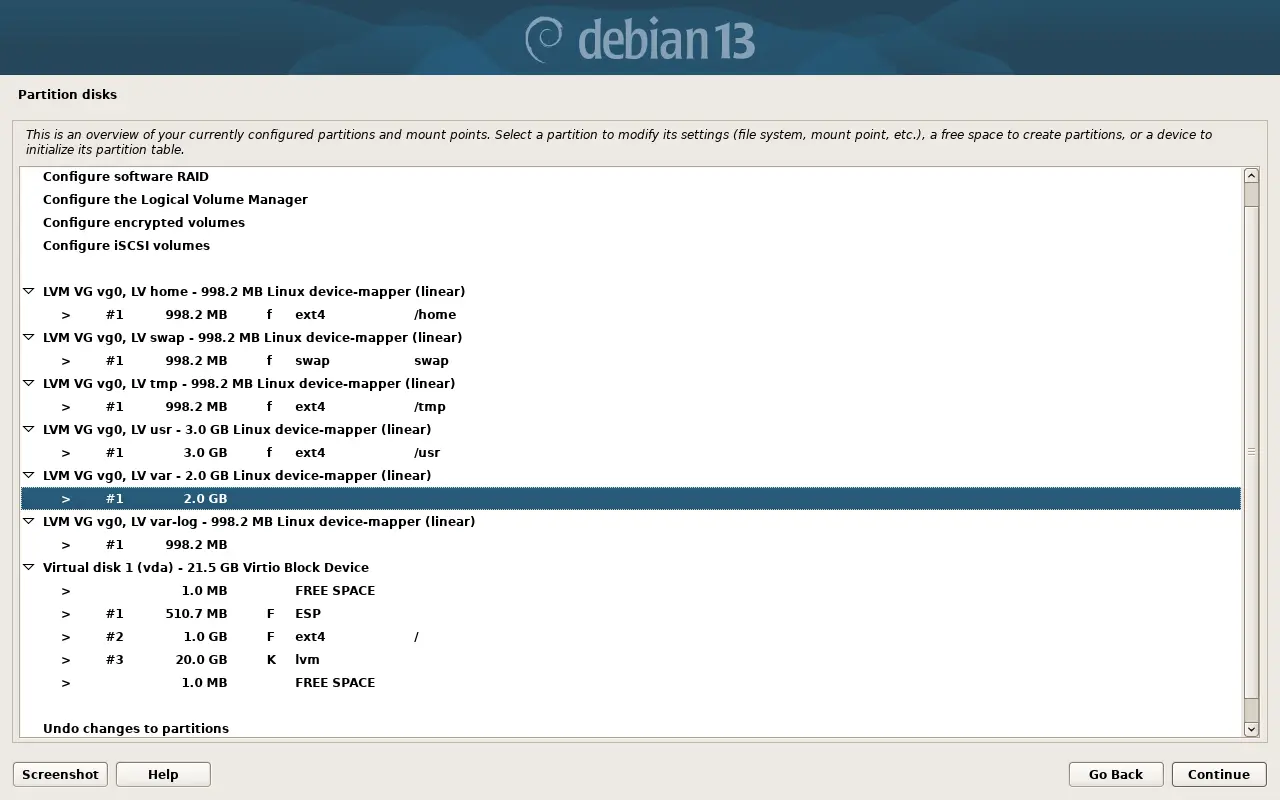
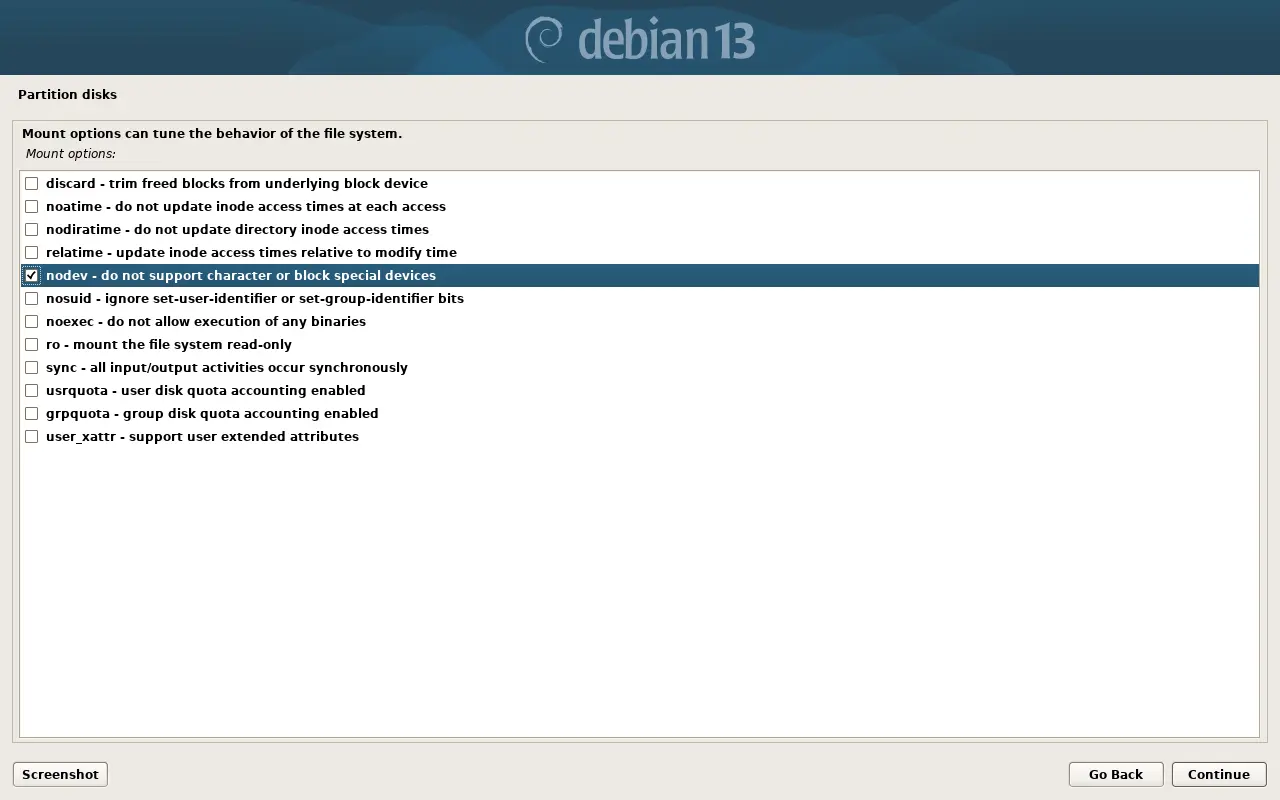
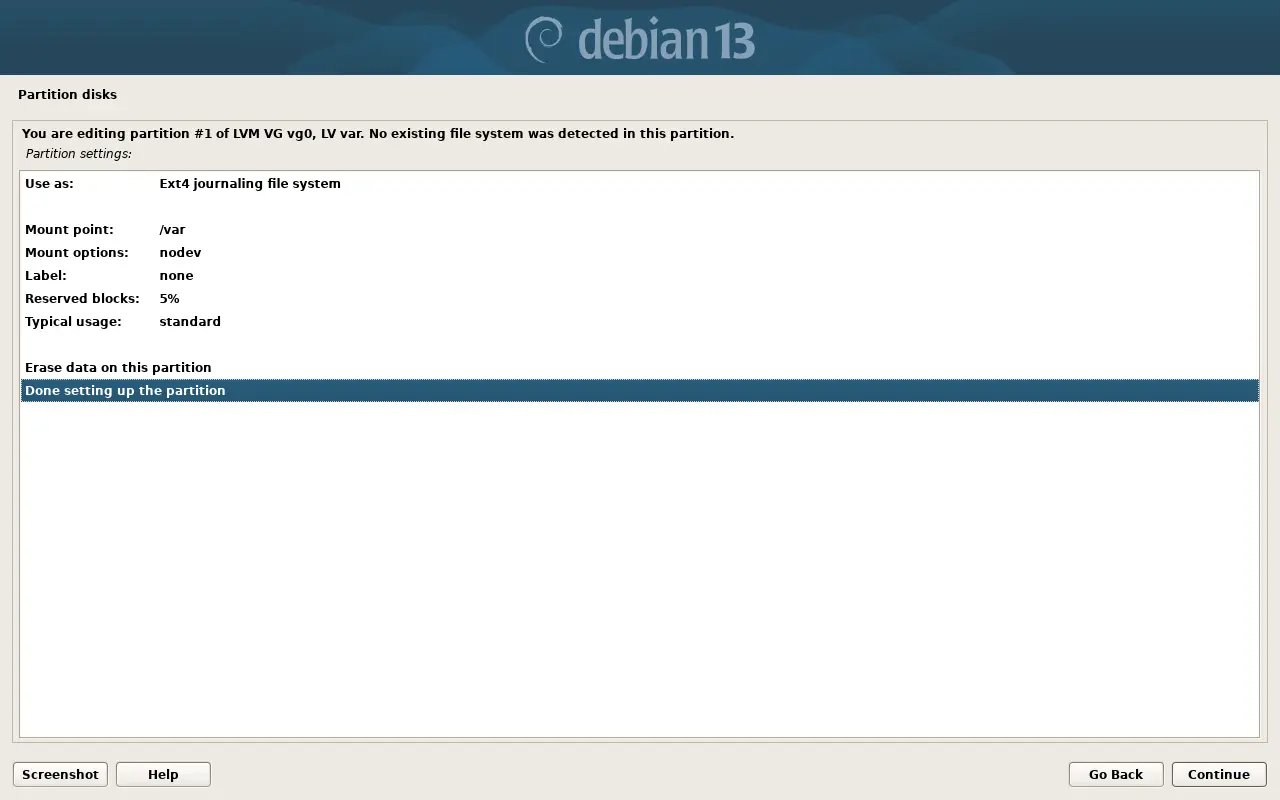
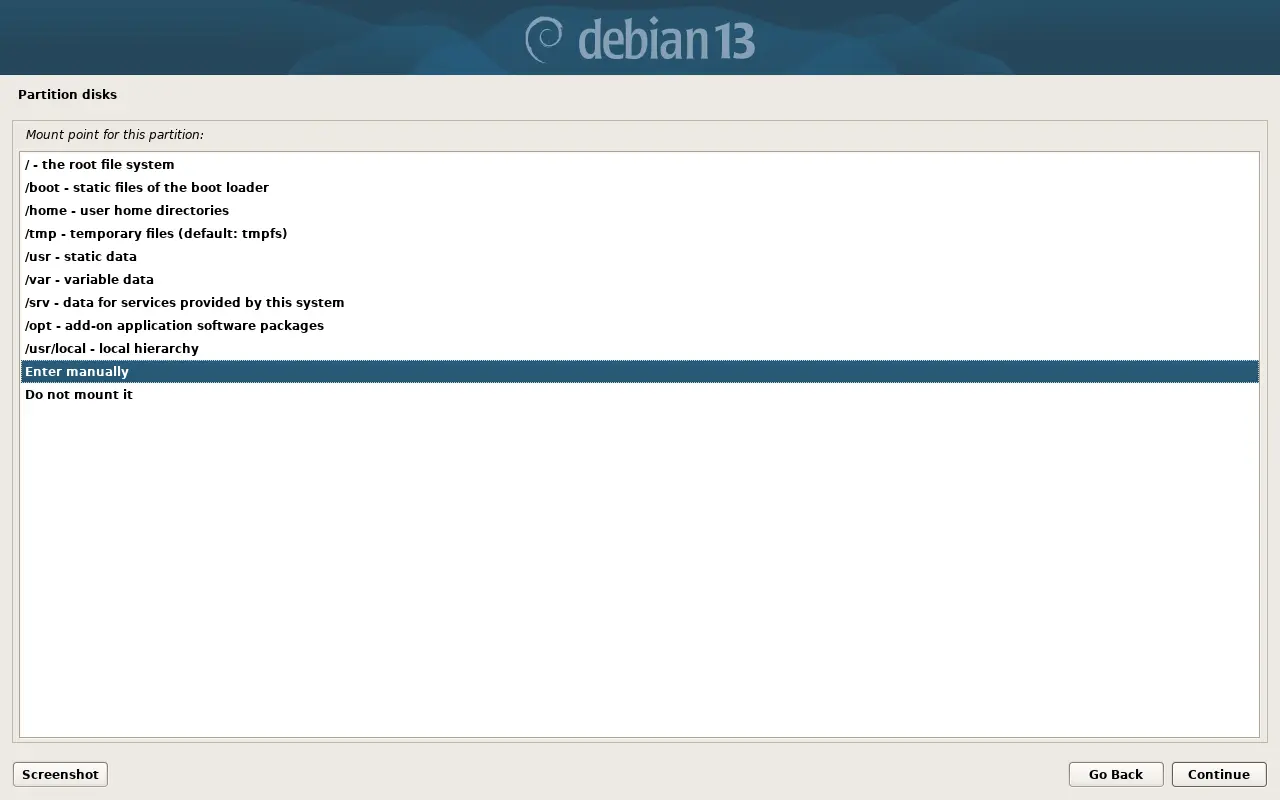
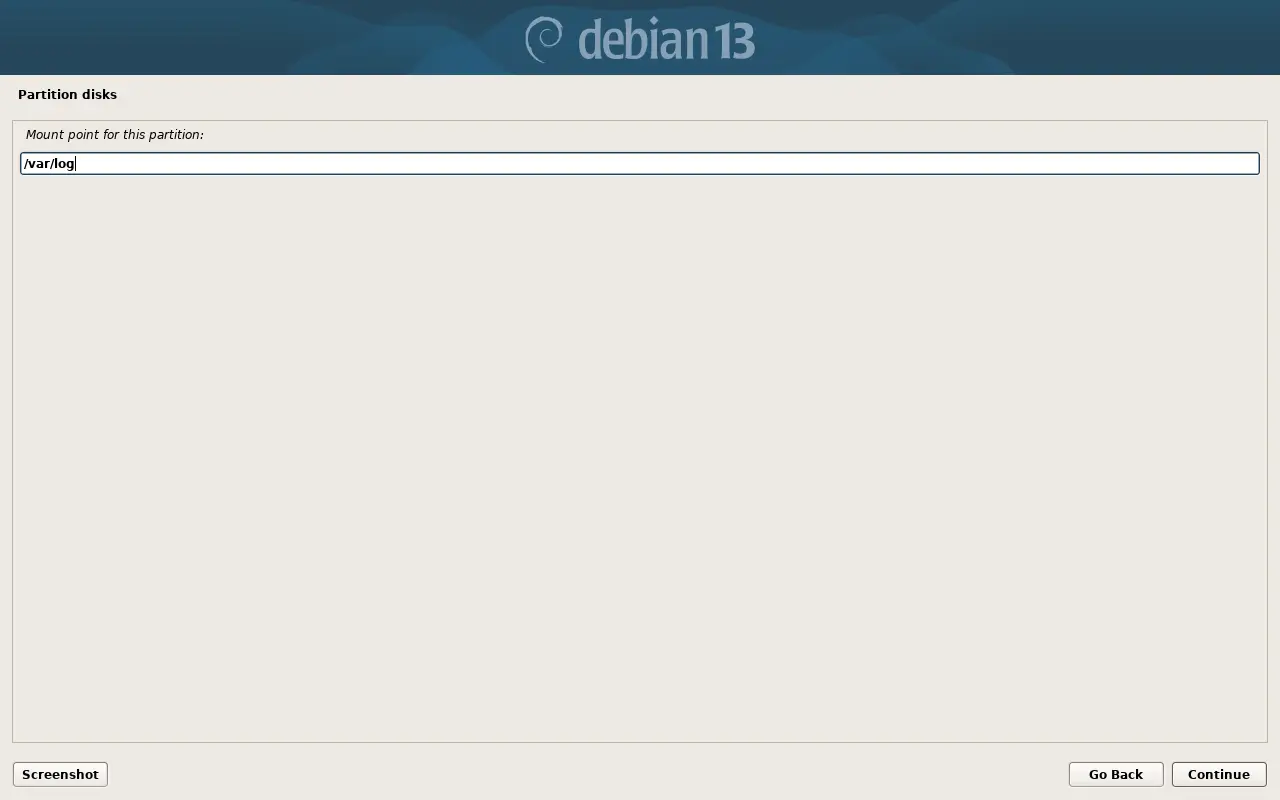
Configuring the filesystem and mount point for /var/log#
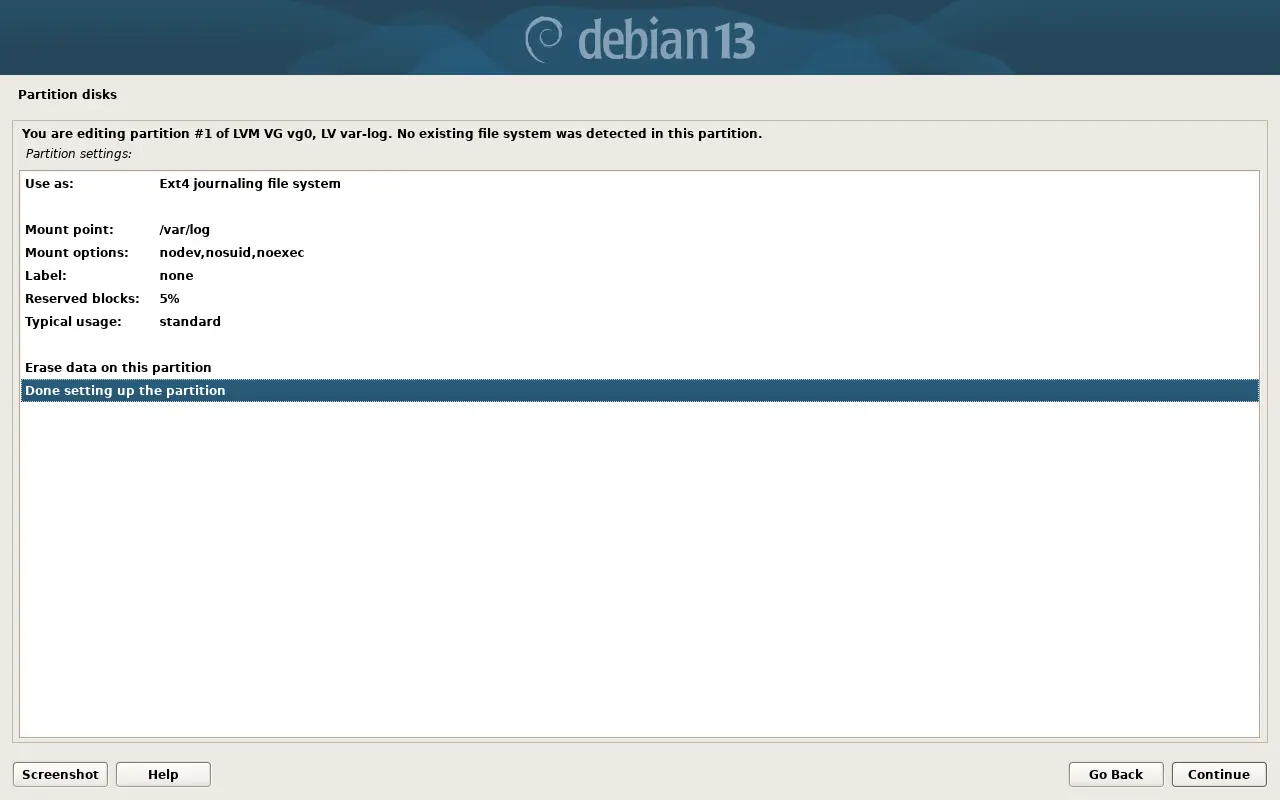
Completing Partition Creation#
At this point, we have our final list of upcoming partitions.
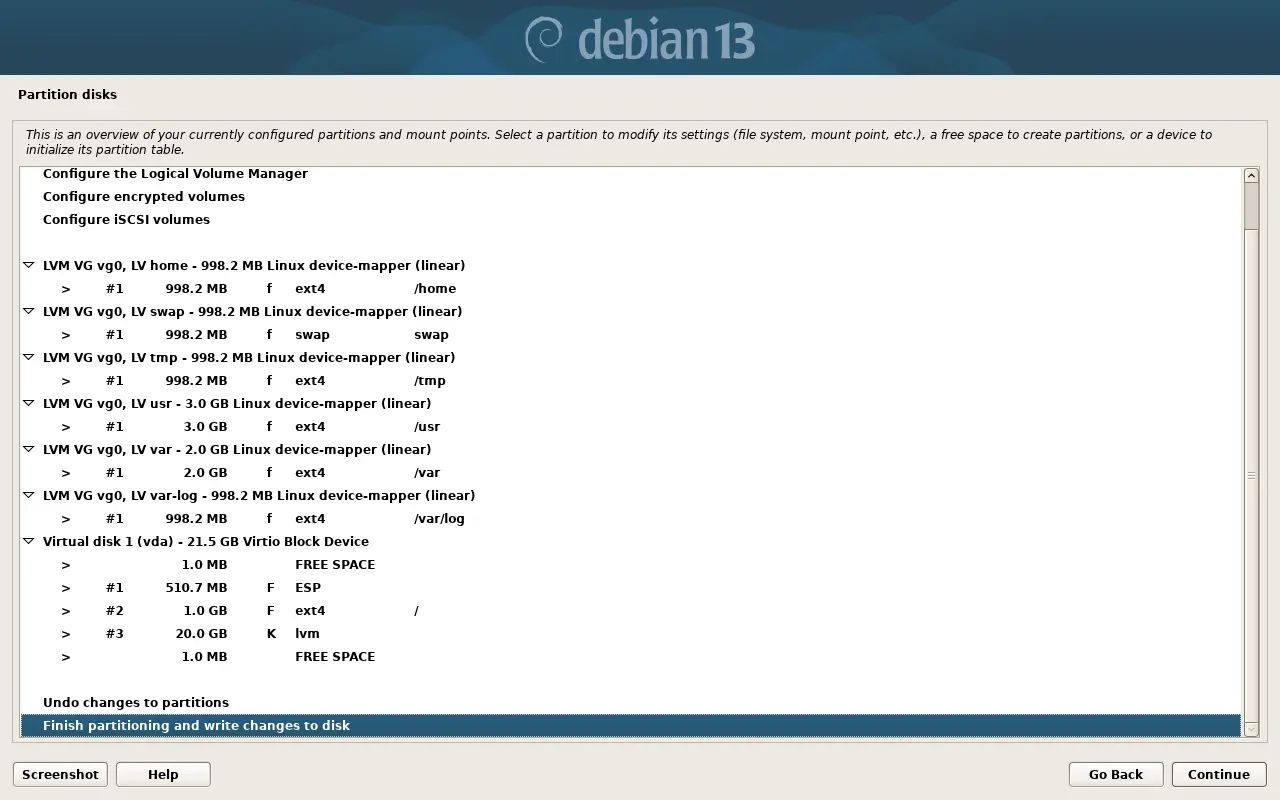
If you read our article on partition structure, you noticed that we deliberately do not create separate partitions for /opt and audit server logs. This system does not plan to install third-party software in /opt or use auditd, so allocating separate resources for them makes no sense.
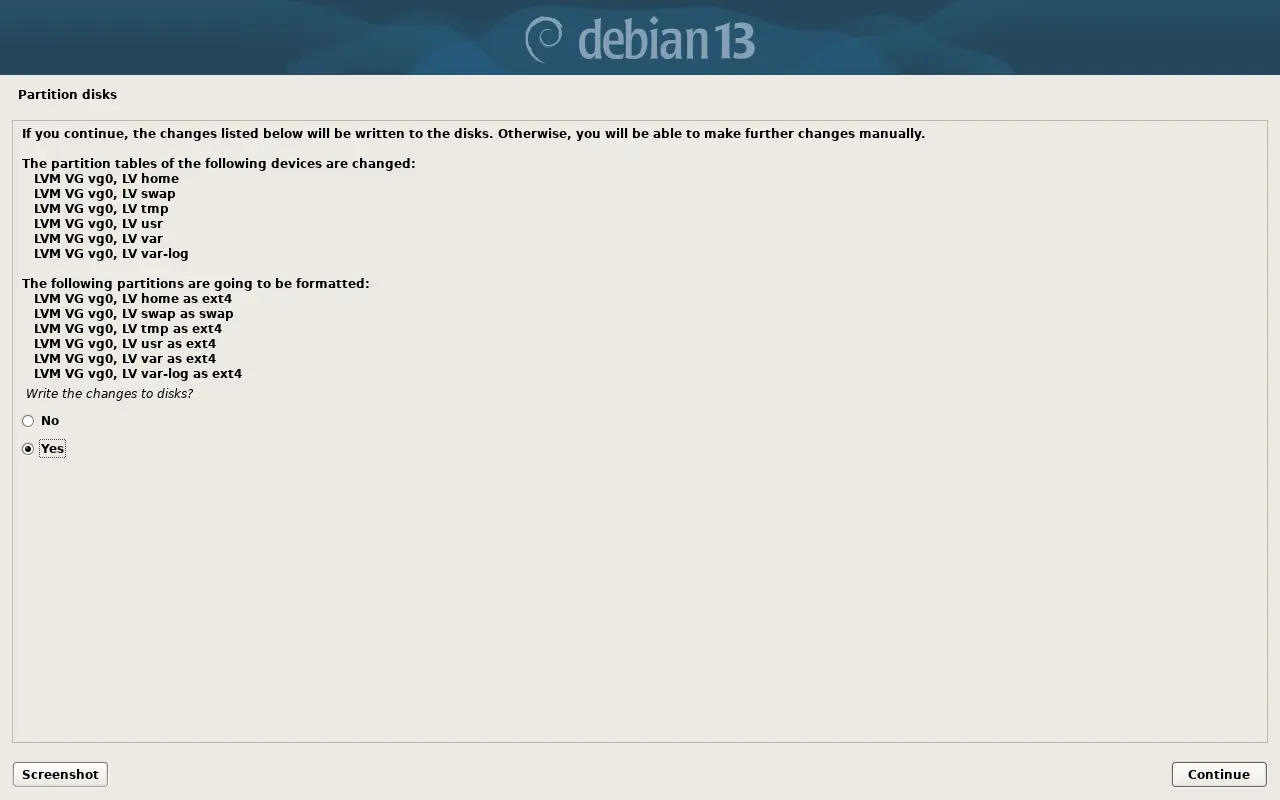
Confirm and write changes to disk:
Installing the System#
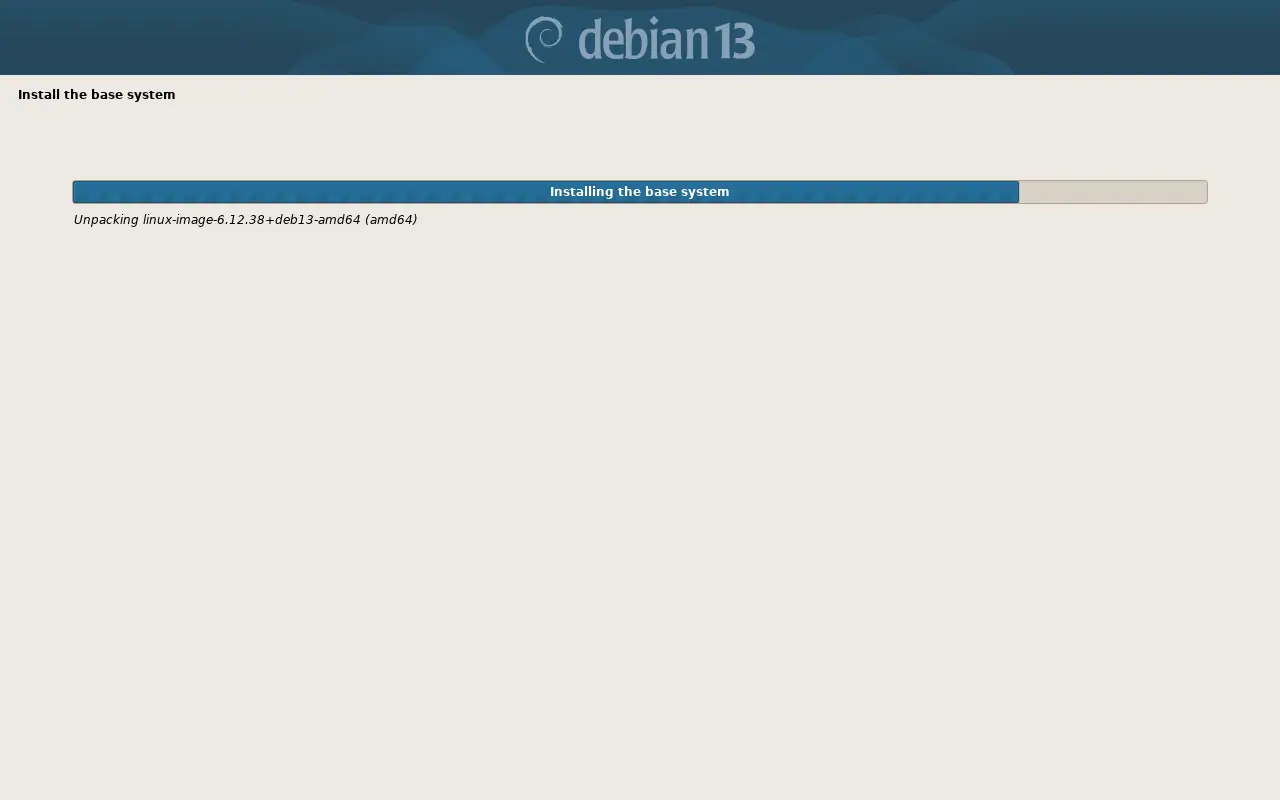
Afterwards, the base system installation process begins:
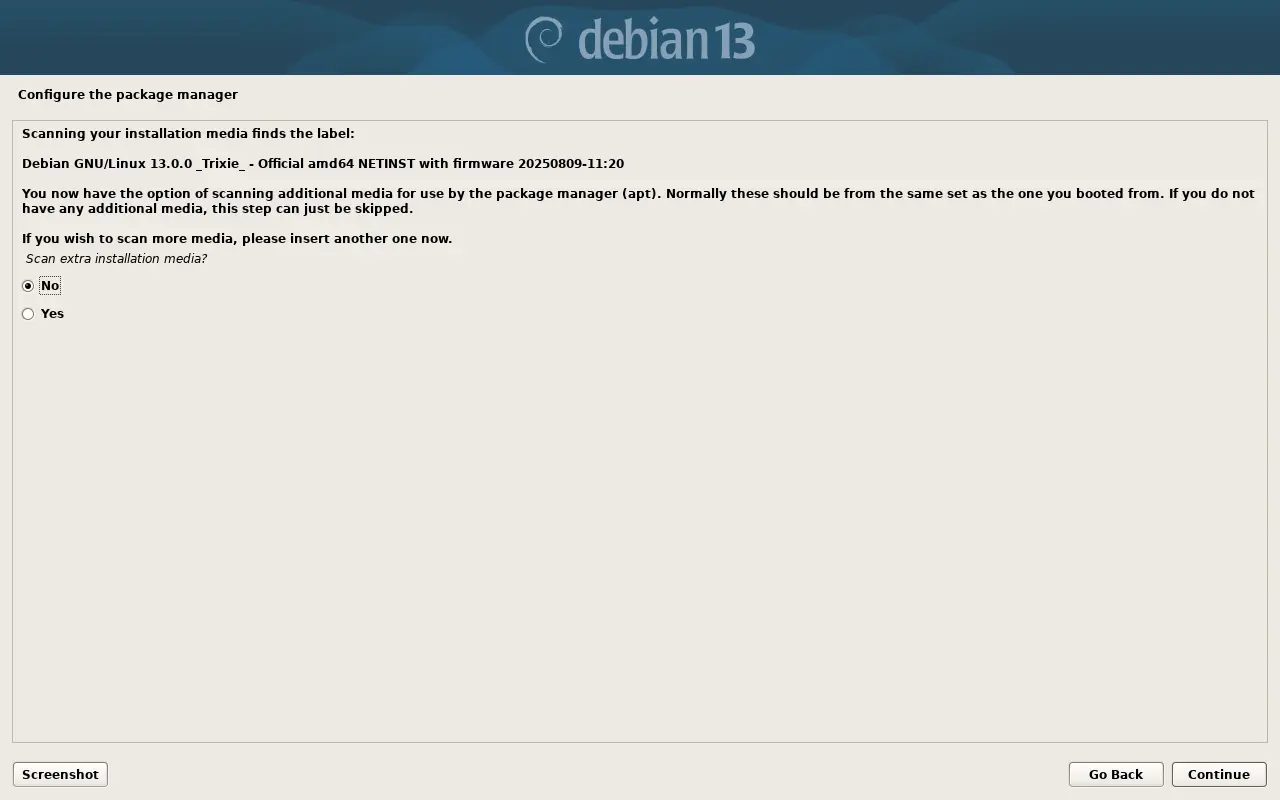
When asked about scanning additional media (if installation is performed over the network or only a single DVD disc is used), choose “No”.
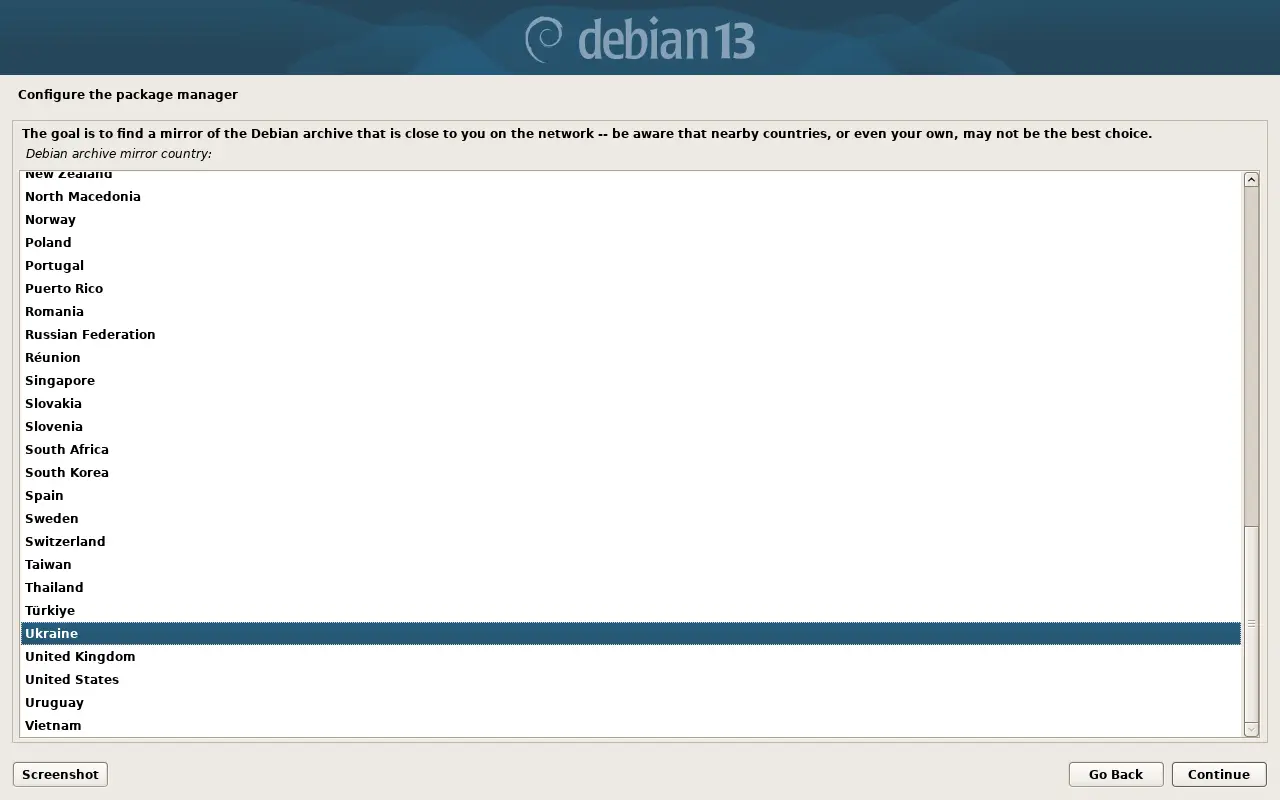
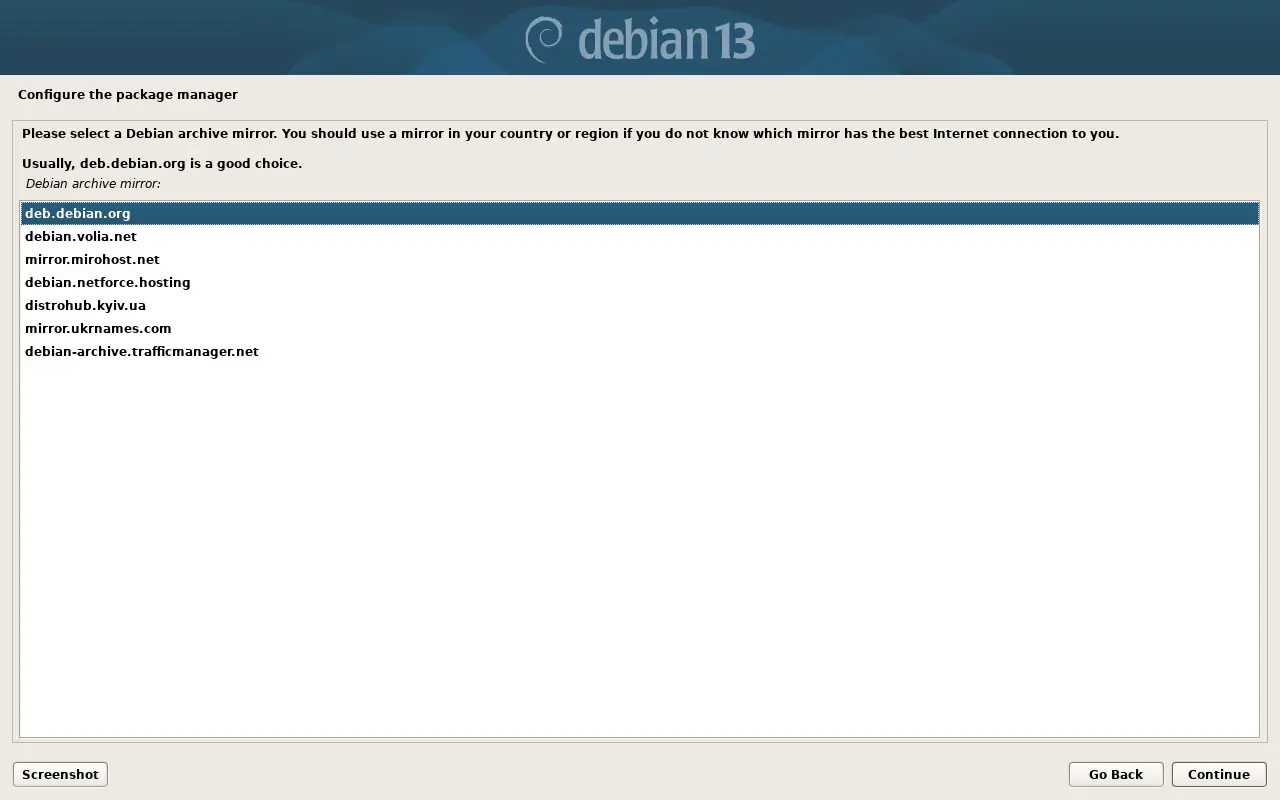
Choose a repository mirror for downloading packages:
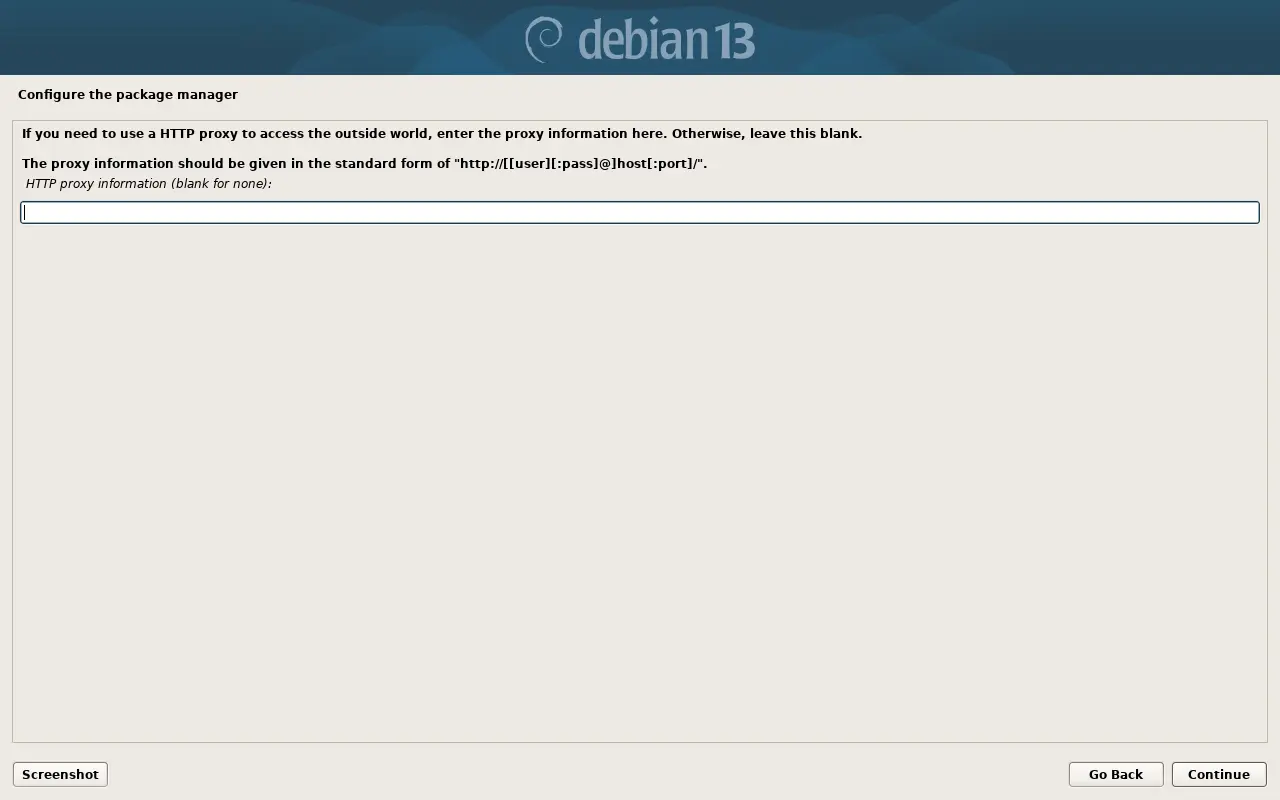
Proxy server configuration. If a proxy is not used, simply leave the field blank and click “Continue”.
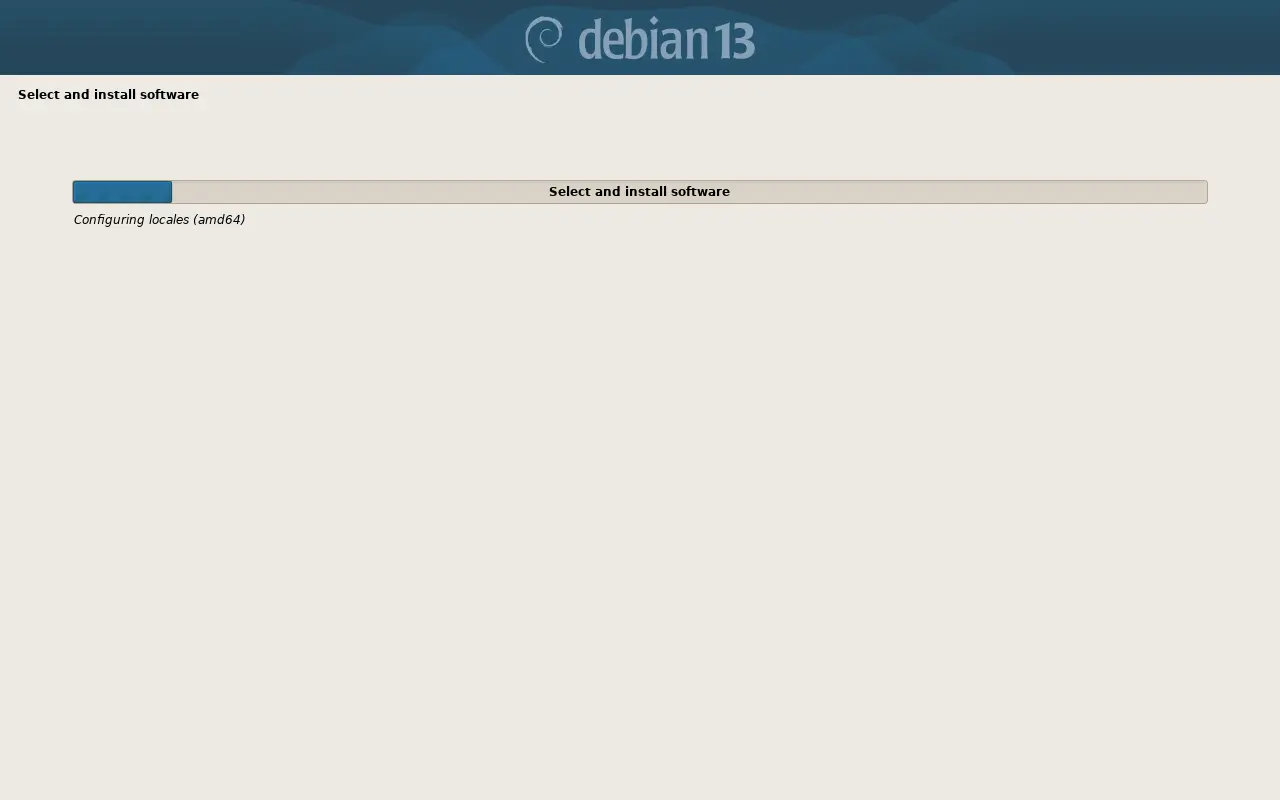
Wait for unpacking and installation of core components:
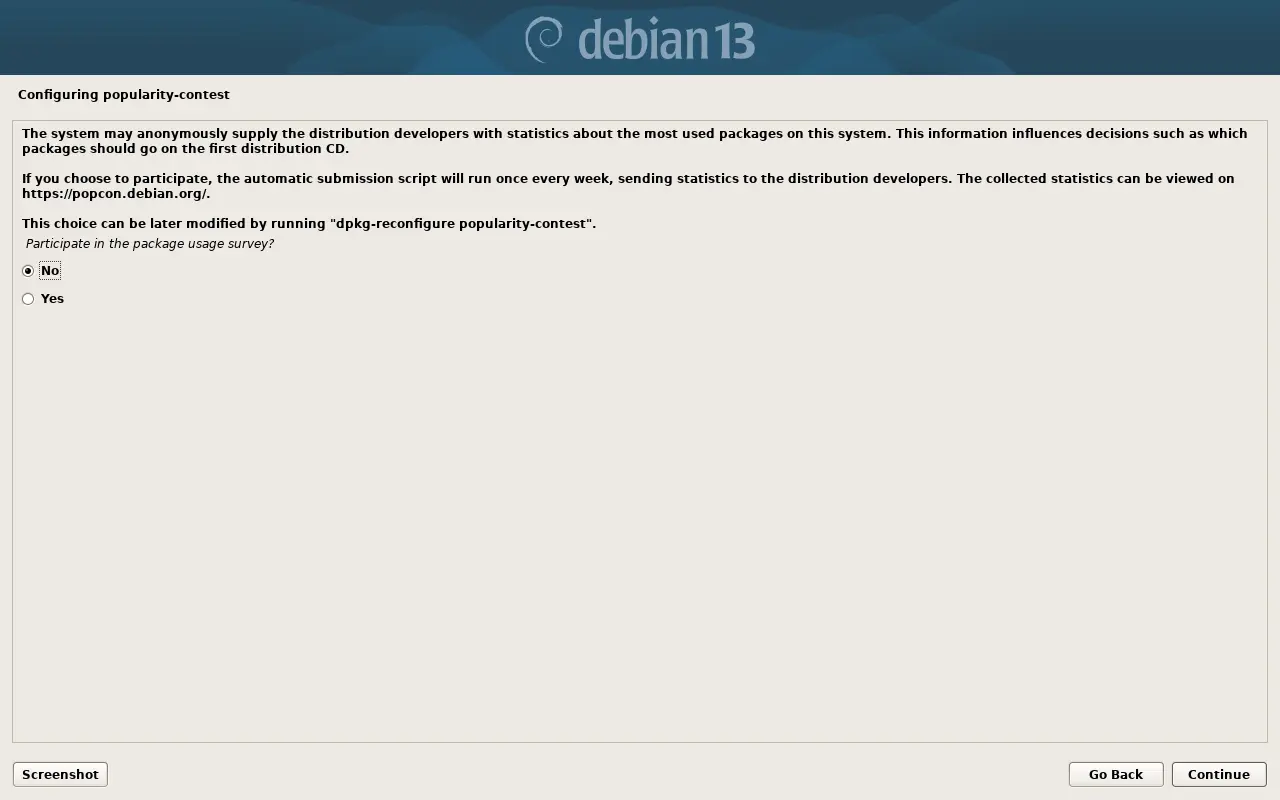
Participation in the package usage survey (popularity-contest). Choose at your discretion, as this is anonymous statistics for Debian developers.
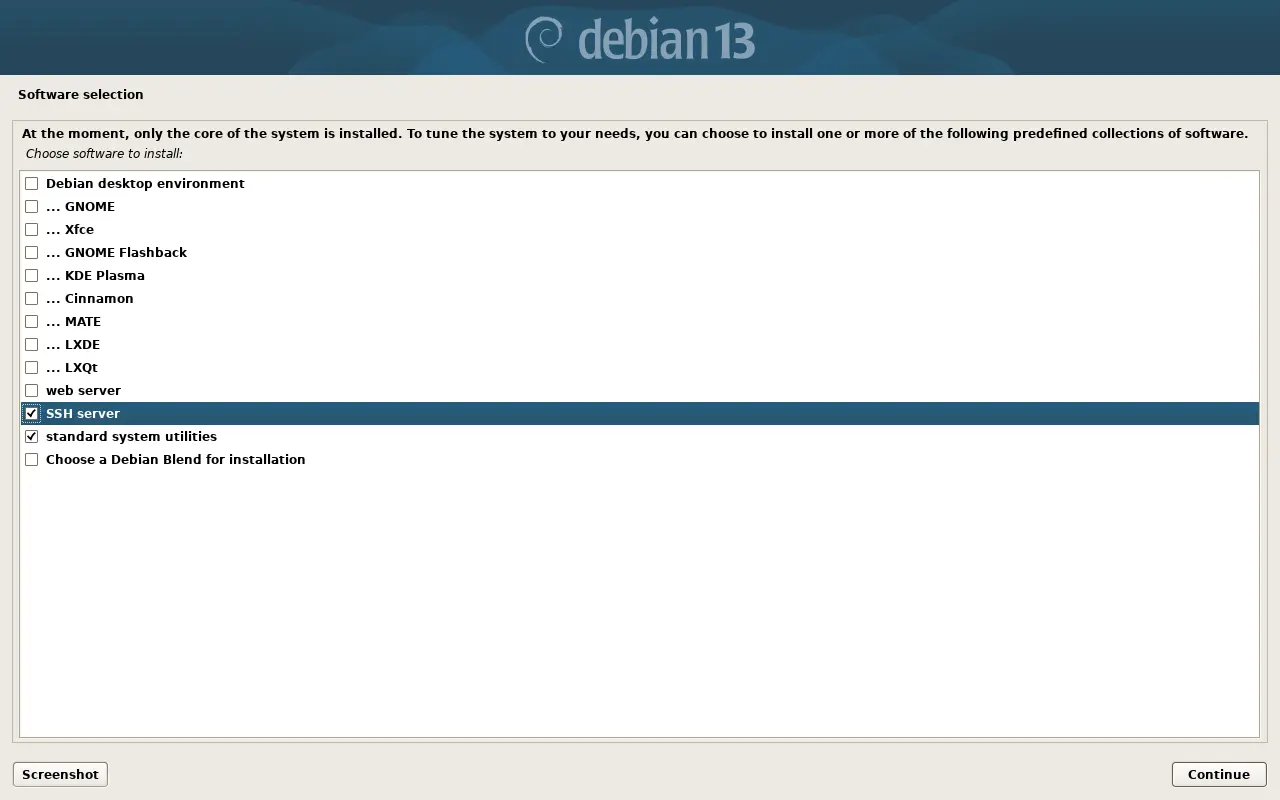
Software selection. To get a minimal and clean server system, leave checkmarks only next to SSH server and standard system utilities.
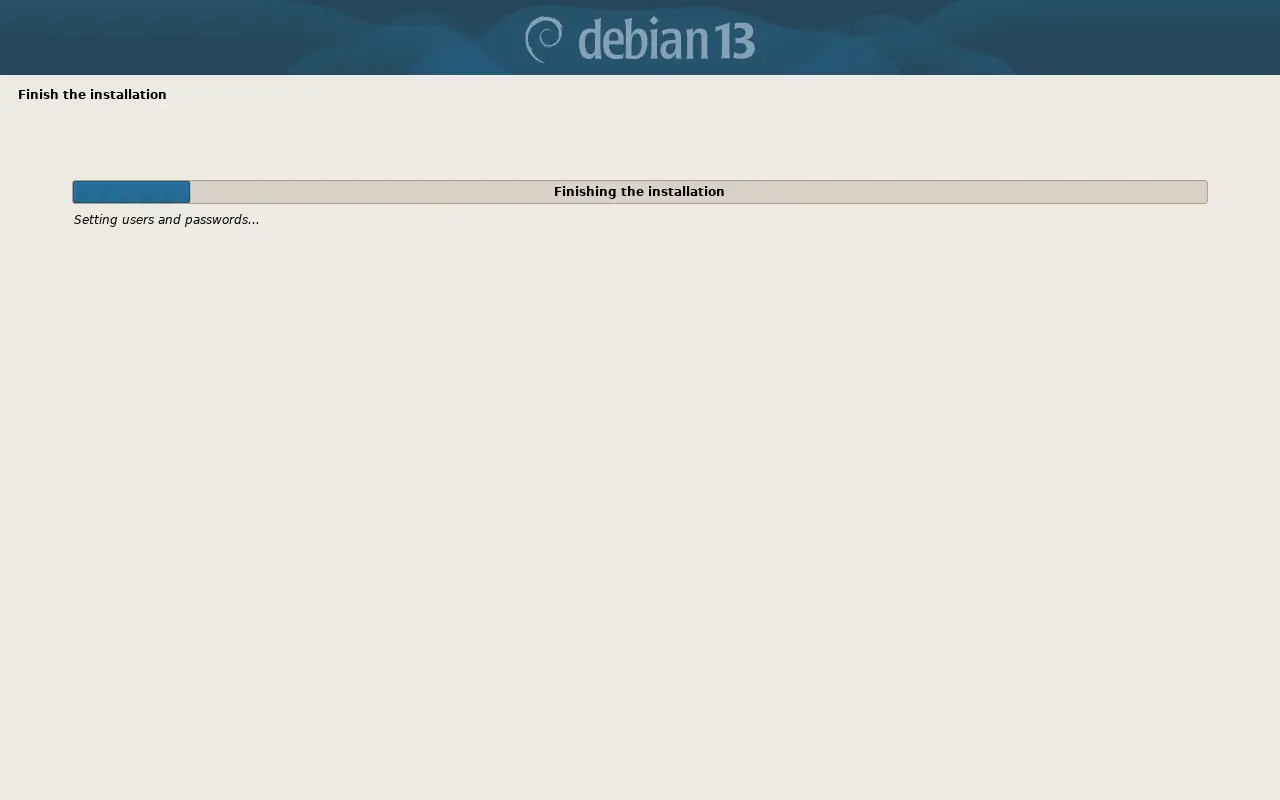
Completing installation and configuring the GRUB bootloader:
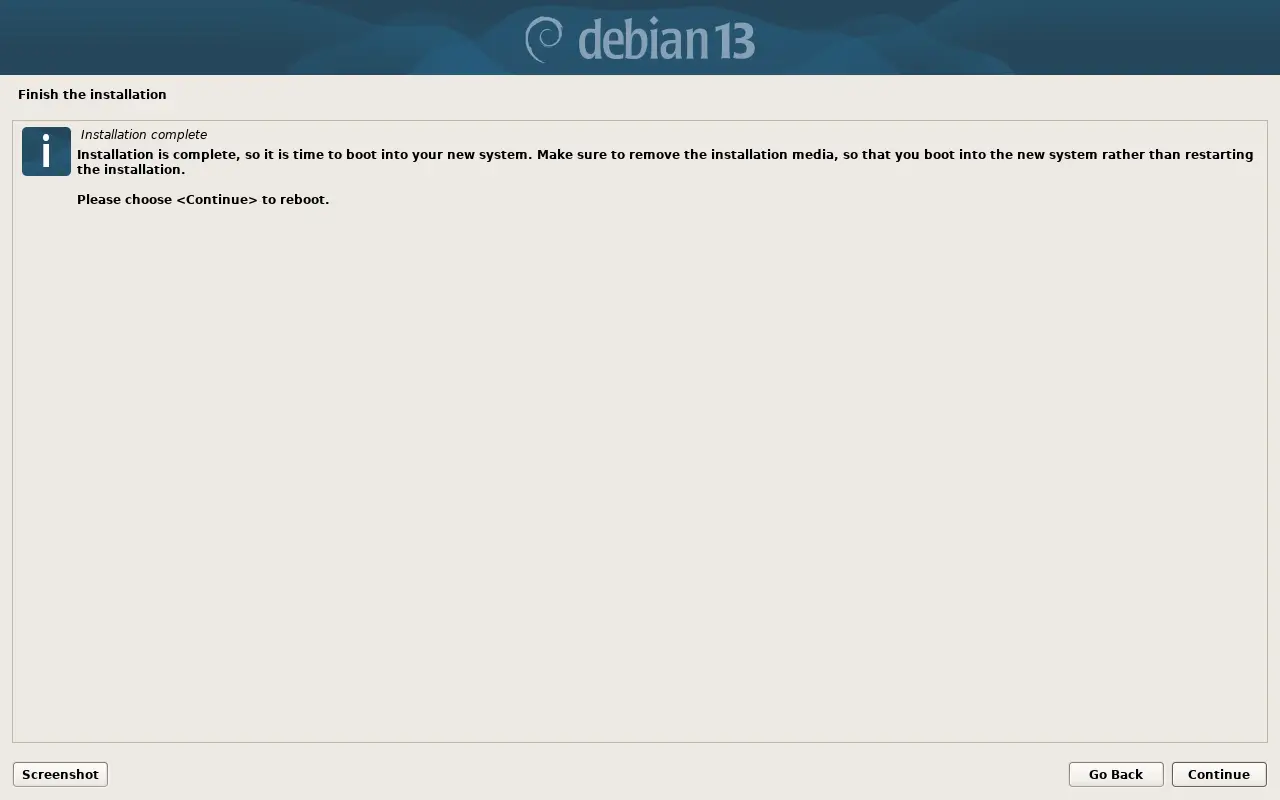
Installation successfully completed! Remove the bootable medium and reboot the system.
First System Boot#
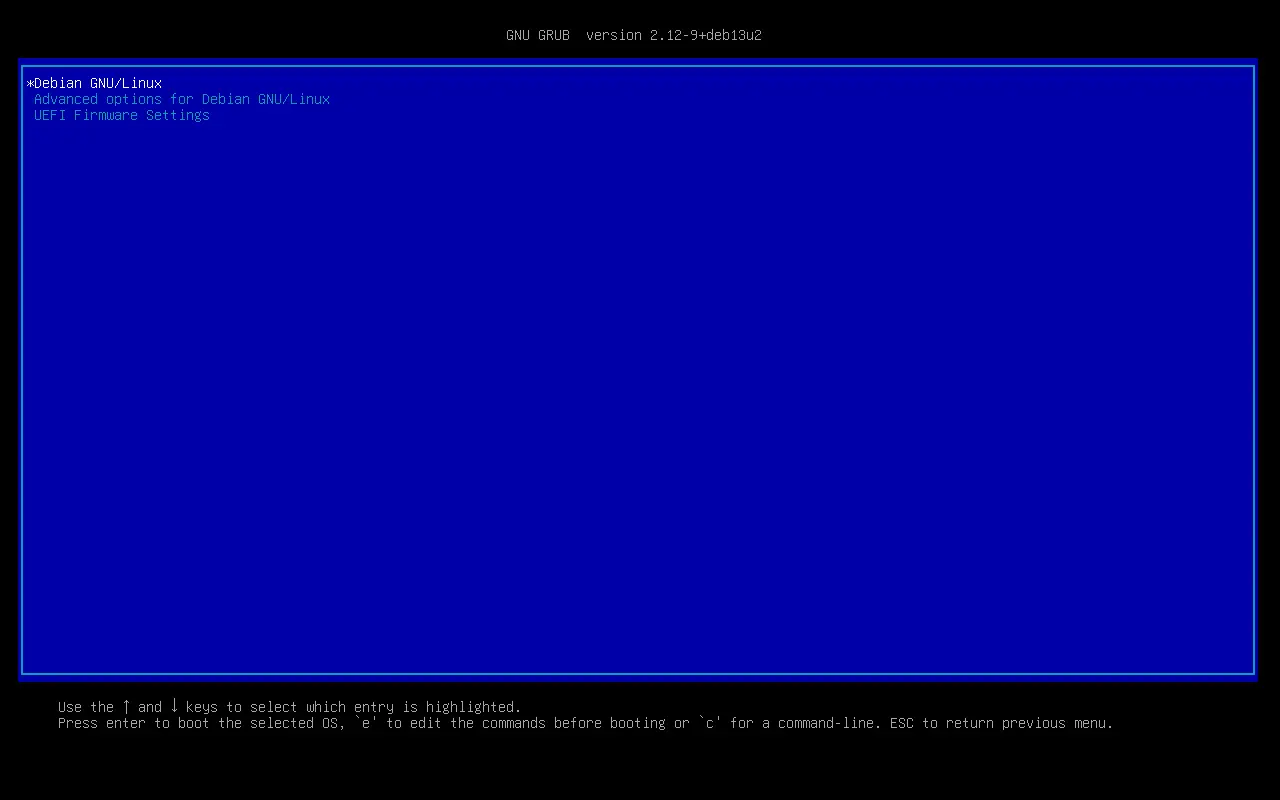
First boot and the GRUB menu screen:
Console login prompt window:
Our system is ready to work. Check the current disk space layout:
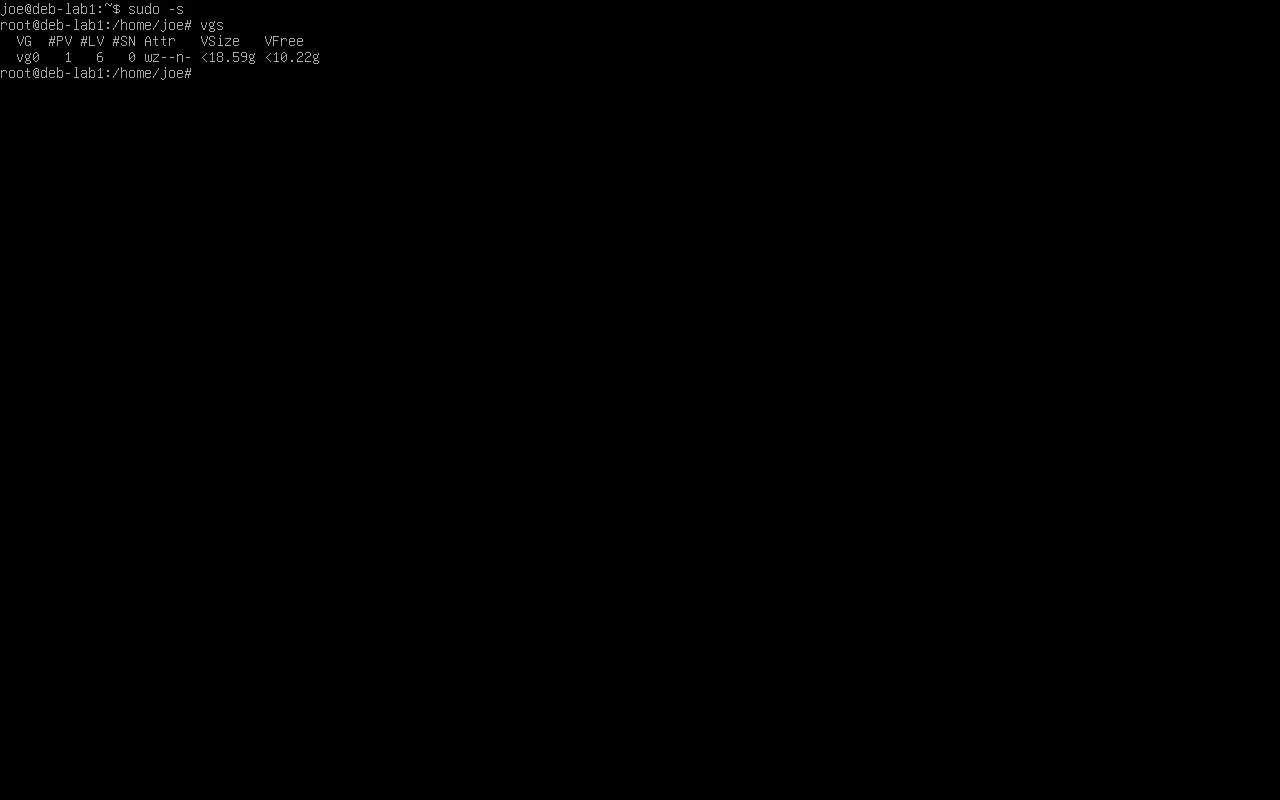
Switch to root (or use sudo) and check the free space in the Volume Group left for potential partition expansion in the future:
Conclusion#
Proper initial disk layout using LVM provides future flexibility. If any partition (such as /var or /home) fills up, it can be expanded on the fly within seconds. Installing a basic Debian system takes minimal time while providing a stable and fully controlled foundation for any tasks.